This post may contain affiliate links. Read the full disclosure here.
Creating a warm and inviting outdoor space where the kids can roast marshmallows and you can finally sit down after a long day doesn’t have to cost a fortune! As a mom of three energetic boys, I know how important it is to have a backyard setup that brings the family together without draining the bank account. A fire pit has become our favorite spot for everything from weekend s’mores sessions to those rare quiet evenings when all three boys are actually calm at the same time!
The best part about fire pit ideas backyard on a budget is that you can create something truly special without spending hundreds of dollars. Whether you’re working with a tiny patio or a sprawling yard, there are so many creative and affordable ways to add that cozy fire pit magic to your outdoor space. Let me share some of my favorite budget-friendly ideas that have worked wonders for our family!
Simple Stone Ring Fire Pit
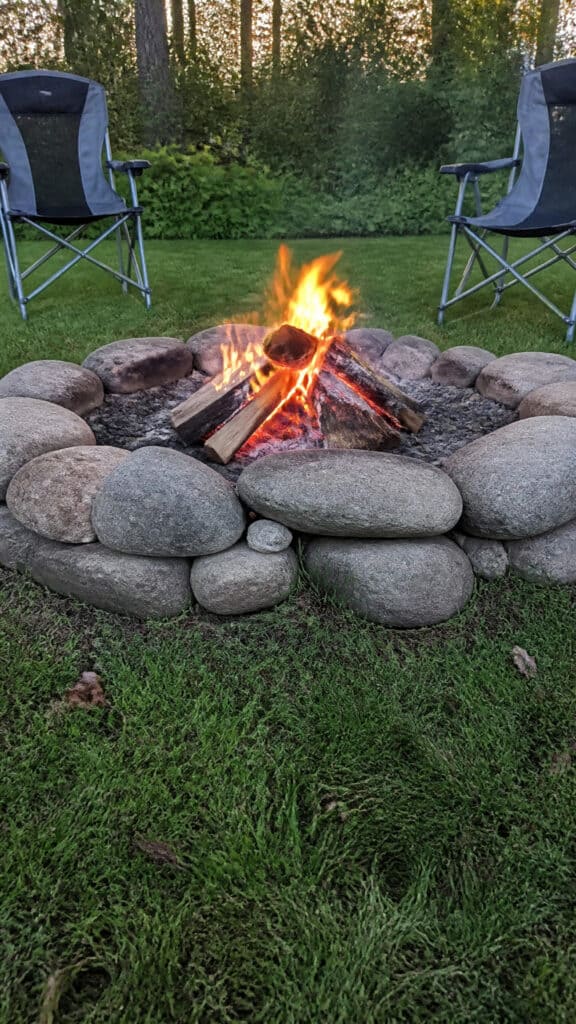

This is hands down the easiest and most budget-friendly option for getting started! A basic stone ring fire pit can be built in an afternoon, and my boys absolutely loved helping me arrange the stones. You can find landscaping stones at your local home improvement store for around $3-5 per stone, and you’ll need about 30-40 stones depending on the size you want.
The beauty of this design is that it’s completely customizable and requires zero special skills. Simply clear a flat area in your yard, dig a shallow pit about 6-8 inches deep, and arrange your stones in a circle. I made ours about 3 feet in diameter, which is perfect for our family of five. The kids can safely sit around it on camping chairs or logs, and there’s plenty of room for roasting sticks!
To make it even more budget-friendly, check out local buy-and-sell groups or Craigslist for free landscaping stones. People are always renovating their yards and giving away materials! I’ve also seen beautiful fire pits made with reclaimed bricks, which give a lovely rustic charm. Just make sure whatever materials you use are heat-resistant and specifically meant for outdoor use.
- Cost: $50-100 for new stones, potentially free with reclaimed materials
- Time to build: 2-4 hours
- Skill level: Beginner-friendly
- Best for: Families who want a permanent but simple solution
Cinder Block Fire Pit Design
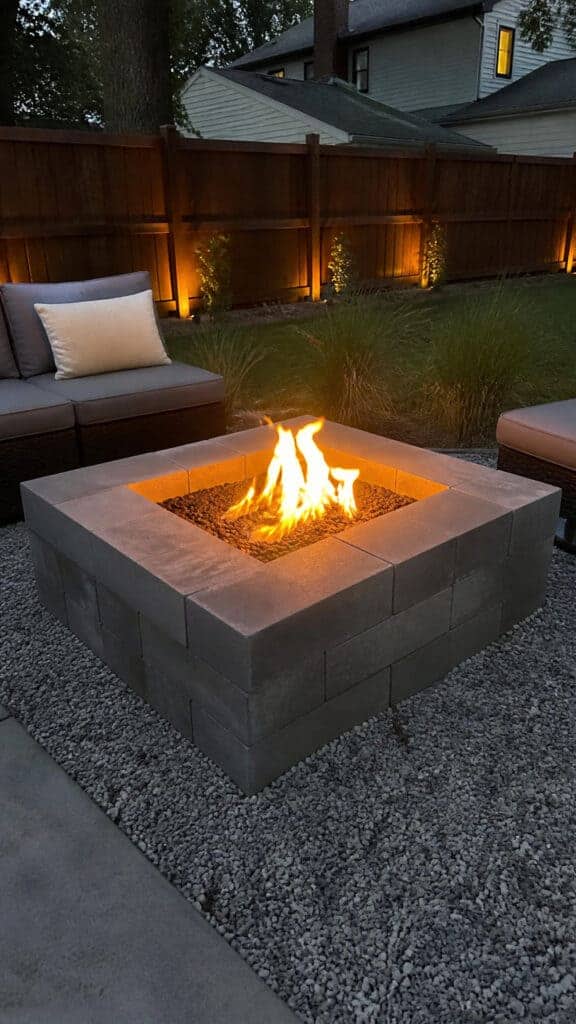
If you’re looking for something super sturdy that can handle three boys running around it (speaking from experience here!), a cinder block fire pit is absolutely perfect! Cinder blocks are incredibly affordable at around $1.50-2 each, and they’re specifically designed to withstand heat. You can create a square or rectangular fire pit that looks surprisingly polished and modern.
I love this option because you can build it in layers to create different heights, and you don’t need any mortar or cement if you don’t want to make it permanent. We started with a simple two-layer design, and it’s been holding up beautifully for over a year now. The boys think it looks like a castle, which makes fire pit night even more exciting!
To build yours, you’ll need about 24-32 cinder blocks depending on your desired size. Arrange them in a square or rectangle, leaving gaps between blocks for airflow. Stack a second layer on top, offsetting the blocks like bricks for stability. You can fill the hollow centers with pea gravel for added weight and a finished look. Some people even plant succulents in the holes for a decorative touch, though I haven’t tried that yet with my crew!
- Cost: $40-70 for blocks and gravel
- Time to build: 1-2 hours
- Skill level: Easy
- Best for: Modern looks and maximum durability
Repurposed Washing Machine Drum Fire Pit
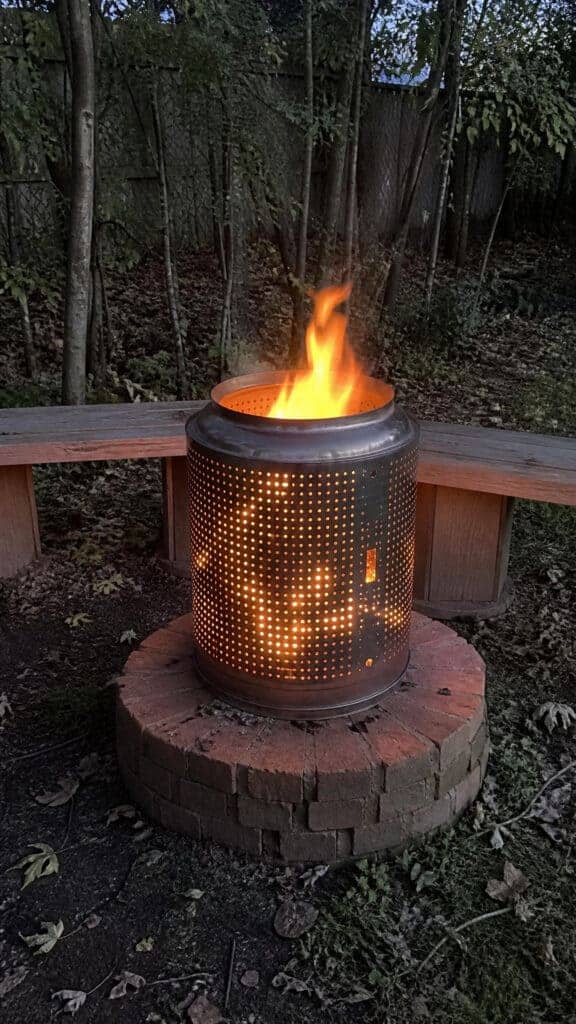
This is one of my absolute favorite fire pit ideas backyard on a budget because it’s so unique and eco-friendly! Old washing machine drums make incredible fire pits because they’re already designed to withstand high heat and have built-in ventilation holes that create amazing flame patterns. Plus, you can often get them for free from appliance repair shops or people who are scrapping old machines!
The perforated metal creates this gorgeous light pattern when the fire is burning, and it’s honestly mesmerizing to watch. My middle son calls it the “starlight fire” because of how the flames peek through all the little holes. It’s become a real conversation piece when we have friends over, and everyone is always shocked when I tell them it cost me exactly zero dollars!
To make one, you’ll need to remove the drum from an old front-loading washing machine (top loaders work too, but front loaders have the best design). Clean it thoroughly, remove any plastic parts, and you can either leave it as-is for an industrial look or spray paint it with high-heat paint. Set it on bricks or a metal stand to elevate it off the ground, and you’re done! Add a cooking grate on top, and you’ve got yourself a fire pit and grill combo.
- Cost: Free to $20 (if you buy high-heat paint)
- Time to build: 1 hour plus cleaning time
- Skill level: Moderate (requires removing drum from machine)
- Best for: Unique, conversation-starting designs
DIY Fire Pit Table with Concrete Pavers
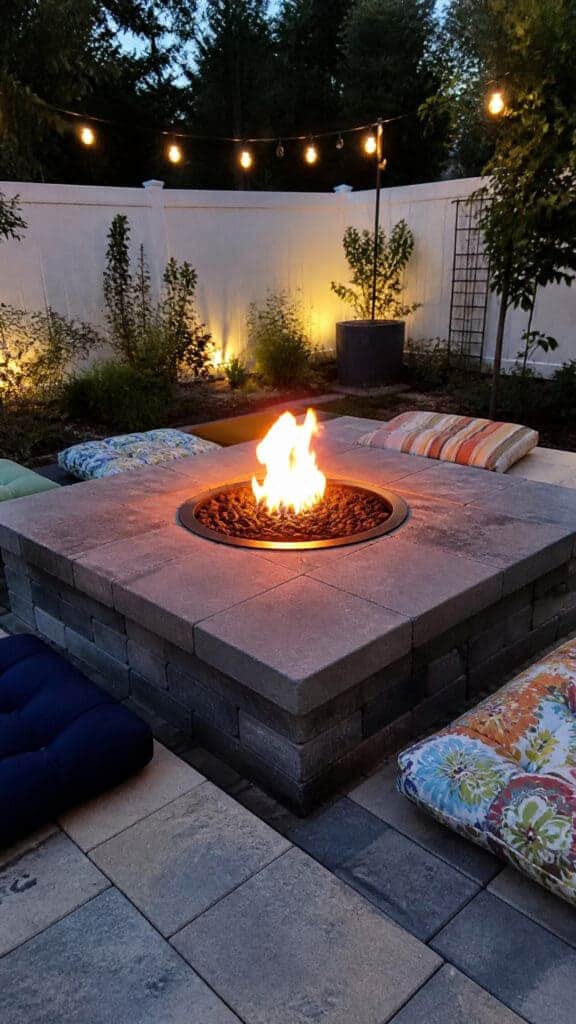
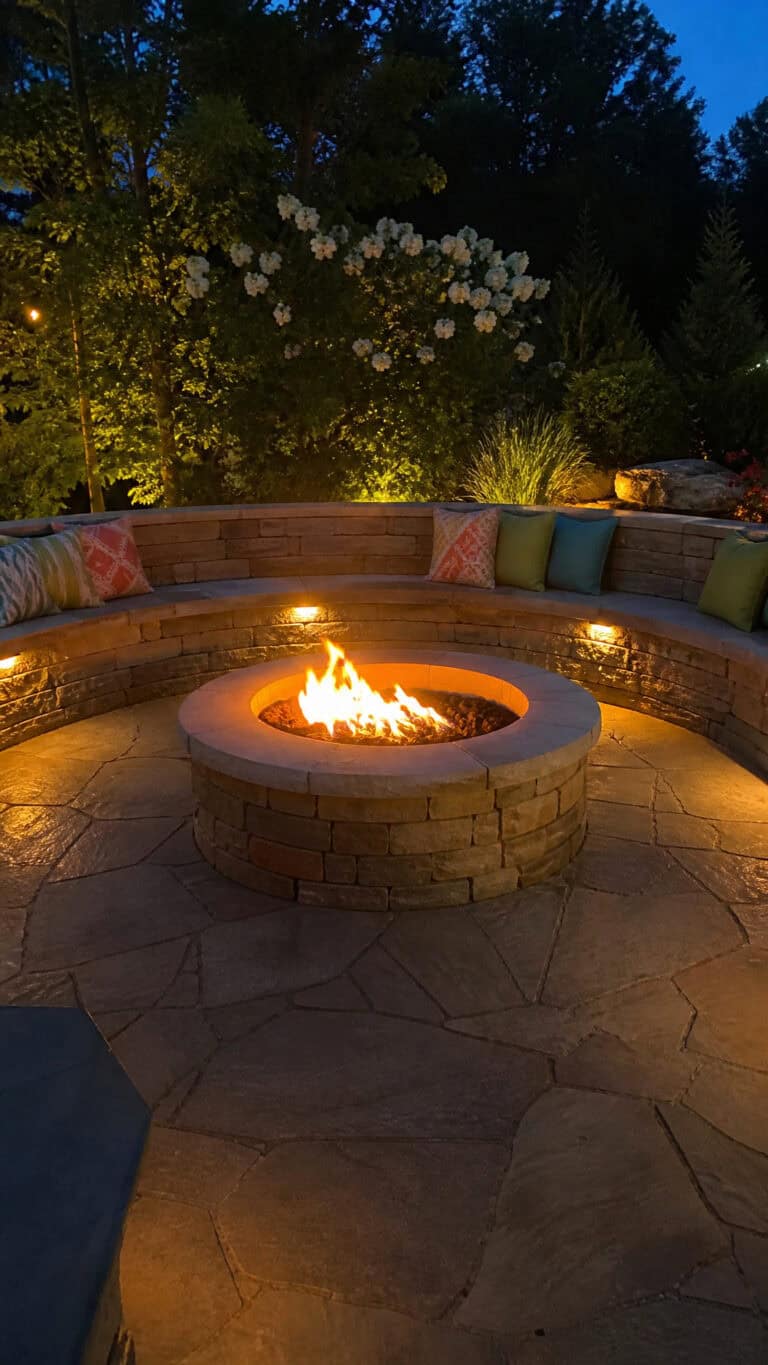
When I wanted to create a fire pit that could double as a table when we’re not using it, concrete pavers became my best friend! This design gives you a built-in seating wall around the fire pit, which is absolutely perfect for keeping the kids at a safe distance while still letting them enjoy the warmth. Plus, the flat surfaces are great for setting down drinks and snack plates!
The construction is straightforward and doesn’t require any special masonry skills. You’ll use concrete pavers to build up walls in a square or circular shape, creating a raised platform. The center holds your fire, while the wide edges serve as seating or table space. I topped ours with some outdoor cushions from a clearance sale, and it’s become everyone’s favorite spot in the yard!
Start by laying out your base layer of pavers in your desired shape, then stack additional layers using construction adhesive between each level. Build up to about 18-24 inches high for comfortable seating. Leave the center open for your fire pit insert (a metal bowl works great), and make sure the walls are wide enough to sit on comfortably—about 12-16 inches works well. The whole project took me a weekend, and my boys helped with arranging the pavers!
- Cost: $100-200 depending on paver prices
- Time to build: 1-2 days
- Skill level: Intermediate
- Best for: Families who want built-in seating and multipurpose space
Budget-Friendly Fire Pit with Retaining Wall Blocks
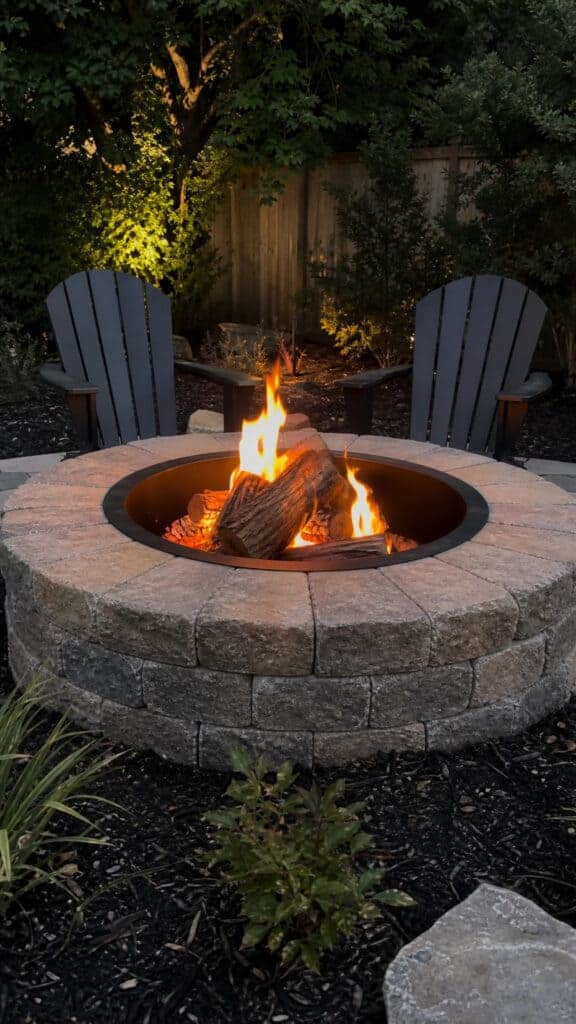
Retaining wall blocks are seriously underrated for fire pit projects! These interlocking blocks are designed to stack securely without mortar, and they come in so many styles and colors. I found mine on clearance at the end of summer, which made this project even more affordable. The textured finish looks way more expensive than it actually is!
What I love about using retaining wall blocks is how quickly they go together. The interlocking design means you don’t have to worry about precise measurements or keeping everything perfectly level. Even with three “helpers” running around, I managed to complete our fire pit in about three hours. The boys were so proud to show their dad when he got home from work!
To build yours, clear and level your ground, then lay your first course of blocks in a circle. Most retaining wall blocks have a lip on the back that automatically creates a slight inward angle, which is perfect for fire pit stability. Stack 2-3 courses high, and you’re done! You can cap it with flat capstones for a finished look, or leave it as-is for a more rustic vibe. Add a metal fire ring inside to protect the blocks and contain your fire safely.
- Cost: $75-150 for blocks and fire ring
- Time to build: 3-4 hours
- Skill level: Beginner to intermediate
- Best for: Quick projects with professional-looking results
In-Ground Fire Pit on a Shoestring Budget
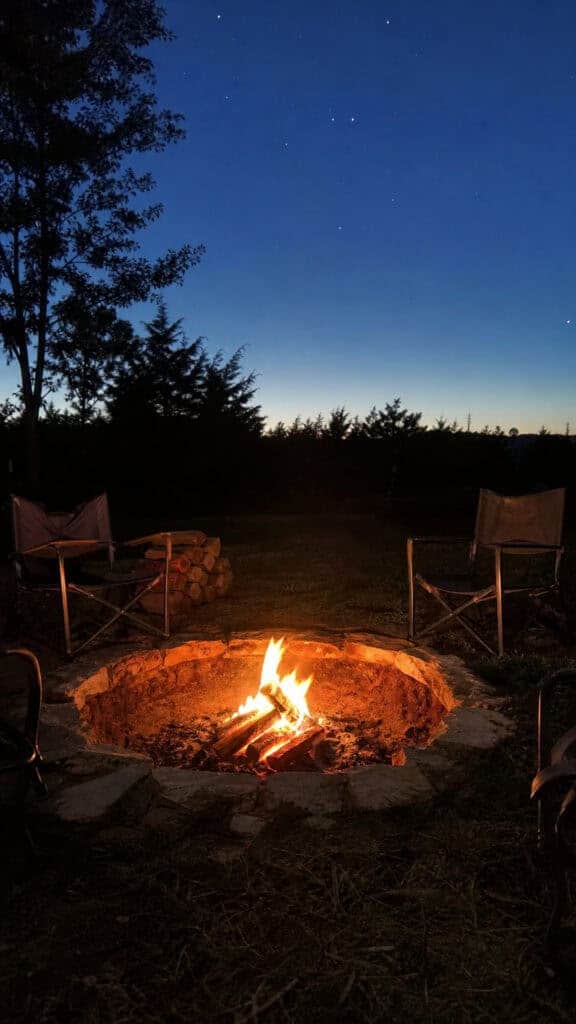
Sometimes the simplest solutions are the best, and an in-ground fire pit proves exactly that! This is probably the most budget-friendly option of all because it requires minimal materials—basically just a shovel and some gravel. My boys thought digging the pit was the most fun they’d had all summer, and it definitely tired them out for bedtime!
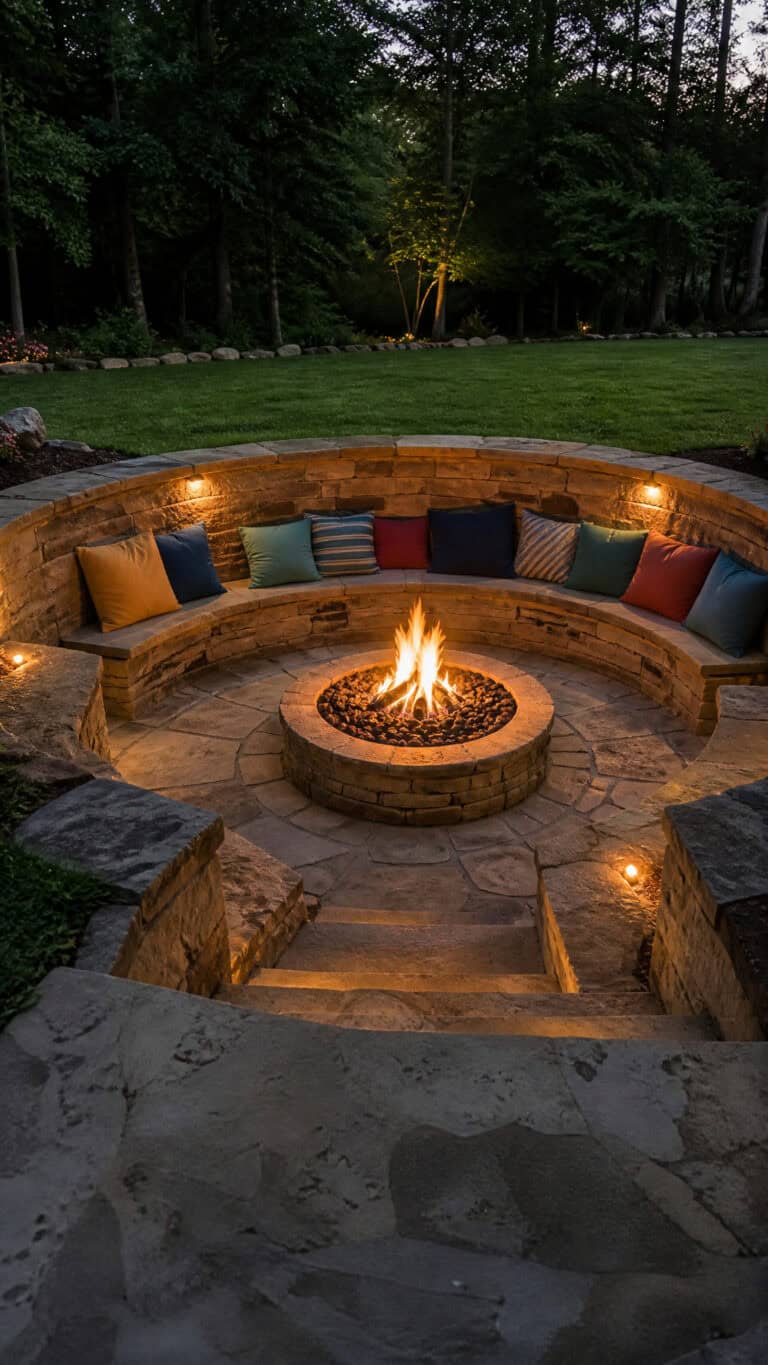
An in-ground fire pit has a wonderfully natural, campfire feel to it. It’s also inherently safer with young kids because the flames are below ground level, and there’s less risk of anyone bumping into hot surfaces. We surrounded ours with large rocks we collected from a nearby creek (with permission!), which added to the rustic camping vibe without costing a penny.
Dig your pit about 12 inches deep and 3-4 feet in diameter. Line the bottom with a few inches of sand or pea gravel for drainage. You can line the sides with heat-resistant stones or bricks if you want, but it’s not absolutely necessary. Create a ring of larger rocks or logs around the top edge for seating. The whole project cost me less than $20 for gravel, and we’ve been using it constantly! Just make sure to check local regulations about open fires and keep a safe distance from any structures or trees.
- Cost: $10-30 for gravel and optional edging materials
- Time to build: 2-3 hours
- Skill level: Beginner
- Best for: Authentic campfire experience on the smallest budget
Steel Ring Fire Pit with Decorative Stone Surround
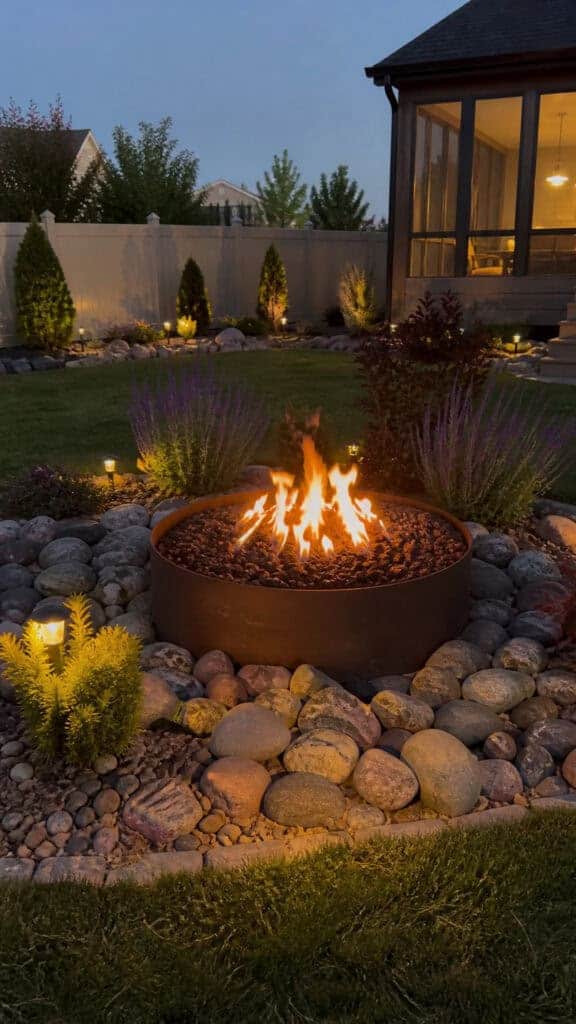
If you want something that looks professionally installed but still fits a tight budget, this combination approach is fantastic! Start with an affordable steel fire ring (you can find them for $30-50 online or at farm supply stores), then dress it up with decorative stones or river rocks around the outside. The contrast between the sleek metal and natural stone creates such a beautiful focal point in your yard!
I chose this option for our front yard area because I wanted something that looked polished when guests come over, but I didn’t want to spend a fortune. The steel ring contains the fire safely and will last for years, while the decorative stone surround makes it look like we hired a professional landscaper. Spoiler alert: we definitely did not, and I’m so proud of how it turned out!
Set your steel ring in your desired location, then arrange landscaping fabric around it to prevent weeds. Fill the area around the ring with your choice of decorative stones—lava rock, river stones, or crushed granite all look amazing. Extend the stone area out about 2-3 feet from the fire ring to create a defined space. You can edge it with larger stones or landscape timbers to keep everything contained. Add some outdoor solar lights around the perimeter, and you’ve got yourself a stunning setup that looks way more expensive than it is!
- Cost: $60-120 for ring and decorative stone
- Time to build: 3-5 hours
- Skill level: Easy
- Best for: Polished looks that impress guests
Creating Your Perfect Budget-Friendly Fire Pit
The best thing about fire pit ideas backyard on a budget is that you truly can create something wonderful without spending a fortune! Whether you choose a simple stone ring or get creative with repurposed materials, the memories you’ll make around your fire pit are priceless. Our fire pit has become the heart of our backyard, where we roast marshmallows, tell stories, and occasionally just sit in peaceful silence (when all three boys are miraculously calm at once!).
Don’t let a tight budget stop you from creating that cozy outdoor gathering spot you’ve been dreaming about! Start with whatever option fits your budget and skill level, and remember that you can always upgrade or modify it later. The most important thing is getting started and giving your family that special place to gather together. Trust me, once you have your fire pit set up, you’ll wonder how you ever lived without it!