This post may contain affiliate links. Read the full disclosure here.
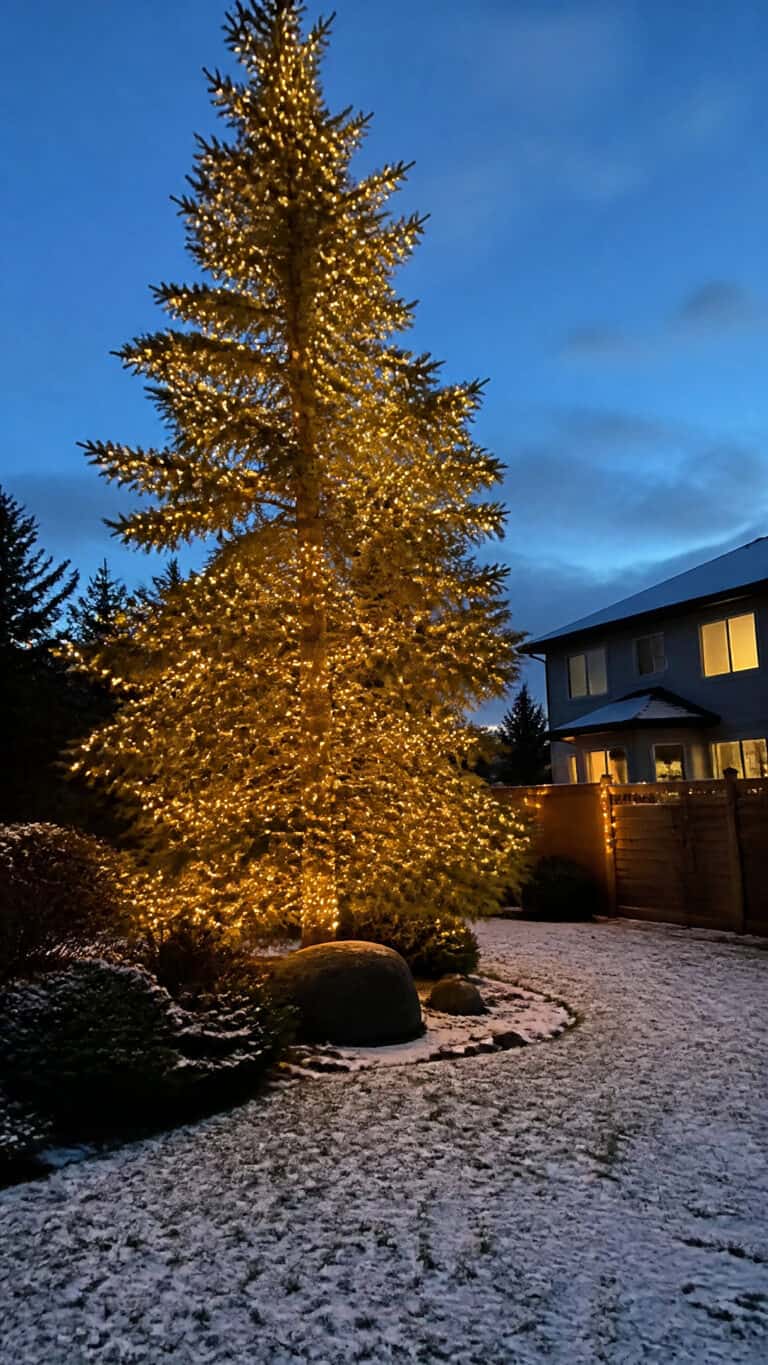
There’s something absolutely magical about stepping into your backyard on a chilly December evening and seeing your trees twinkling with beautiful Christmas lights!
As a mom of three energetic boys, I’ve learned that creating these outdoor displays is not only a fun family project but also a way to make our home feel extra special during the holiday season. Plus, my kids love playing outside in the evenings when the trees are all lit up – it’s like having our own private winter wonderland right in the backyard!
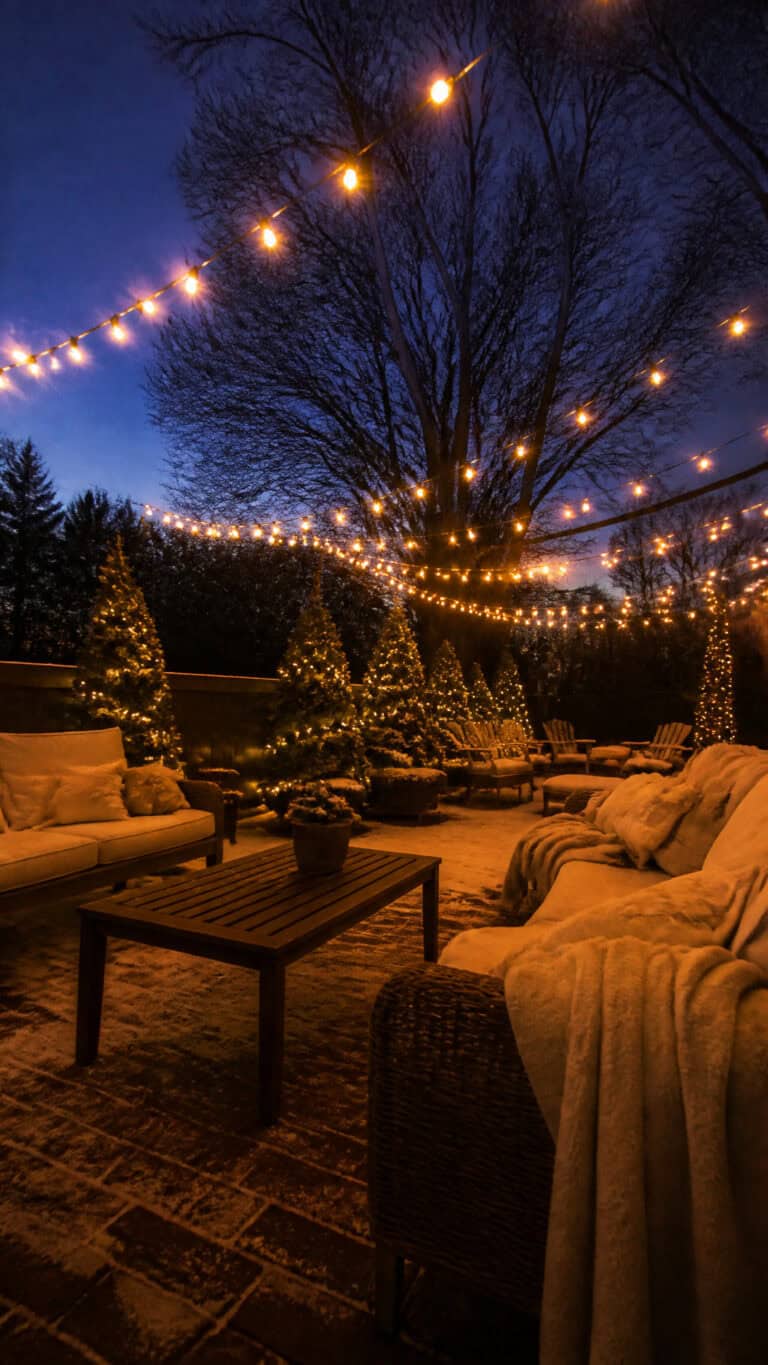
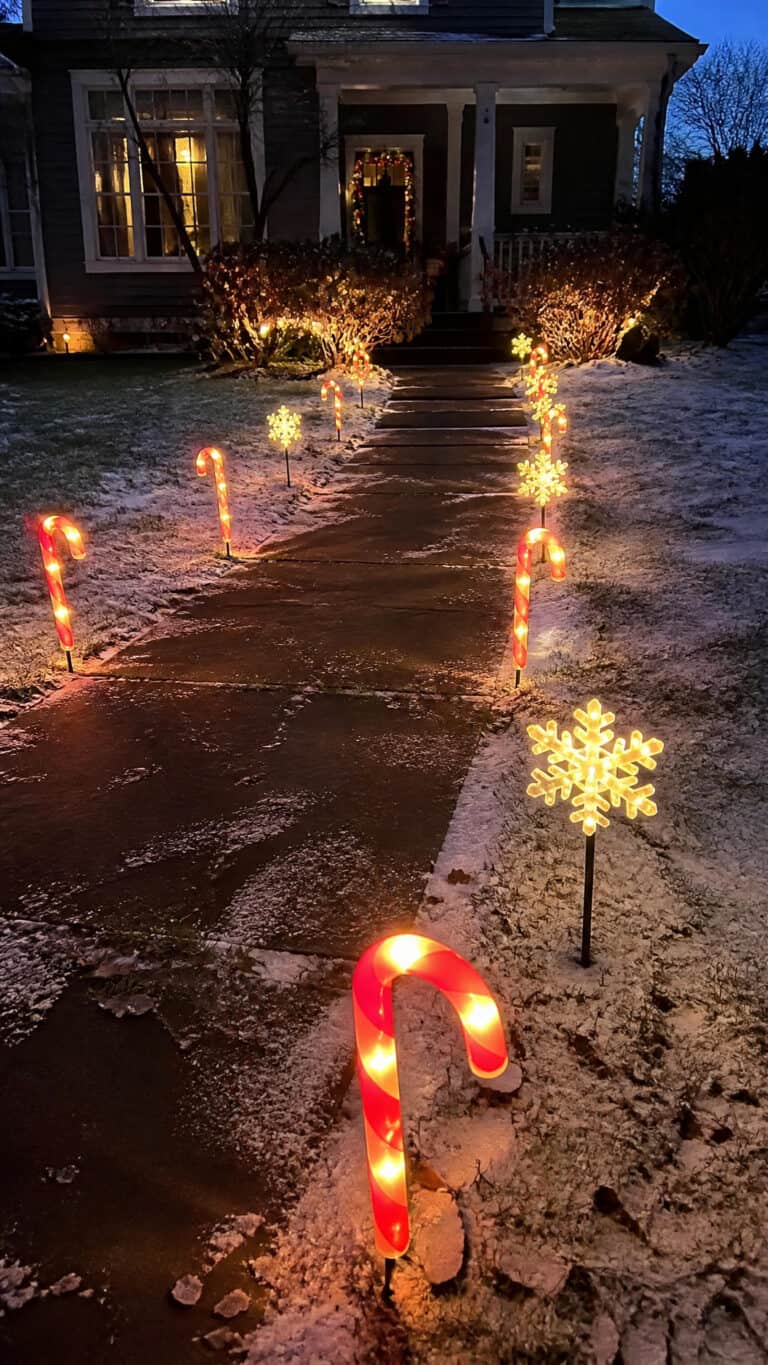
Wrapped trees create an amazing backdrop, and these outdoor Christmas decorating ideas will help make the patio itself feel just as festive!
Wrapping trees with Christmas lights might seem intimidating at first, but I promise it’s totally doable! Whether you’re working with small ornamental trees or towering oaks, the process is pretty straightforward once you know the basics. I’ve spent years perfecting my technique (and untangling countless strands of lights while the boys “helped”), and I’m excited to share everything I’ve learned with you!
Choosing the Right Lights for Your Outdoor Trees
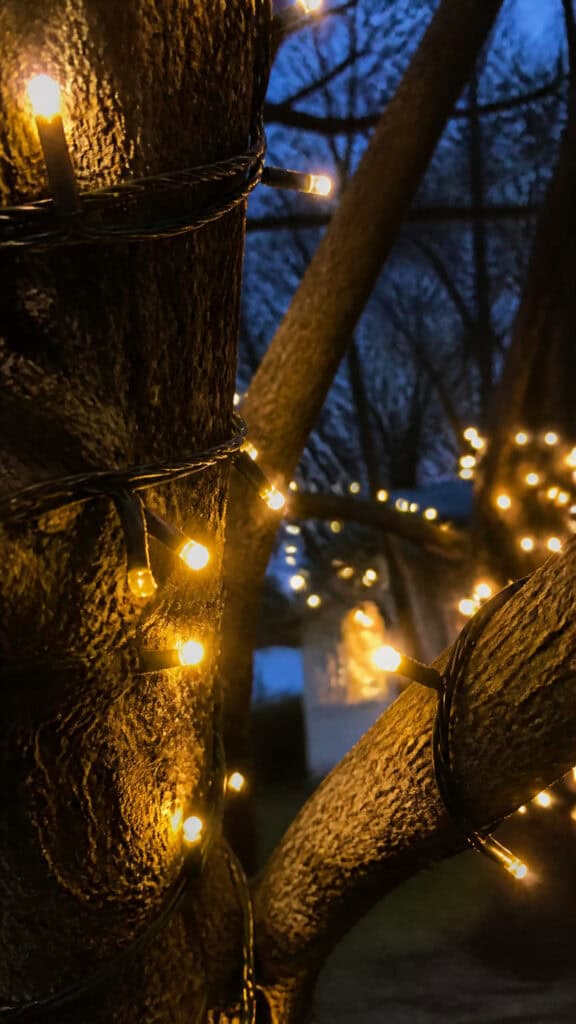

The first step in creating a stunning display is selecting the right christmas lights outdoor trees can handle! Not all lights are created equal, and using indoor lights outside is a recipe for disaster. Trust me, I learned this the hard way my first year when half my lights stopped working after one rainstorm!
Look for lights specifically labeled for outdoor use – they’re designed to withstand moisture, temperature changes, and UV exposure. LED lights are my absolute favorite because they use way less energy (hello, lower electric bill!), stay cool to the touch, and last for years. I’ve had some of the same LED strands for five years now, and they’re still going strong!
Here are the main types of outdoor lights to consider:
- Mini lights: These classic tiny bulbs are perfect for wrapping around branches and creating a delicate, twinkling effect
- C7 or C9 bulbs: Larger, more traditional bulbs that make a bold statement and are visible from farther away
- Net lights: Great for wrapping around bushes or small trees quickly, though they’re less flexible for larger trees
- Icicle lights: These create a cascading effect that looks beautiful draped over branches
- Globe lights: Bigger bulbs that create a festive, party-like atmosphere
Color-wise, you can’t go wrong with classic warm white lights – they’re timeless and elegant! But if you have young kids like me, they might lobby hard for multicolored lights or even color-changing options. My middle son is obsessed with blue lights, so we compromised by doing white lights on most trees and blue on his favorite climbing tree!
When calculating how many strands you’ll need, the general rule is 100 lights per foot of tree height. So for a 6-foot tree, you’d want about 600 lights. But honestly, I always buy more than I think I’ll need because there’s nothing worse than running out of lights when you’re almost done!
Essential Tools and Materials You’ll Need
Before you head outside to start decorating, gather all your supplies! There’s nothing more frustrating than getting halfway up a ladder and realizing you forgot something important. I like to set everything up in the garage first so I can do a quick inventory check!
Here’s my complete list of must-haves:
- Outdoor-rated extension cords: Make sure they’re long enough to reach from your outlet to your trees, and always use outdoor-rated cords!
- Light clips or hooks: These little helpers make securing lights so much easier and protect your tree bark
- Ladder: A sturdy ladder is essential for reaching higher branches – safety first, always!
- Light tester: This handy tool helps you find broken bulbs quickly
- Zip ties or twist ties: Perfect for securing cords and keeping everything tidy
- Outdoor-rated timer: Set it and forget it – your lights will turn on and off automatically!
- GFCI outlet adapter: This provides crucial protection against electrical shocks in wet conditions
- Measuring tape: Helps you estimate how many lights you’ll need
- Work gloves: Protect your hands from rough bark and cold weather
I also recommend having a helper if possible! My husband and I tag-team our tree wrapping while the boys act as “light inspectors” from the ground. They love testing the lights before we hang them and pointing out any spots we missed!
Planning Your Tree Lighting Design

Before you start wrapping, take a few minutes to plan your design! Walking around your yard and really looking at your trees will help you create a cohesive, beautiful display. I like to do this during the daytime when I can see everything clearly and make notes about which trees to light and how!
Consider which trees are most visible from inside your home and from the street. These are your priority trees! Our big maple tree in the front yard gets the full treatment because everyone can see it, while the smaller trees in the back get a simpler wrap since mainly just our family enjoys those!
Think about these design elements:
- Focal points: Choose one or two trees to be your showstoppers with lots of lights, and keep other trees more subtle
- Symmetry: If you have matching trees on either side of your driveway or walkway, light them similarly for a balanced look
- Height variation: Light trees of different heights to create visual interest across your yard
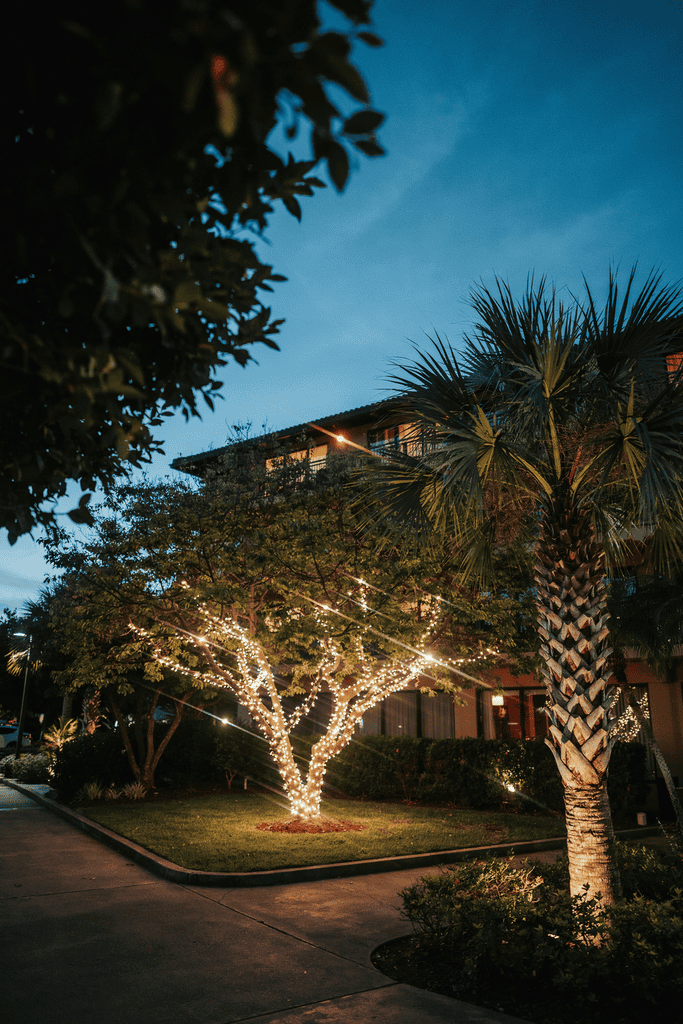
- Pathways: Consider lining walkways with lit trees to create a magical entrance
- Viewing angles: Walk around and look at your trees from different spots to see which sides need more lights
I also recommend taking photos of your trees from various angles before you start. This helps you remember which branches you wanted to highlight and makes it easier to recreate your display next year! Plus, you can compare before and after shots, which is always fun!
One trick I’ve learned is to start with your biggest, most prominent tree first. This sets the tone for your whole display and helps you gauge how many lights you’ll need for the other trees. My boys always vote on which tree should be our “main” tree, and it’s become a fun family tradition!
The Step-by-Step Wrapping Technique
Alright, this is where the magic happens! I’ve tried several different wrapping techniques over the years, and I’ve settled on a method that’s both efficient and creates a gorgeous, professional-looking result. The key is to work systematically and take your time – rushing leads to uneven spacing and tangles!
Start at the base of your tree trunk, about 6 inches from the ground. Secure your first strand of lights using a light clip or by gently tucking the plug end into a branch fork. Never use staples or nails, as these can damage your tree and create safety hazards!
Here’s my proven technique:
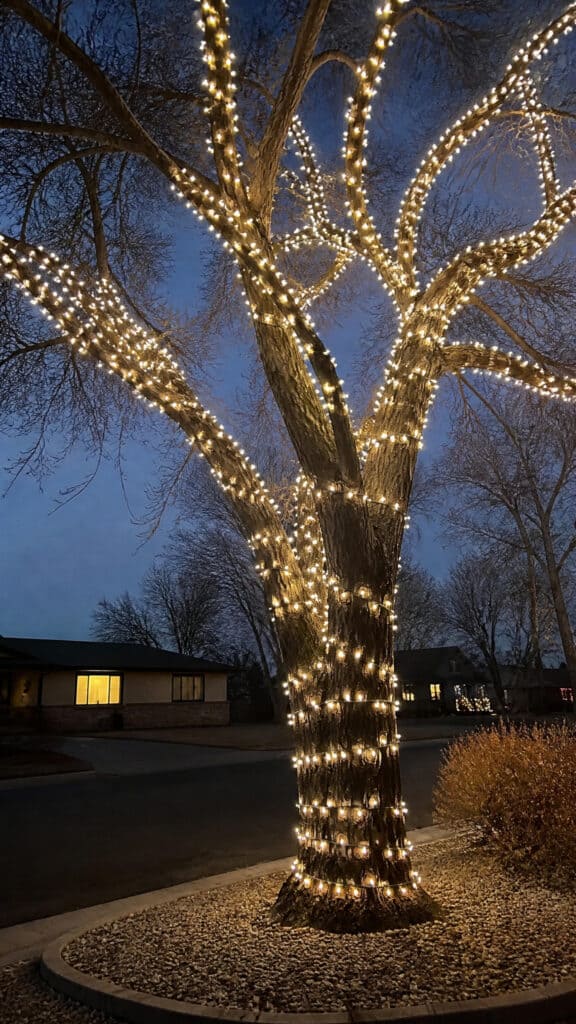
- Wrap the trunk first: Begin by spiraling your lights around the main trunk, working your way up. Keep your wraps about 3-4 inches apart for a nice, full look
- Move to major branches: When you reach the first major branch, continue wrapping out along the branch, then back toward the trunk
- Create a “V” pattern: Wrap out to the end of a branch, then back to where it meets the trunk, creating a V shape with your lights
- Work in sections: Complete one section of the tree before moving to the next to ensure even coverage
- Connect strands strategically: Plan your connections so they happen near the trunk where they’re less visible
- Step back frequently: Take breaks to view your progress from a distance and check for gaps
For the trunk, I like to wrap fairly tightly, keeping the lights close to the bark. But on branches, I let the lights drape a bit more naturally. This creates depth and makes the tree look fuller! My youngest son calls it “making the tree fluffy with lights,” which is actually a pretty accurate description!
One important tip: always work from the bottom up and from the inside out. This way, your extension cord connections are closer to the ground and the trunk, making them less visible and easier to access if you need to troubleshoot!
If you’re working with a really tall tree, don’t feel like you need to light the entire thing! Focus on the lower two-thirds where the lights will be most visible and impactful. Nobody’s going to notice if the tippy-top isn’t wrapped, I promise!
Safety Tips for Outdoor Christmas Lighting
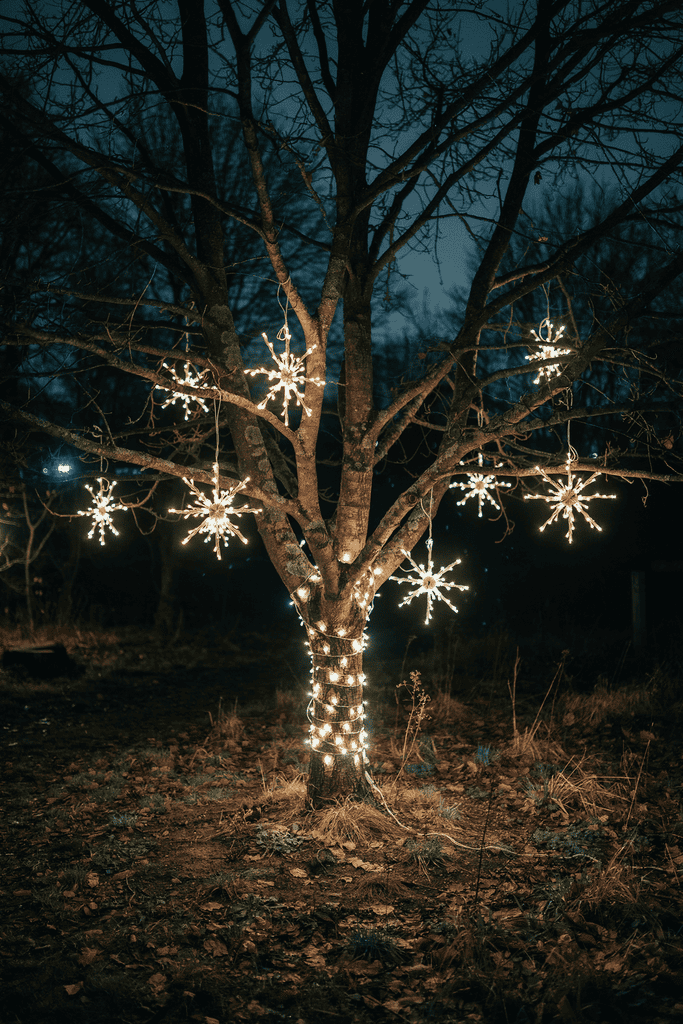
Safety is absolutely non-negotiable when working with electricity outdoors! As a mom, I’m hyperaware of potential hazards, especially with three curious boys who love to “help” with everything. Taking proper safety precautions ensures your display is not only beautiful but also safe for your family and neighbors!
First and foremost, always check your lights before hanging them! Spread them out on the ground, plug them in, and look for any damaged wires, broken bulbs, or flickering sections. If a strand is damaged, throw it away – it’s not worth the risk to try to repair it. I make this a fun activity with my boys; they love being the “light inspectors” and calling out when they spot a broken bulb!
Essential safety guidelines include:
- Use GFCI outlets: These special outlets shut off power if they detect moisture or electrical issues
- Don’t overload circuits: Check the maximum wattage for your strands and never exceed what your outlet can handle
- Keep connections off the ground: Elevate cord connections to prevent them from sitting in puddles or snow
- Secure your ladder properly: Always have someone spot you, and never overreach while on the ladder
- Check weather conditions: Never install lights in wet, icy, or windy conditions
- Turn off lights when away: Use a timer so lights aren’t on when you’re not home
- Inspect regularly: Walk around your display weekly to check for any issues
- Use proper clips: Never use staples, nails, or tacks that could damage wires
I also recommend installing your lights on a mild, dry day when you can work comfortably and safely. Trust me, trying to hang lights when it’s freezing and windy is miserable! Plus, your fingers work better when they’re not numb, which makes the whole process faster!
Keep a fire extinguisher rated for electrical fires nearby, and make sure everyone in your family knows where it is. It’s also smart to let your neighbors know you’re installing lights in case they notice anything unusual. Our neighbor actually spotted a loose connection on one of our trees last year and let us know before it became a problem!
Troubleshooting Common Problems
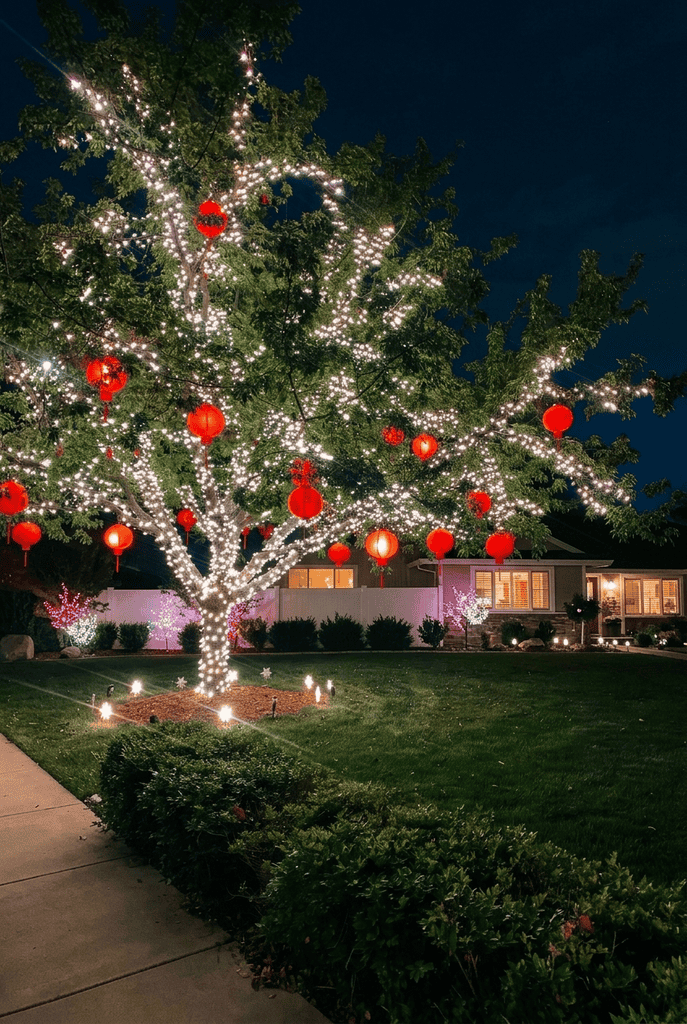
Even with the best planning, things can go wrong with outdoor lighting! I’ve dealt with just about every issue imaginable over the years, from entire strands going dark to mysterious flickering that drives me crazy. The good news is that most problems are pretty easy to fix once you know what to look for!
The most common issue I encounter is a strand that suddenly stops working. Before you assume the whole thing is dead, check for a single bad bulb! With many light strands, one bad bulb can cause the entire strand to go dark. Use a light tester to identify the culprit, or if you don’t have one, try replacing bulbs one section at a time until you find the problem!
Here are solutions to frequent problems:
- Lights won’t turn on: Check that everything is plugged in securely, test your outlet with another device, and verify your timer is set correctly
- Partial strand outage: Look for a loose or broken bulb, check for damaged wire sections, and ensure all connections are tight and dry
- Flickering lights: This usually means a loose connection somewhere – check every plug point and tighten any loose bulbs
- Lights work initially then fail: Could be moisture in the connections – try sealing connections with electrical tape or using weatherproof connection covers
- GFCI keeps tripping: You might be overloading the circuit or have moisture getting into connections – reduce the number of strands or improve weatherproofing
- Uneven brightness: Some bulbs might be dirty – wipe them down with a dry cloth to restore full brightness
I keep a “light repair kit” in my garage with extra bulbs, fuses, a light tester, electrical tape, and extra clips. This way, when something goes wrong (and it will!), I don’t have to run to the store in the middle of fixing it. My husband jokes that I’m more prepared for light emergencies than actual emergencies!
If you have a section of lights that’s completely dead and you can’t figure out why, sometimes it’s just easier to replace that strand rather than spending hours troubleshooting. Your time is valuable, especially during the busy holiday season!
Maintaining Your Lights Throughout the Season

Getting your lights up is just the beginning! Maintaining them throughout the holiday season ensures they keep looking beautiful and working properly. I do a quick walk-around of our yard once a week to check on everything, usually with my boys tagging along and pointing out any “broken sparkles” they notice!
After heavy storms, snow, or ice, always inspect your lights for damage. Wind can loosen connections, ice can weigh down branches and pull lights loose, and heavy snow can bury ground-level connections. I learned this lesson after a big ice storm our second year – we lost power to three whole trees because connections got buried in snow and filled with water!
Weekly maintenance checklist:
- Walk the perimeter: Look at all your lit trees from different angles to spot any dark sections
- Check connections: Make sure all plugs are secure and connections are dry
- Clear debris: Remove any leaves, twigs, or snow that might be interfering with lights
- Tighten loose clips: Wind can work clips loose over time, so check and retighten as needed
- Test GFCI: Push the test button on your GFCI outlet to ensure it’s still working properly
- Look for animal damage: Squirrels and other critters sometimes chew on wires (yes, really!)
If you live in an area with frequent power outages, consider getting a surge protector for your outdoor lights. Power surges when electricity comes back on can damage your lights, and a surge protector is much cheaper than replacing all your strands!
I also recommend taking photos of your display from the same spots every week. This makes it easy to spot when something has changed or stopped working, and it’s fun to have a record of your display throughout the season. Plus, my kids love comparing the photos and playing “spot the difference” with the weekly pictures!
Enjoy Your Magical Winter Wonderland
Wrapping christmas lights outdoor trees transforms your backyard into an enchanting space that brings joy to your whole family! Yes, it takes some time and effort to get everything set up, but the payoff is absolutely worth it. There’s nothing quite like watching my boys’ faces light up (pun intended!) when we flip the switch for the first time each season. They love playing outside in the evenings when the trees are glowing, and it makes our home feel so festive and special!
Remember, your display doesn’t have to be perfect or elaborate to be beautiful! Start with one or two trees this year, master the technique, and add more next year if you want. The most important thing is creating memories with your family and enjoying the magic of the season. Now grab those lights, bundle up, and get out there – your winter wonderland awaits!