This post may contain affiliate links. Read the full disclosure here.
Fall is absolutely my favorite time of year to decorate outside! There’s something so magical about transforming our yard into a cozy autumn wonderland that makes me smile every time I pull into the driveway!!
With three energetic boys constantly running in and out, I’ve learned that the best decorations are the ones we can make together—and ones that can survive a rogue soccer ball or two!
Creating DIY fall yard decor doesn’t have to be complicated or expensive, and honestly, some of my favorite pieces have been the simplest ones. Whether you’re working with a sprawling front yard or a small porch space, these projects will help you capture that warm, inviting fall feeling without breaking the bank. Plus, getting the kids involved makes it even more special!
Painted Pumpkin Displays That Pop
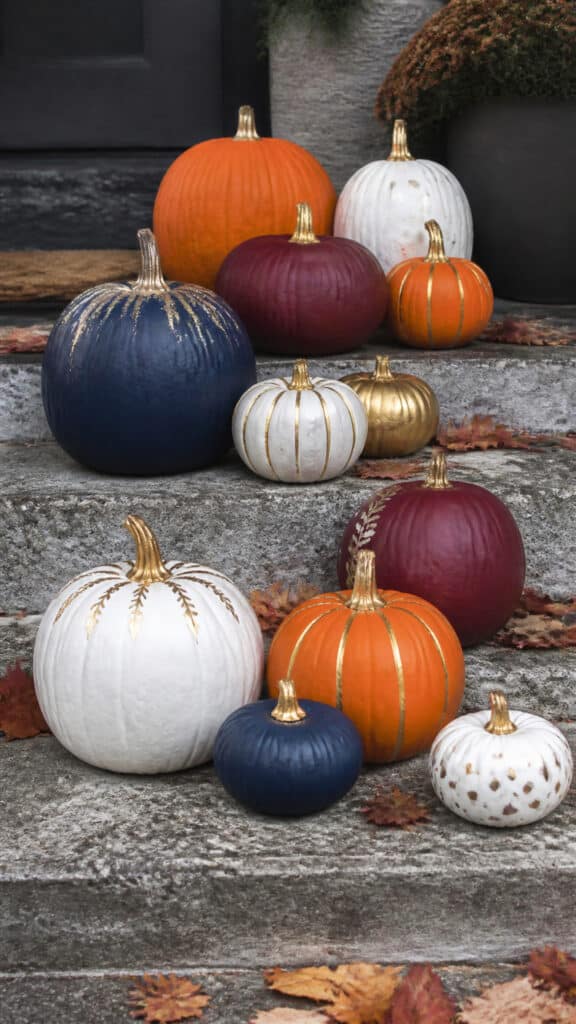
Let me tell you, painted pumpkins have been a game-changer for our fall decorating! Instead of carving pumpkins that only last a few days, we paint them and they stay gorgeous all season long. I grab a variety of sizes from the pumpkin patch—small, medium, and those giant ones that my boys insist on rolling across the yard—and we create a whole painted pumpkin family!
The beauty of this DIY fall yard decor project is that you can match any color scheme you want. I love using chalk paint because it sticks perfectly to the pumpkin surface and gives that gorgeous matte finish. White pumpkins with gold accents look so elegant, while bright oranges and deep burgundies give that traditional fall vibe. My middle son went wild with navy blue last year, and honestly, it looked amazing!
Here’s my simple process for painted pumpkin perfection:
- Clean your pumpkins with a damp cloth and let them dry completely
- Apply a base coat of acrylic or chalk paint using a foam brush
- Let it dry for about an hour, then add a second coat if needed
- Get creative with patterns like polka dots, stripes, or chevron designs
- Seal everything with a clear acrylic sealer to protect from weather
- Arrange them on your porch steps, along walkways, or in garden beds
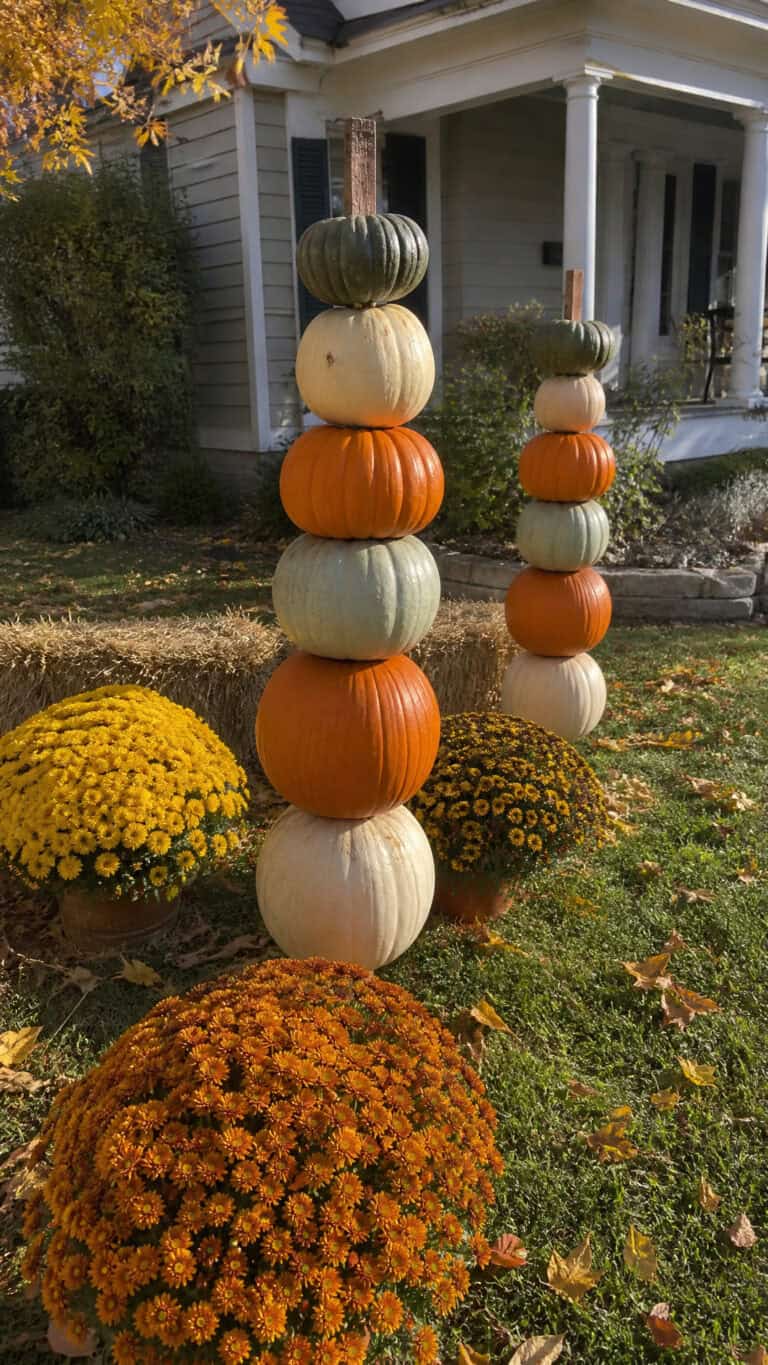
I also love stacking different sized painted pumpkins to create height and visual interest. Sometimes I’ll add a real stem back on top using hot glue, or even spray paint the existing stems gold for extra pizzazz. The boys think it’s hilarious to give each pumpkin a face using paint instead of carving, and these definitely hold up better when they’re playing tag around them!
Rustic Corn Stalk and Hay Bale Arrangements
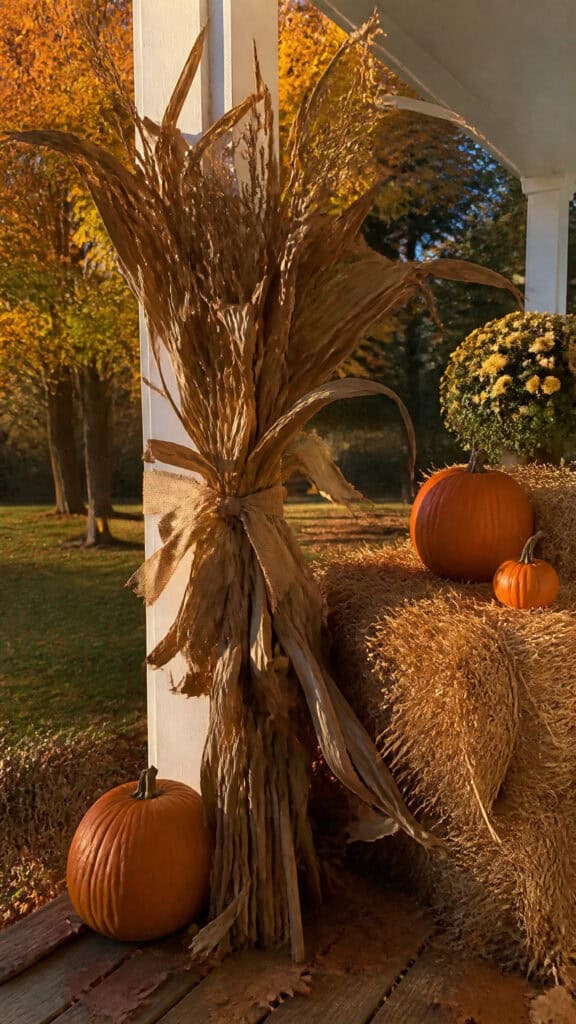
Nothing says fall quite like corn stalks and hay bales! I absolutely love how these instantly make any yard feel like a cozy harvest celebration. The best part? They’re super affordable and you can find them at most garden centers or farm stands. I usually grab a few bundles of corn stalks and a couple of hay bales, and suddenly our yard looks like something out of a fall magazine!
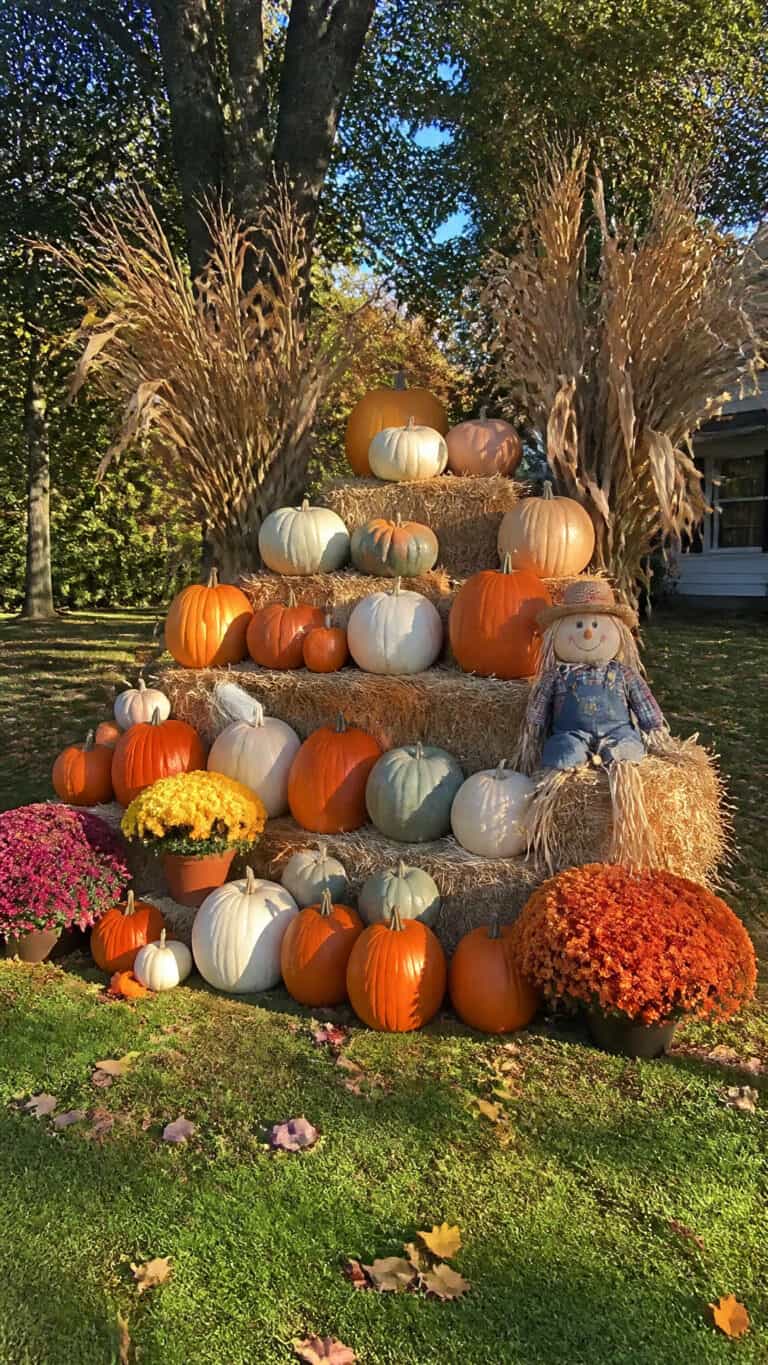
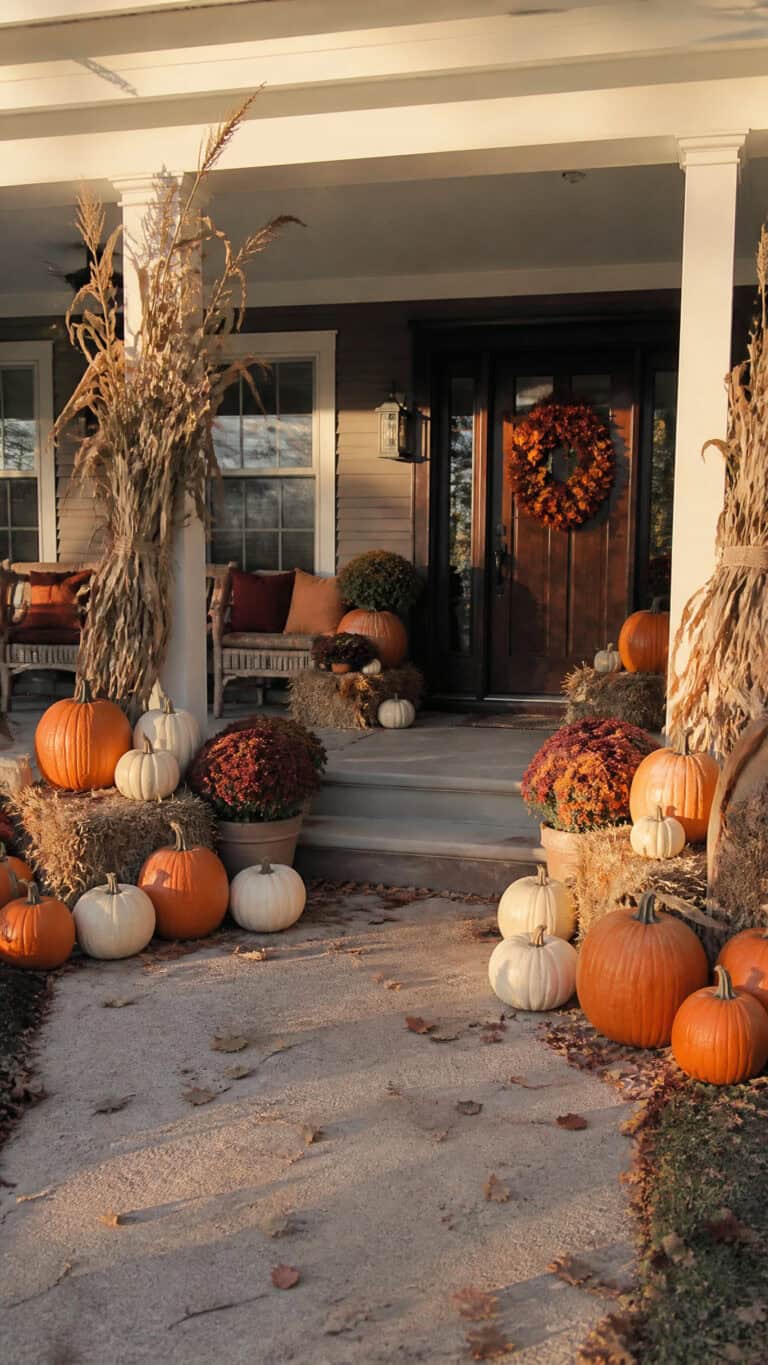
For a classic look, I tie corn stalks together with twine or burlap ribbon and lean them against porch posts or fence posts. You can also create a focal point by placing a hay bale or two near your front door and topping them with pumpkins, mums, and lanterns. My boys love climbing on the hay bales (of course they do!), so I make sure they’re stable and positioned where it’s safe for them to play.
Here are some of my favorite ways to style this DIY fall yard decor:
- Flank your front door with matching corn stalk bundles on each side
- Create a cozy seating area using hay bales as benches
- Add a scarecrow sitting on a hay bale for extra charm
- Tuck small pumpkins and gourds around the base of corn stalks
- Wrap corn stalk bundles with plaid ribbon or burlap for texture
- Position hay bales at different heights to create dimension
One thing I’ve learned is to place hay bales on a tarp or plastic sheet if you want to keep them from getting too messy on your porch. They can shed quite a bit, but honestly, it just adds to that authentic farm feel! The corn stalks last surprisingly long too—usually the entire season if you keep them in a somewhat sheltered spot.
Charming Fall Wreath Alternatives for Your Yard
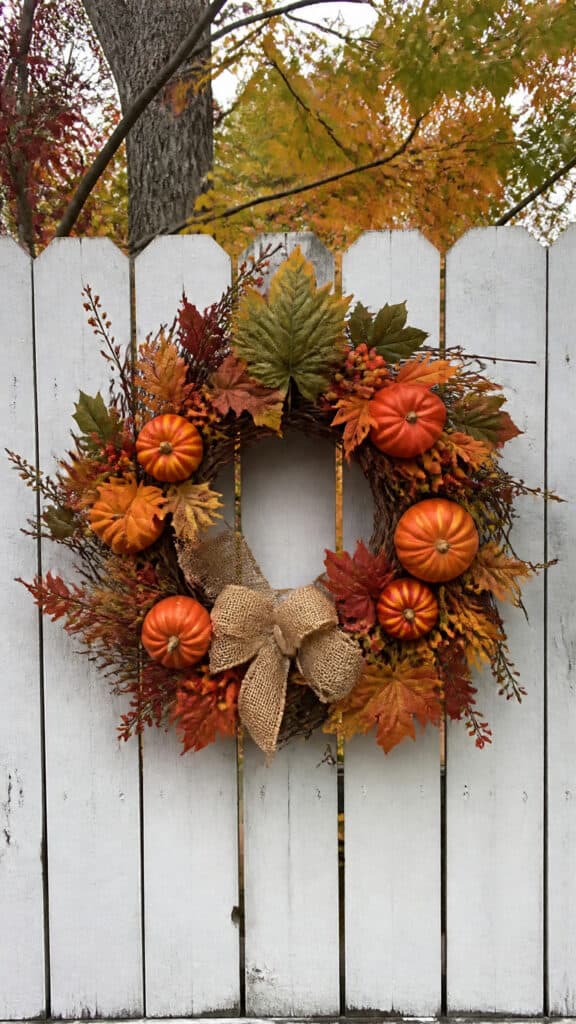
While door wreaths are beautiful, I’ve started creating larger wreath-inspired pieces that work perfectly in the yard! These oversized decorations make such a statement and are easier to make than you’d think. My favorite is using grapevine wreaths as a base—you can find huge ones at craft stores, and they’re sturdy enough to handle outdoor conditions.
I love decorating these big wreaths with all sorts of fall goodies! Faux fall leaves, berries, small pumpkins, and even pine cones hot-glued onto the wreath create an amazing texture. Then I’ll hang it on our fence, the side of our shed, or even lay it flat on a table with a lantern in the center. The possibilities are endless, and the boys love helping me arrange everything before I glue it down.
Try these creative wreath ideas for your outdoor space:
- Hang an oversized wreath on your fence as a focal point
- Create a wreath using colorful fall leaves and berries
- Add a burlap bow at the bottom for a farmhouse touch
- Use wheat stalks and dried flowers for a natural look
- Attach small battery-operated fairy lights for evening ambiance
- Make multiple smaller wreaths to hang on fence posts in a row
Another fun twist is creating a hoop wreath using an embroidery hoop or hula hoop! I wrap it with burlap or fall fabric, then attach eucalyptus, fall florals, and a cute saying on wood or fabric. These look adorable hanging from tree branches or shepherd’s hooks in the yard. Plus, they’re lightweight enough that they won’t get damaged if the wind picks up during one of the boys’ outdoor adventures!
Creative Lantern and Luminaries for Ambient Lighting
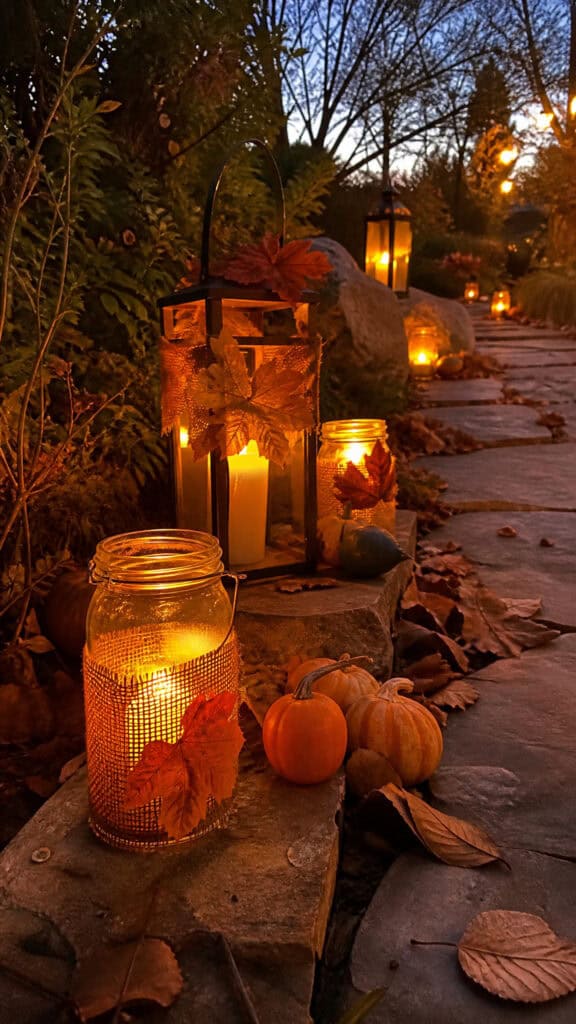
Once the sun sets and the boys are finally winding down, there’s nothing I love more than sitting outside with ambient fall lighting! DIY lanterns and luminaries create the coziest atmosphere and they’re so simple to make. I use a mix of real lanterns filled with candles (LED ones for safety!) and homemade luminaries that line our walkway.
For easy luminaries, I save glass jars throughout the year—mason jars, pasta sauce jars, whatever! Then I wrap them with fall leaves, burlap, or even paint them in fall colors. Drop in a battery-operated tea light, and you’ve got instant magic. I line these along our front walkway, and it looks absolutely enchanting when we come home in the evening!
Here’s how to create stunning fall lighting for your DIY fall yard decor:
- Fill large lanterns with mini pumpkins, gourds, and LED candles
- Create tin can luminaries by punching holes in fall patterns
- Wrap mason jars with twine and attach small fall leaf cutouts
- Use paper bags with fall cutouts as traditional luminaries
- Place lanterns on hay bales or porch steps for layered lighting
- Hang lanterns from shepherd’s hooks along your walkway
I also love using those big metal lanterns you can find at home goods stores! I’ll fill the bottom with acorns, mini pumpkins, or fall berries, then place a large pillar candle (LED, because safety first with three boys around!) in the center. These look gorgeous on either side of the front door or scattered throughout the yard. The soft glow makes everything feel so warm and inviting!
Adorable Scarecrow and Garden Stake Decorations
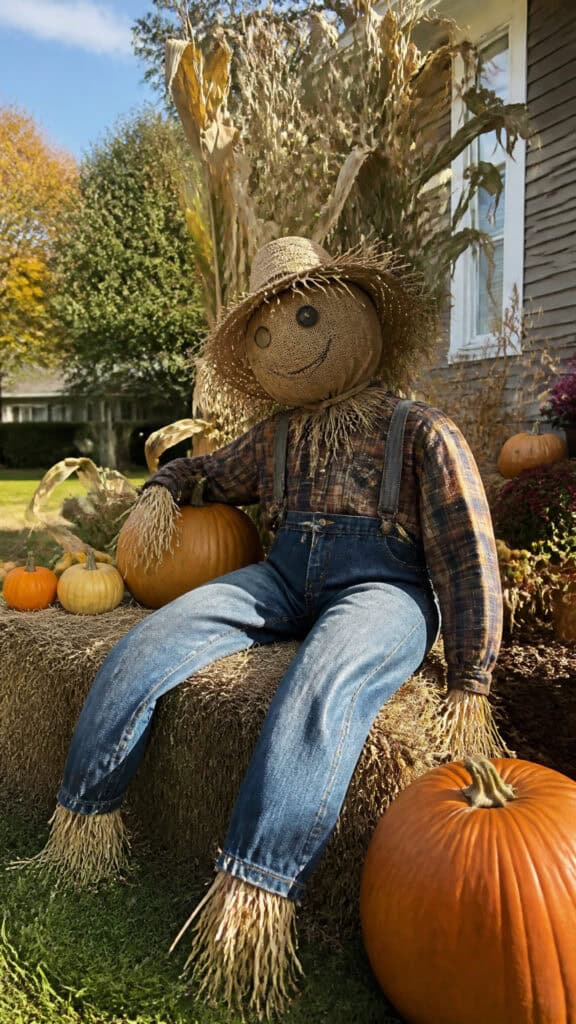
My boys absolutely go crazy for scarecrows! There’s something so fun and whimsical about them that makes fall decorating extra special. You can buy pre-made scarecrows, but making your own is so much more rewarding (and budget-friendly!). We’ve made everything from traditional scarecrows to funny ones with silly faces that make us laugh every time we see them.
The easiest scarecrow method I’ve found is using old clothes stuffed with straw or plastic bags, then adding a pumpkin or burlap sack head. I let the boys pick out the outfit from our donation pile—last year’s scarecrow wore my youngest son’s old flannel shirt and some jeans with patches! We prop our scarecrow on a hay bale or wooden stake, and he becomes the star of our fall display.
Make your own charming scarecrow with these tips:
- Use a wooden stake or PVC pipe as the frame
- Stuff old clothes with straw, leaves, or plastic bags
- Create a head using a burlap sack stuffed and tied with twine
- Draw a face with permanent markers or use buttons for eyes
- Add a straw hat, bandana, or other accessories for personality
- Position your scarecrow in a garden bed or sitting on hay bales
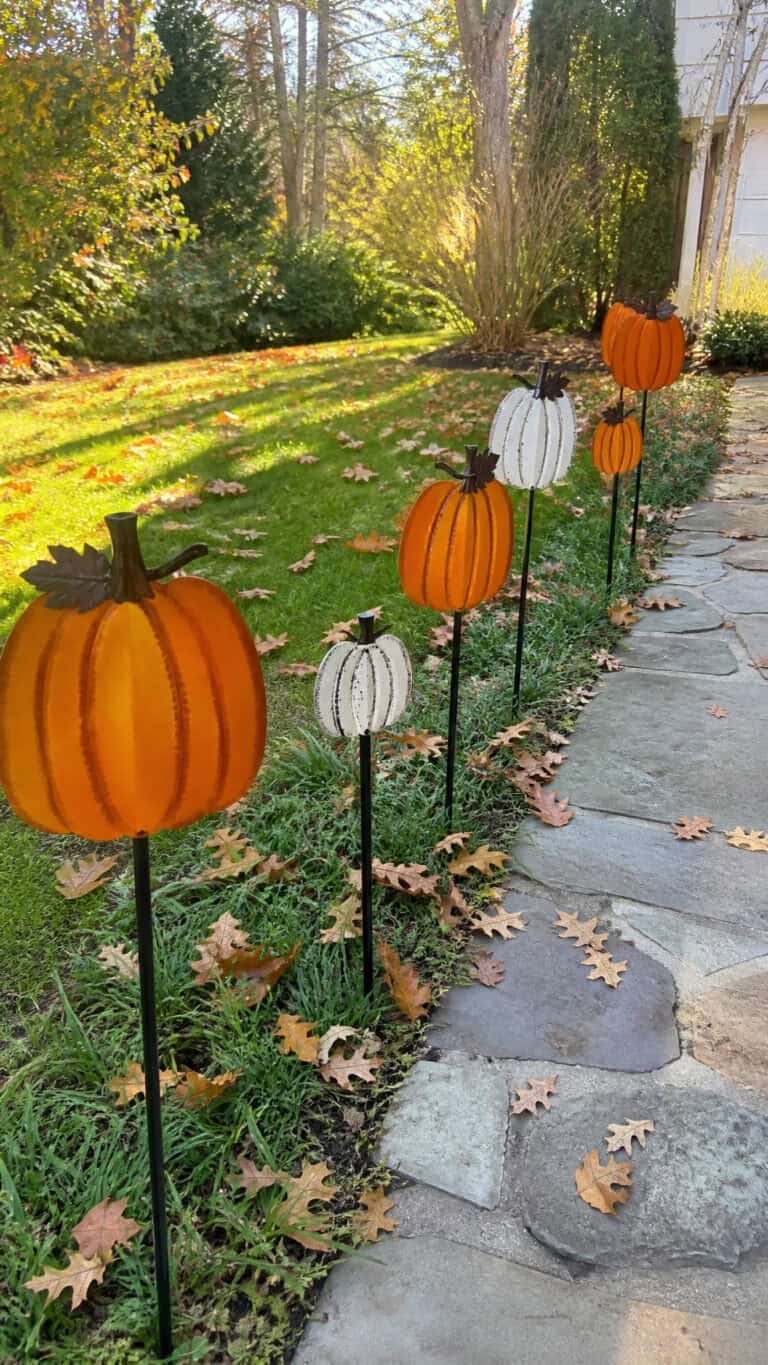
Garden stakes are another super easy addition to your DIY fall yard decor! I paint wooden stakes with fall sayings like “Harvest Blessings” or “Hello Fall” and stick them in planters or garden beds. You can also cut fall shapes—pumpkins, leaves, acorns—from wood and paint them in bright colors. The boys love helping paint these, and honestly, their artistic touches make them even more special!
Natural Element Displays with Mums and Pumpkins
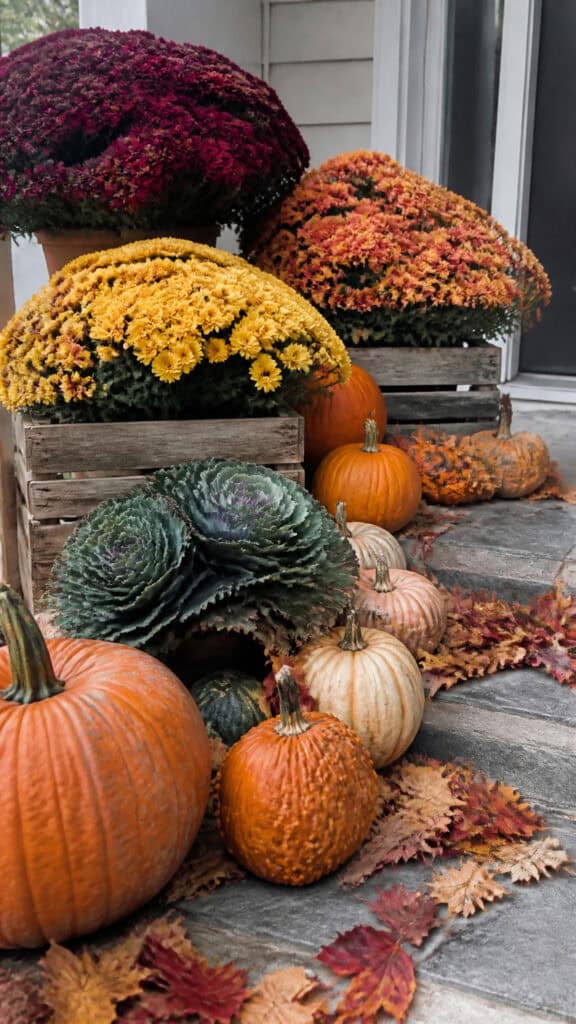
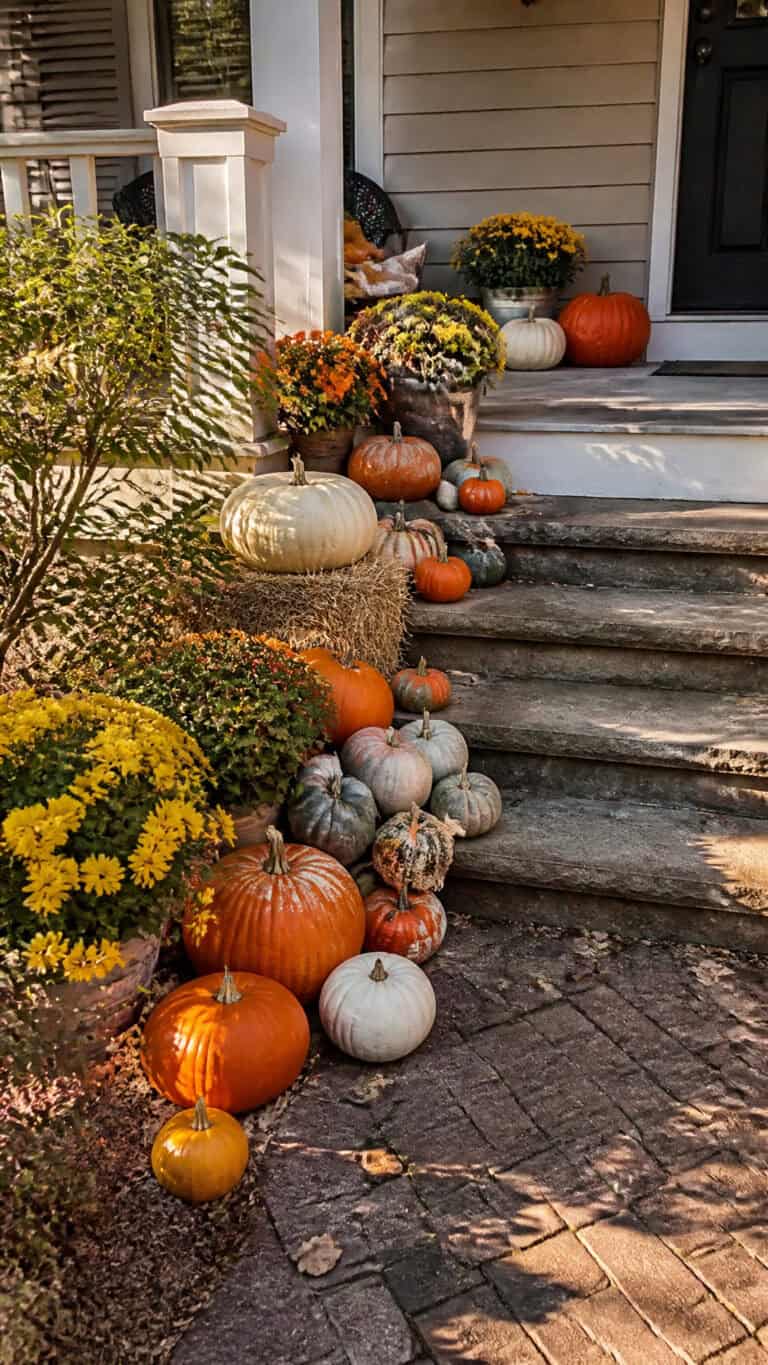
Okay, can we talk about how mums are basically the MVP of fall decorating? I load up on these beauties every September because they’re affordable, colorful, and they last forever! Combining mums with pumpkins creates such a lush, abundant look that makes your yard feel like a fall paradise. Plus, they’re pretty forgiving even when my boys accidentally kick a soccer ball into them!
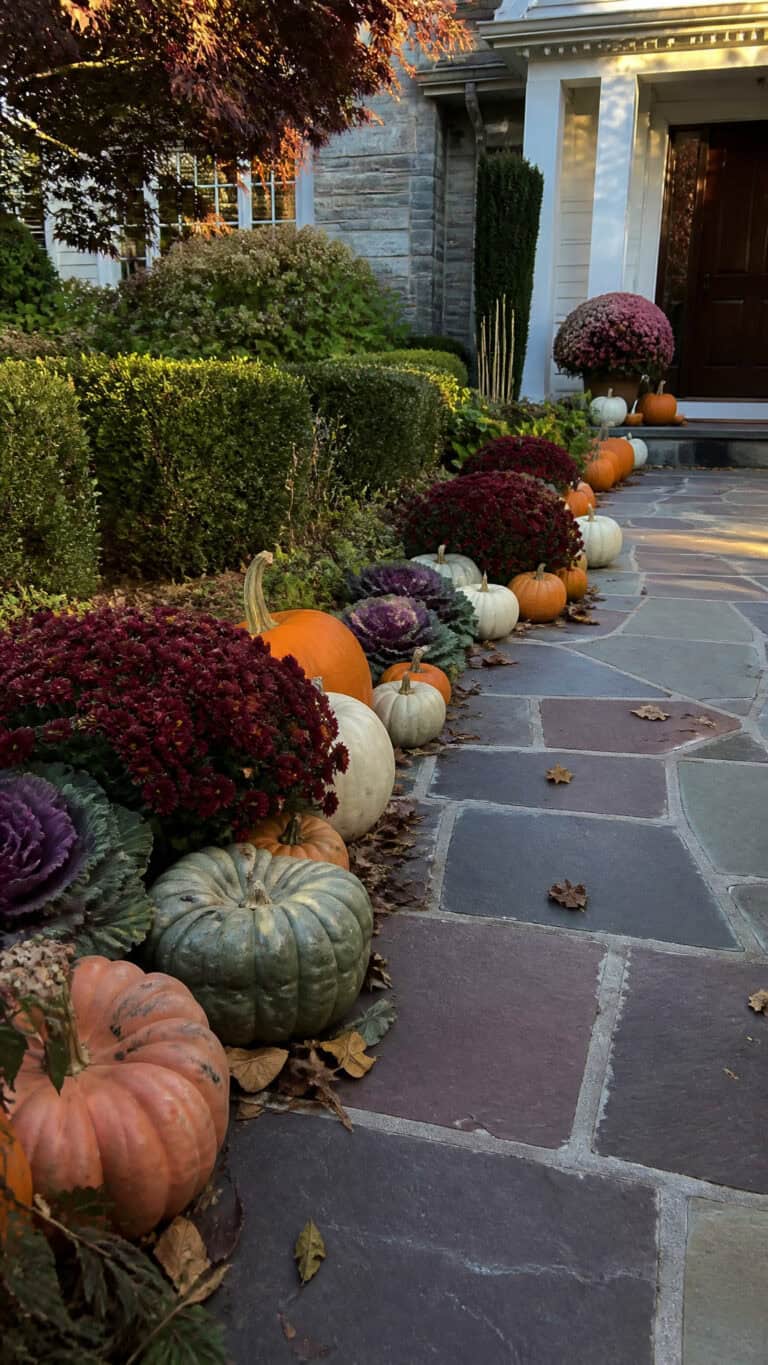
I love creating layered displays using different heights and textures. I’ll place larger pumpkins on the ground, then surround them with pots of mums in various fall colors—burgundy, yellow, orange, and those gorgeous deep purple ones. Sometimes I’ll even remove the plastic pots and nestle the mums directly into a wheelbarrow or wooden crate for a more rustic look.
Create stunning natural displays with these ideas:
- Group mums in odd numbers (3, 5, or 7) for visual appeal
- Mix pumpkin sizes and colors throughout your mum arrangements
- Use wooden crates or galvanized buckets as planters
- Add ornamental cabbage and kale for extra texture
- Place arrangements at different levels on porch steps
- Tuck in branches with colorful leaves for height
One of my favorite tricks is to create a “spilled” display! I’ll lay a bushel basket on its side and arrange pumpkins, gourds, and mums so they look like they’re tumbling out. It’s such a playful, abundant look that screams fall harvest. I also love adding real branches with colorful leaves from our yard—it’s free, looks amazing, and the boys love collecting the prettiest branches for me!
Whimsical Banner and Garland Projects
Banners and garlands are my secret weapon for tying everything together in our fall yard! They add movement, color, and that finishing touch that makes everything look intentional. I’ve made banners from burlap, felt, and even painted wood pieces, and they all turn out adorable. The best part? The boys can help with almost every step!
For a simple burlap banner, I cut triangles from burlap fabric, paint fall words or images on them, and string them together with twine. These look perfect hanging across the porch railing, between posts, or even along the fence. Felt leaf garlands are another favorite—I cut leaf shapes from felt in various fall colors, string them on fishing line, and drape them wherever I need a pop of color.
Try these banner and garland ideas for your outdoor space:
- Create a “Give Thanks” or “Happy Fall” burlap banner
- String together real or faux fall leaves with fishing line
- Make a pom-pom garland in fall colors (so fun with kids!)
- Paint wooden circles with fall images and string them together
- Use fabric scraps to create a rustic rag garland
- Hang garlands from porch ceilings, railings, or fence posts
I also love making corn husk garlands! You can buy dried corn husks at the grocery store (they’re in the Mexican food section), and they create such a beautiful natural texture. I just tie them together with twine and let them drape naturally. These look especially gorgeous mixed with orange and yellow mums. My youngest son calls them “fancy decorations,” which makes my mama heart so happy!
Bringing It All Together
Creating DIY fall yard decor has become one of our favorite family traditions! Not only does it make our home feel warm and inviting, but the memories we make while crafting together are priceless. My boys might not remember every detail of our fall decorations, but they’ll remember painting pumpkins with Mom and building scarecrows that made everyone smile.
The best thing about these projects is that you can start small and add more each year as your collection grows! Whether you’re working with a tight budget or just love the satisfaction of making things yourself, these ideas will help you create a cozy outdoor space that celebrates everything we love about fall. Now grab those pumpkins and let’s get decorating!