This post may contain affiliate links. Read the full disclosure here.
Creating a beautiful garden feels like such a dream when you’re juggling three little boys who seem to find every mud puddle and trample through every plant! But here’s the thing—with the right flower bed designs layout, you can have a gorgeous outdoor space that’s both stunning and surprisingly resilient to the chaos of family life.
A balanced garden isn’t about perfection or spending hours on maintenance. It’s about smart planning, choosing the right layouts, and creating flower beds that work with your lifestyle instead of against it! Let me share some amazing layout ideas that have transformed my own yard into a space I actually love spending time in.
Understanding the Basics of Balanced Flower Bed Design
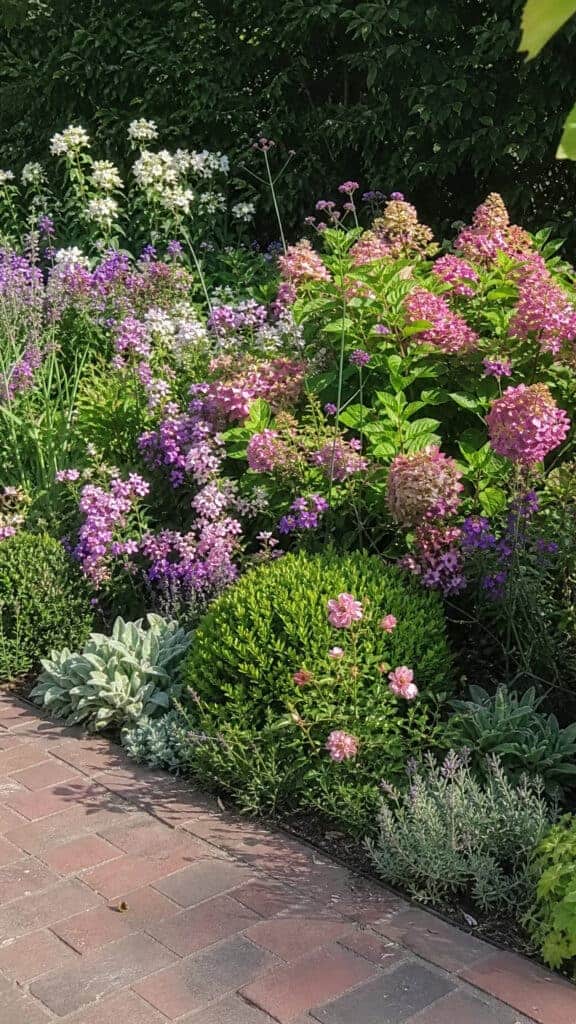

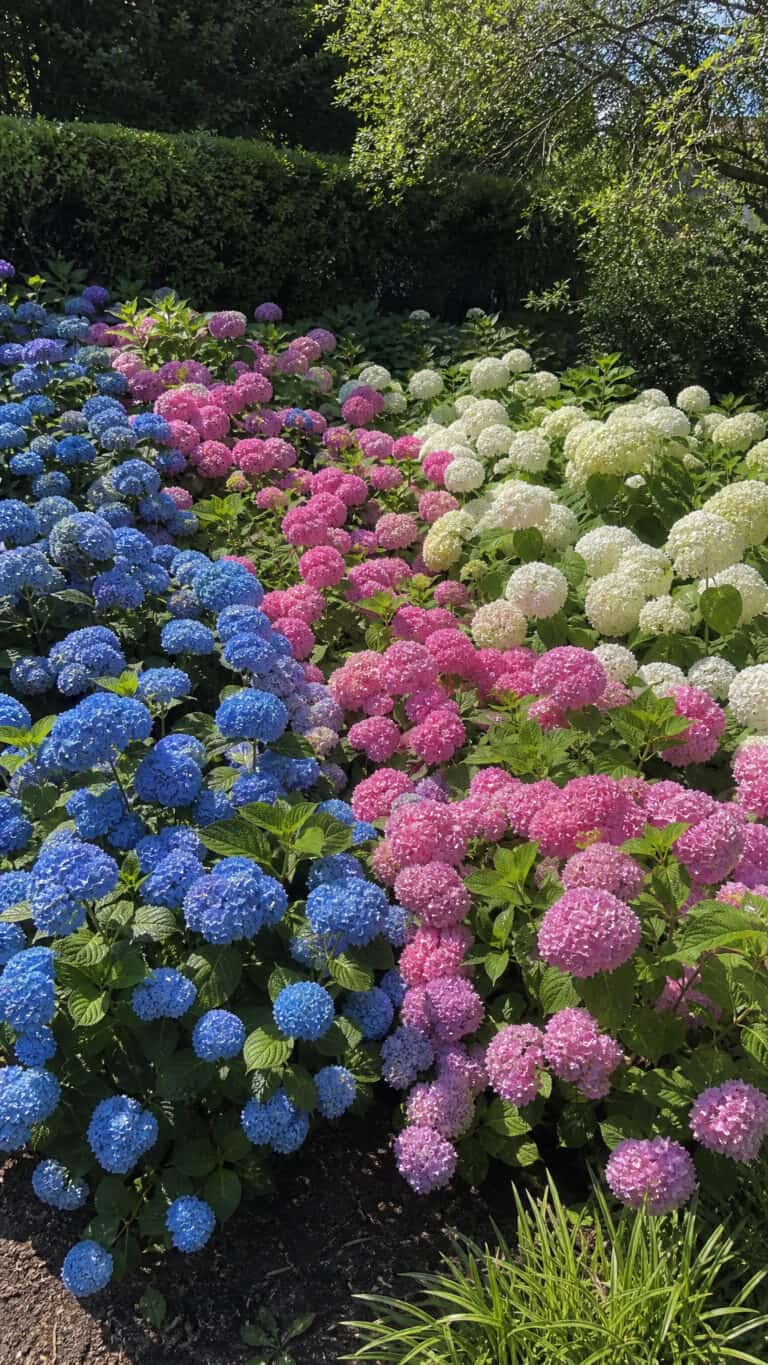
Before diving into specific layouts, it’s important to understand what makes a flower bed design truly balanced! A balanced garden creates visual harmony through thoughtful placement of plants, colors, and heights. Think of it like arranging furniture in your living room—you wouldn’t put all the tall pieces on one side, right?
The key principles include using odd numbers of plants (groups of three or five look more natural!), varying heights from front to back, and creating repetition throughout your garden. When I first started planning my flower beds, I made the mistake of buying one of everything I liked, and it looked like a chaotic jumble! Now I repeat certain plants throughout different beds to create cohesion.
Color balance is equally important in your flower bed designs layout. You can go monochromatic for a sophisticated look, complementary for bold contrast, or analogous (colors next to each other on the color wheel) for a harmonious feel. I tend to stick with a color scheme of purples, pinks, and whites because it feels calm and doesn’t overwhelm our already-colorful yard full of toys!
Don’t forget about texture and foliage! Flowers come and go, but interesting leaves provide structure all season long. Mixing plants with different leaf shapes and sizes adds depth and keeps your beds looking full even when nothing’s blooming. This has been a game-changer for me during those weeks when I’m too busy breaking up fights to deadhead flowers!
Border Flower Bed Layouts That Frame Your Space
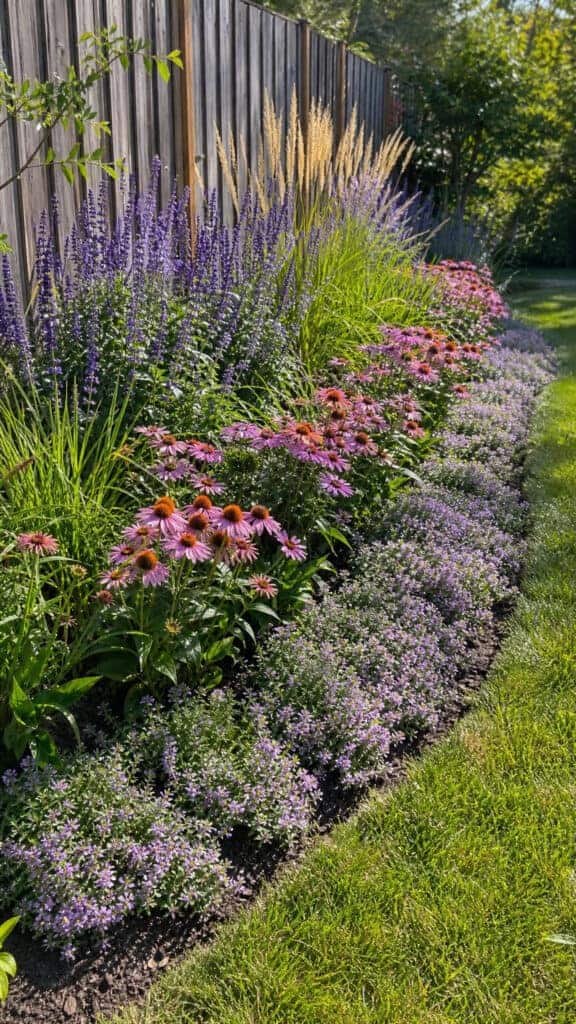
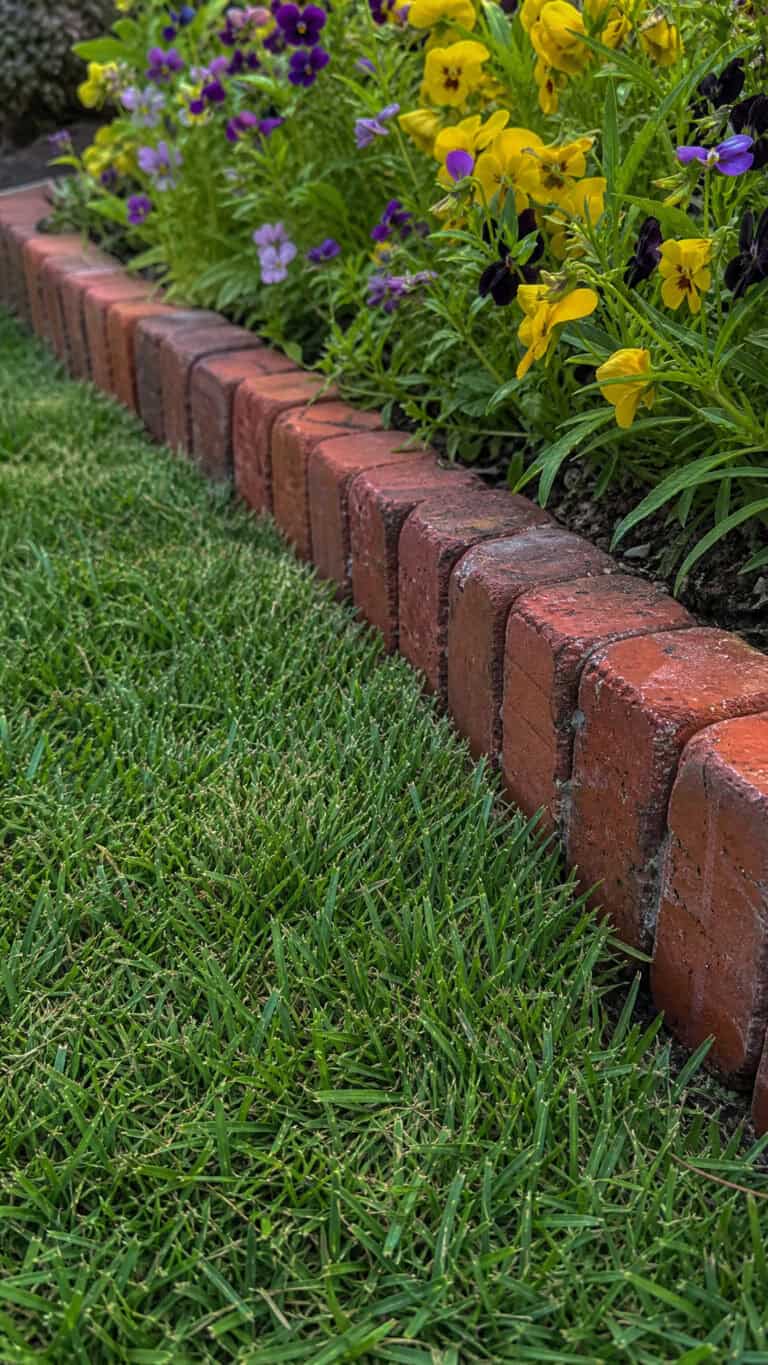
Border flower beds are absolutely perfect for defining spaces in your yard! These run along fences, walkways, or property lines and create beautiful frames that make everything look more intentional. I have borders along our back fence, and they’ve completely transformed what used to be a boring wooden barrier into a stunning backdrop!
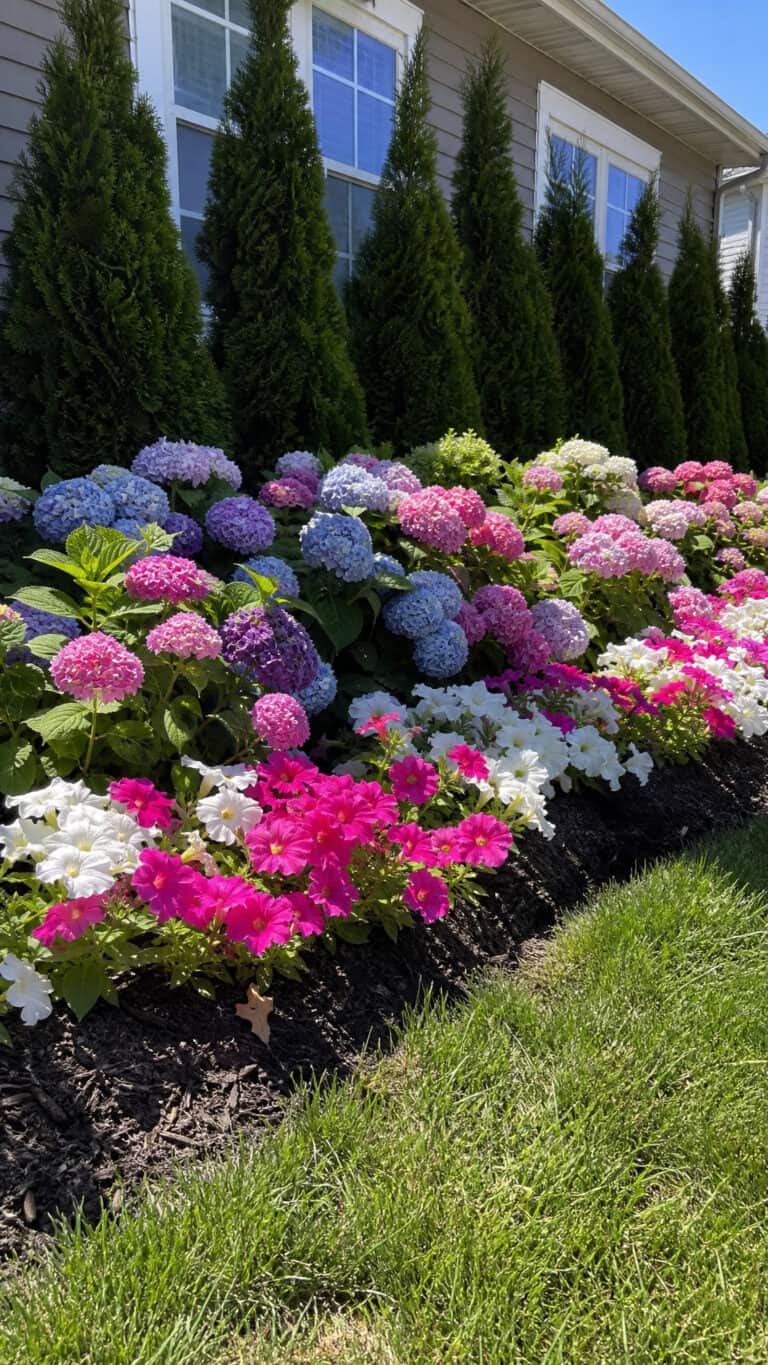
For a classic border layout, plant taller flowers and shrubs at the back, medium-height perennials in the middle, and low-growing plants or groundcovers at the front. This creates that gorgeous layered effect you see in magazine photos! I use ornamental grasses and tall salvias in back, coneflowers and black-eyed Susans in the middle, and creeping thyme at the front.
The width of your border matters too! A narrow border (2-3 feet) works great along pathways and keeps maintenance simple, while deeper borders (4-6 feet or more) allow for more dramatic layering and plant variety. With three boys constantly running through the yard, I’ve learned that wider borders give me more buffer zone between the plants I love and the soccer balls that inevitably fly everywhere!
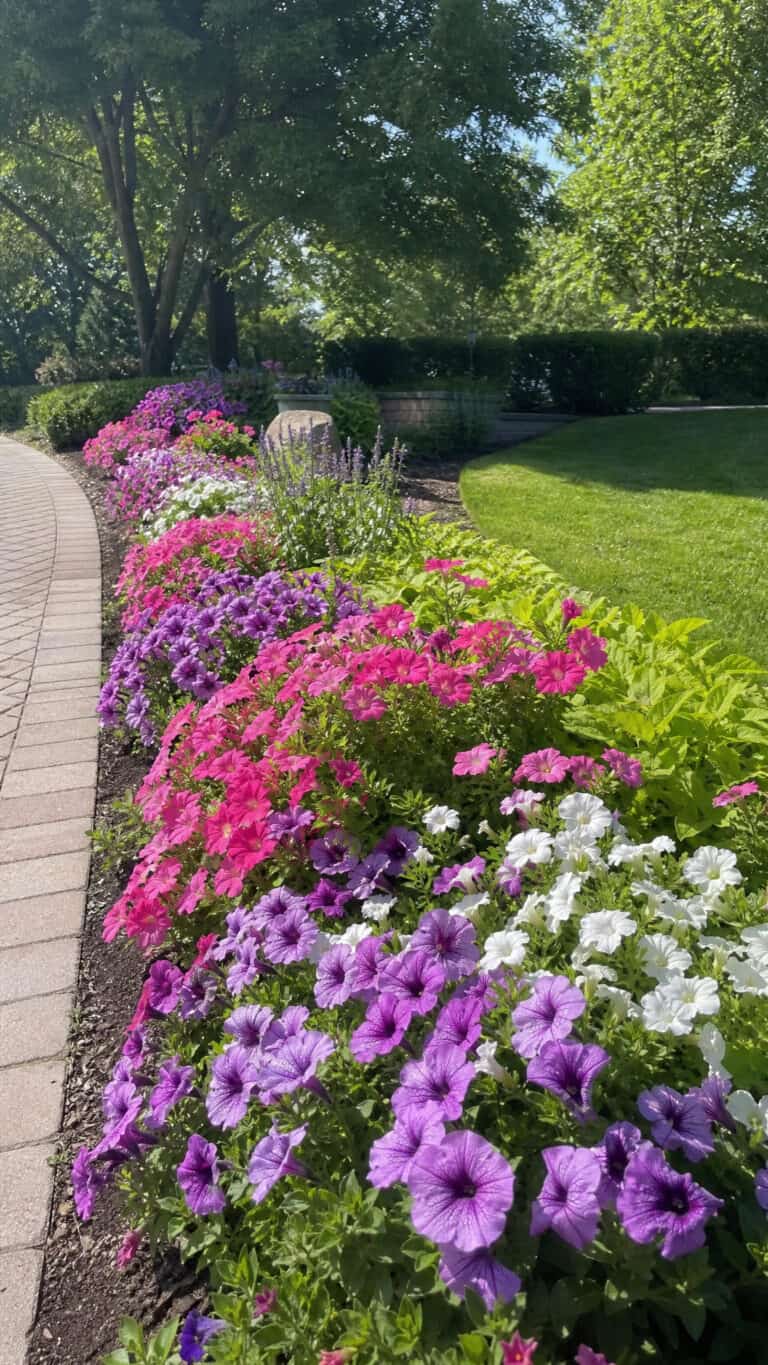
Consider creating curved borders instead of straight lines—they look so much more natural and forgiving! Curves also slow down the eye, making your garden feel larger and more interesting. I used a garden hose to map out gentle curves before digging, and it made such a difference in the overall flow of our yard.
Island Bed Designs for Central Garden Features
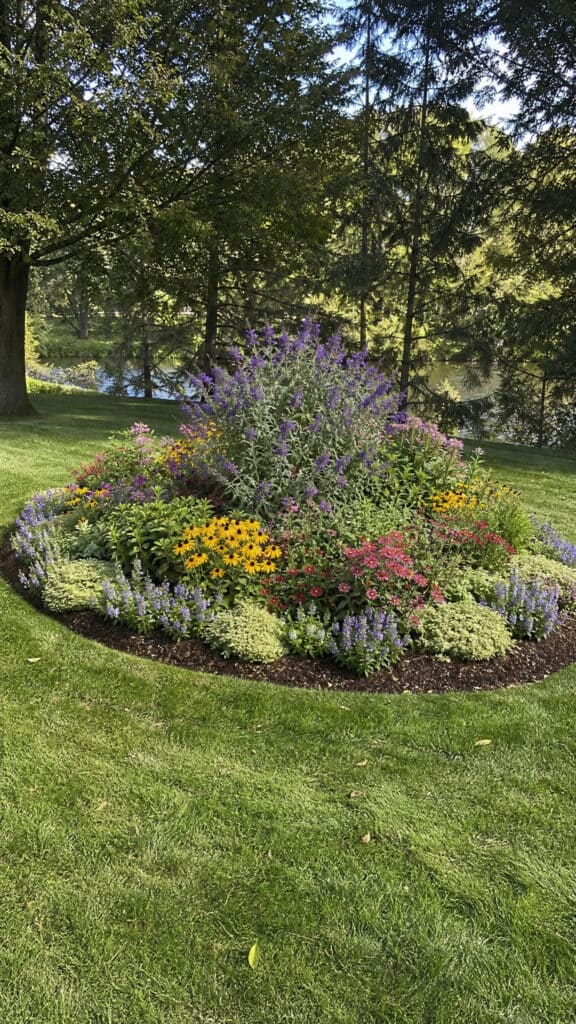
Island beds are those gorgeous standalone flower beds that you can walk all the way around, and they’re absolutely showstopping! These work beautifully in the middle of lawns or as focal points in larger garden spaces. I created one in our front yard, and it’s become the feature that makes people slow down when they drive by!
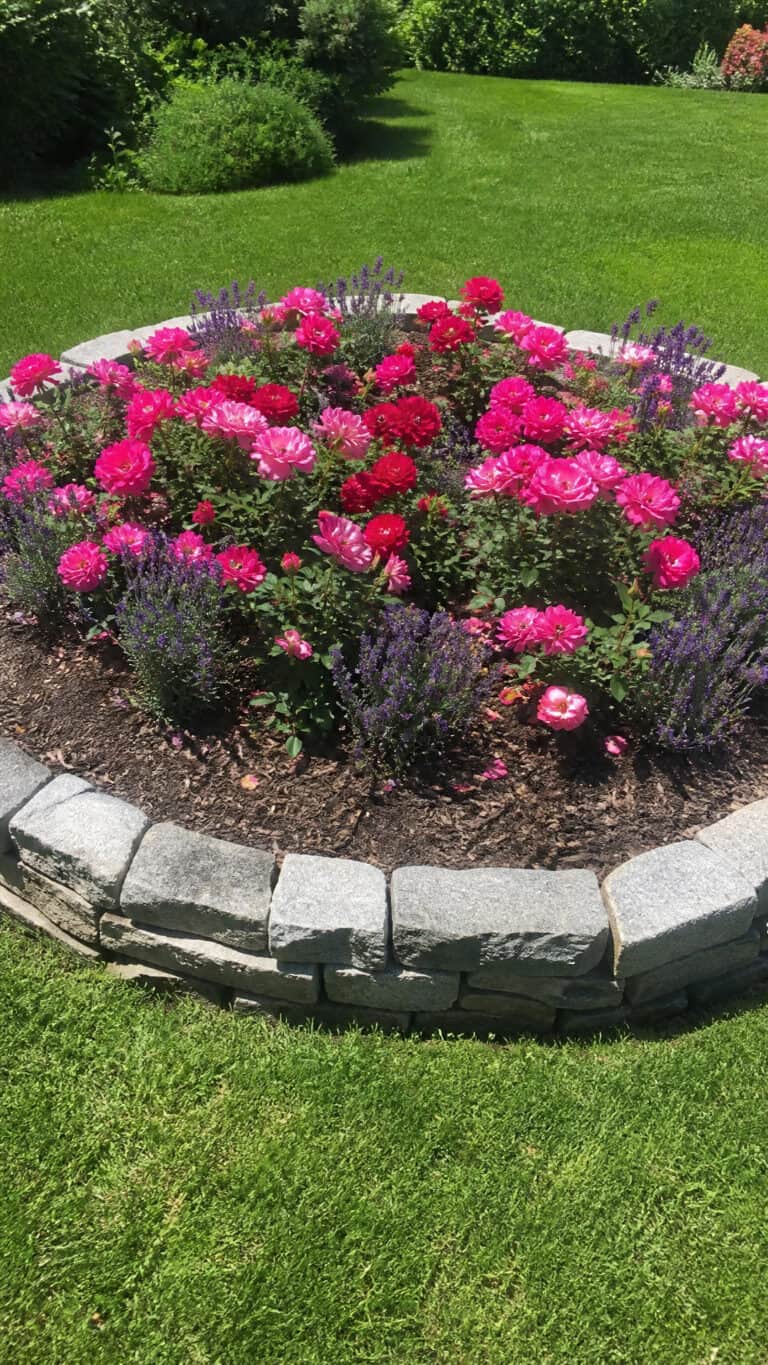
The trick with island beds is planning for 360-degree viewing. Place your tallest plants in the center, then graduate down in height as you move outward in all directions. This creates a pyramid or mounded effect that looks intentional from every angle. My center features a beautiful butterfly bush that the boys love watching for visitors, surrounded by layers of shorter perennials.
Shape matters with island beds! Kidney shapes, ovals, and organic flowing shapes tend to look more natural than perfect circles or squares. I made mine kidney-shaped to echo the curves of our driveway, and it ties everything together so nicely. Plus, those curves are much more forgiving when a football lands in them—no sharp corners for plants to get crushed!
Size your island bed appropriately for your space. A bed that’s too small looks lost in a large lawn, while one that’s too big overwhelms a small yard. As a general rule, your island bed should take up no more than a quarter of your lawn space. Mine is about 8 feet by 12 feet in our front yard, and it feels just right!
Corner Flower Bed Designs Layout Solutions
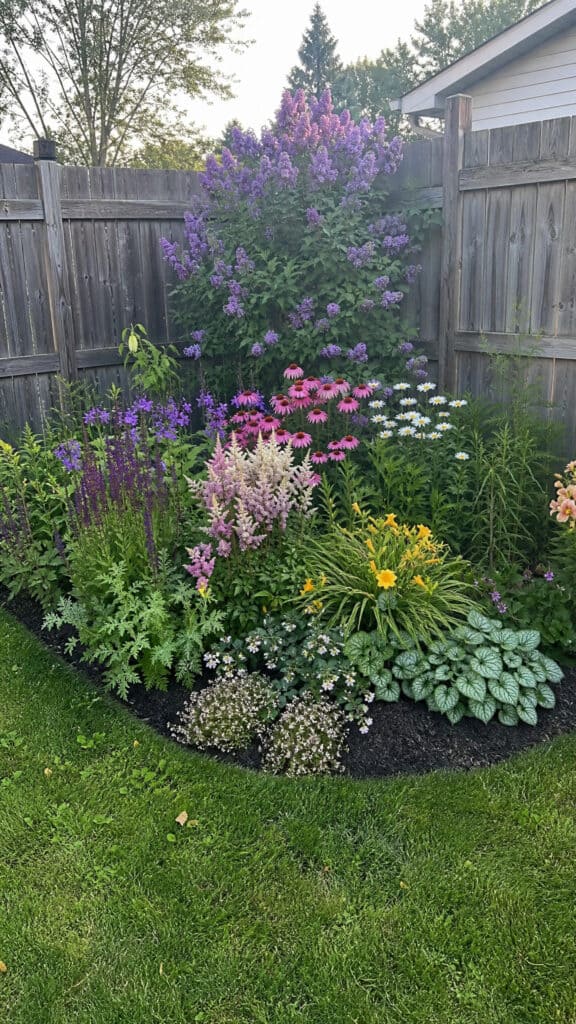
Corner spaces can be so tricky, but they’re actually perfect opportunities for stunning flower bed designs layout! Whether it’s the corner of your house, fence, or where two pathways meet, these spots deserve special attention. I have a corner where our fence meets the garage, and transforming it from dead space to a blooming corner garden was one of my best decisions!
For corner beds, think triangular or fan-shaped layouts that radiate outward from the corner point. Place your tallest element right in the corner itself—this could be a small tree, large shrub, or tall ornamental grass. This anchors the space and draws the eye upward. I used a dwarf lilac in my corner, and it smells absolutely amazing in spring!
Layer plants in a cascading pattern from that tall corner anchor down to the edges. This creates depth and makes the corner feel intentional rather than like an afterthought. I’ve found that using plants with different bloom times keeps the corner interesting all season long, which is great because it’s visible from our kitchen window where I spend way too much time!
Don’t forget about the 90-degree viewing angles! Your corner bed will be seen from two different sides, so make sure it looks good from both perspectives. I planted some trailing plants that spill over the edges to soften the corner and make it feel more natural. Bonus: they’re tough enough to handle the occasional toy car crash!
Raised Bed Layouts for Easy Maintenance
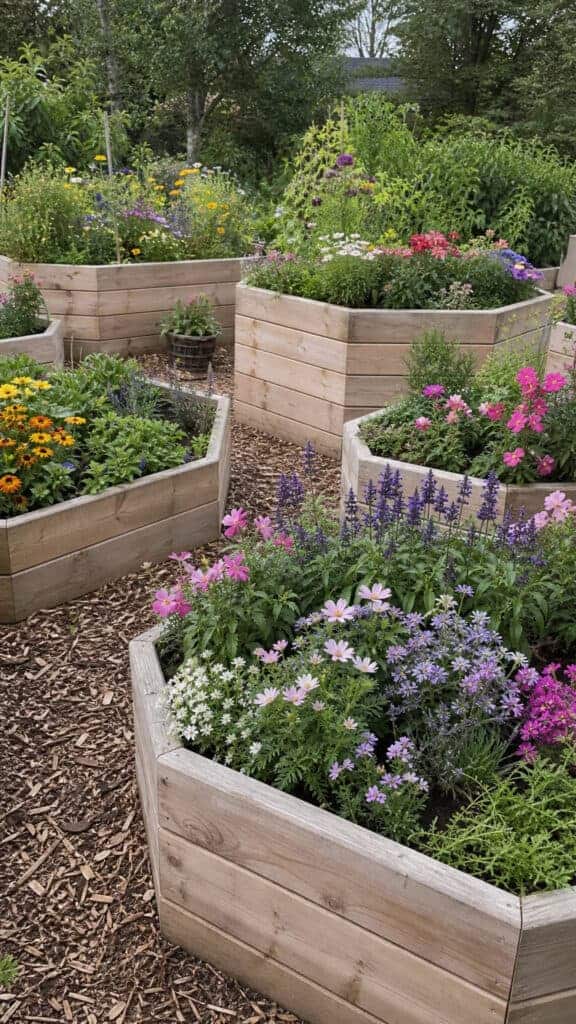
Can we talk about raised beds for a minute? Because they’ve been an absolute lifesaver for this busy mom! Raised flower beds not only look clean and organized, but they’re also so much easier on your back and knees. Plus, they keep the soil contained and make it crystal clear to little boys where they should NOT be running!
Rectangular raised beds are classic and easy to build or buy, but don’t be afraid to try other shapes! I have a combination of rectangles and one hexagonal raised bed, and the variety adds so much visual interest. The key is keeping them at a manageable size—no more than 4 feet wide so you can reach the center without stepping inside.
For flower bed designs layout in raised beds, you can go formal with symmetrical plantings or cottage-style with a more relaxed mix. I love the cottage approach because it’s forgiving and always looks abundant! I pack my raised beds pretty full with a mix of heights and colors, and the contained space makes everything look intentional rather than messy.
Height matters with raised beds! Standard 10-12 inch heights work great, but if you want to make a real statement (and save your back even more), go for 24-30 inch heights. My tallest raised bed is at the perfect height for deadheading while the boys play nearby, and I can actually enjoy the task instead of dreading it! Plus, elevated beds warm up faster in spring, giving you a head start on the growing season.
Circular and Curved Bed Patterns
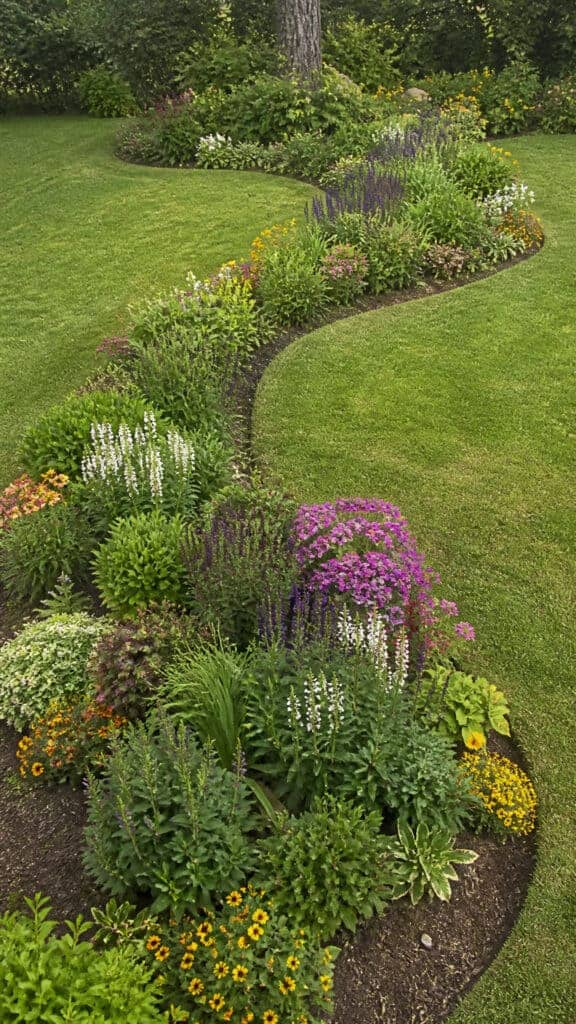
There’s something so satisfying about circular and curved flower beds! They create movement and flow in your garden that straight lines just can’t achieve. I was nervous about trying curves at first, but honestly, they’re more forgiving than geometric shapes because nature isn’t perfectly straight anyway!
Circular beds work beautifully as focal points, especially when placed at the end of a pathway or in the center of a patio area. For the flower bed designs layout within a circle, use the same principle as island beds—tallest in the center, graduating outward. I have a circular bed around our mailbox post, and it’s become such a cheerful welcome to our home!
Serpentine or S-curved beds create gorgeous flowing lines through your landscape. These work especially well for larger properties or when you want to create separate garden rooms. The curves naturally guide people through the space and create interesting sight lines. I used a gentle S-curve along one side of our yard to separate the play area from the prettier garden space, and it actually helps contain the chaos!
When designing curved beds, use a garden hose or rope to lay out your curves before committing. Step back and view from multiple angles, including from inside your house! Adjust until the curves feel natural and proportional to your space. I learned this the hard way after digging a curve that looked great from ground level but totally awkward from our second-floor window!
Formal Symmetrical Garden Layouts
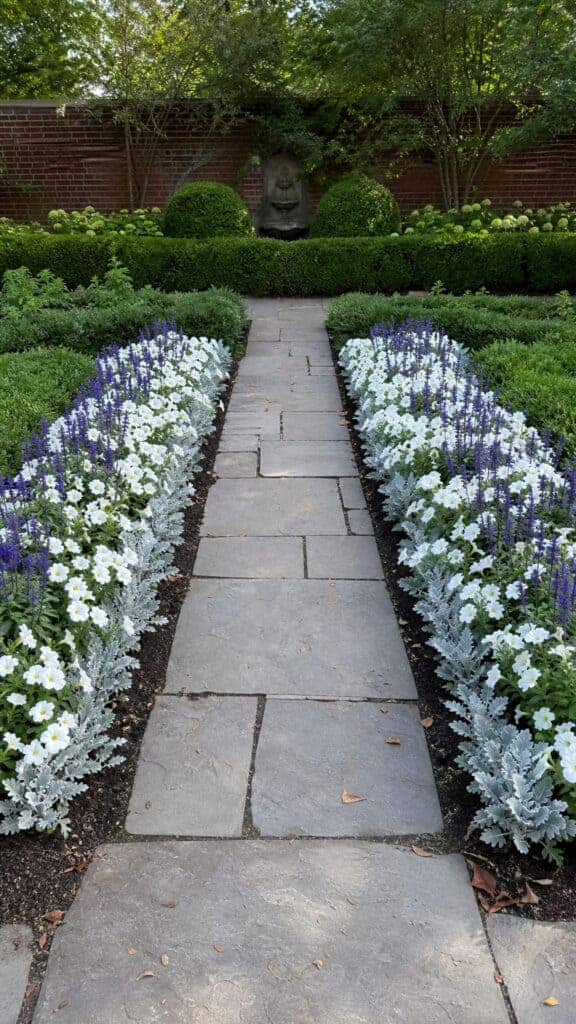
Okay, I know formal gardens might seem intimidating or high-maintenance, but hear me out! Symmetrical flower bed designs layout can actually be quite simple and create a really sophisticated look. Plus, the structure helps contain the visual chaos when you have kids’ toys scattered everywhere—not that I would know anything about that!
The basic principle of formal layouts is mirror-image repetition. Whatever you plant on the left side, you repeat on the right. This could be two matching border beds flanking a pathway, four identical corner beds, or geometric patterns that mirror each other. I have two matching rectangular beds on either side of our front walkway, and they make our entrance look so polished!
Keep plant choices simple in formal designs. Instead of dozens of different varieties, choose a limited palette and repeat it throughout. I use white petunias, purple salvia, and silver dusty miller in my formal front beds, and the repetition creates a clean, cohesive look. It’s also easier to maintain because you become really familiar with just a few plants’ needs!
Formal doesn’t have to mean fussy! You can create a formal structure with low-maintenance plants. I’ve used ornamental grasses, tough perennials like daylilies, and even herbs in my symmetrical beds. The formal layout provides structure, but the plant choices keep maintenance realistic for my busy life. Edge your beds crisply and keep them mulched, and they’ll look magazine-worthy with minimal effort!
Mixed Border Designs for Year-Round Interest
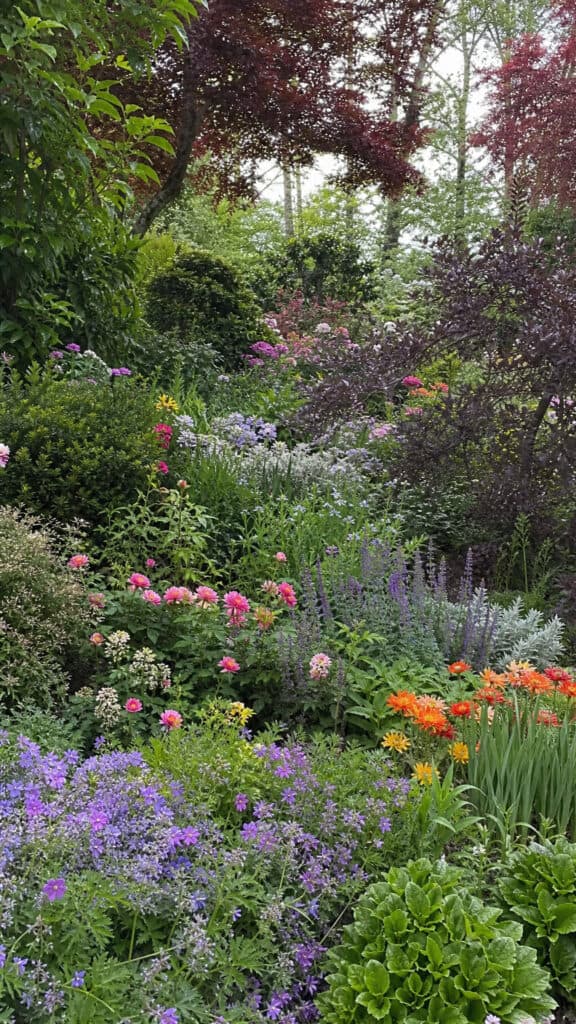
This is my absolute favorite approach to flower bed designs layout—the mixed border! This style combines perennials, annuals, shrubs, and even small trees in one glorious bed that provides interest throughout all four seasons. It’s like creating a complete ecosystem in your garden, and it’s surprisingly low-maintenance once established!
Start with a backbone of shrubs and small trees that provide structure year-round. These are your anchors! I use dwarf varieties to keep everything in scale—a dwarf weigela, a compact hydrangea, and a small Japanese maple form the bones of my main mixed border. These give the bed presence even in winter when everything else has died back.
Layer in perennials with different bloom times so you always have something flowering. Early spring bulbs, summer coneflowers, and fall asters keep the show going! I map out bloom times when planning to avoid having everything peak at once. This also means there’s always something new for the boys to discover, which sometimes (sometimes!) keeps them from using the flower beds as hiding spots during tag!
Fill gaps with annuals for continuous color and flexibility to change things up each year. I tuck petunias, zinnias, and marigolds into spaces between perennials, and they bloom their hearts out all summer. The mixed approach means that if one plant fails or gets demolished by a stray baseball, the overall design still looks full and intentional. It’s the perfect forgiving style for real-life gardening with kids!
Creating Your Perfect Flower Bed Layout
Designing beautiful flower beds doesn’t have to be complicated or time-consuming! Whether you choose formal symmetry, flowing curves, practical raised beds, or mixed borders, the key is selecting a flower bed designs layout that fits your space, lifestyle, and maintenance abilities. Trust me, as someone who’s trying to keep plants alive while keeping three boys alive, realistic planning is everything!
Start with one bed, learn what works in your specific conditions, and expand from there. Your garden is a living, evolving space—just like our families! Don’t be afraid to experiment, move plants around, and adjust your designs as you discover what brings you joy. The most beautiful garden is one you actually have time to enjoy, even if that enjoyment happens while refereeing an argument about whose turn it is on the swing!