This post may contain affiliate links. Read the full disclosure here.
Planning flower bed designs can feel like just another thing on the endless to-do list, but trust me—it’s one of those projects that actually brings so much joy! Between chasing after my three boys and managing the chaos of daily life, I’ve found that having a beautiful garden gives me a little sanctuary to breathe and enjoy something I created with my own hands.
The best part about designing flower beds is that you don’t need to be a professional landscaper to create something absolutely gorgeous! With a little planning and some basic knowledge about what works well together, you can transform any outdoor space into a stunning display of colors and textures. Let me walk you through everything I’ve learned about creating flower bed designs that will make your neighbors stop and stare!
Choose the Perfect Location for Your Flower Beds

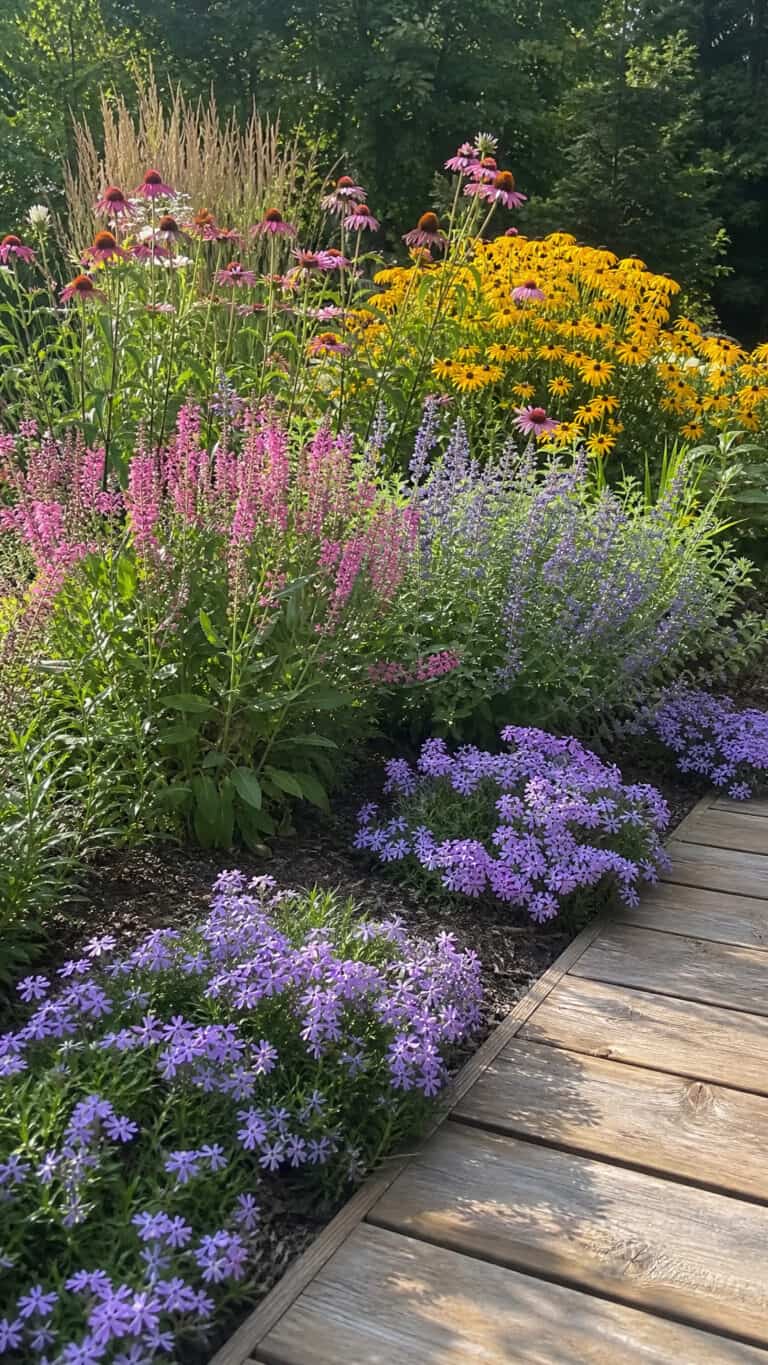
Before you start digging or buying plants, you need to figure out exactly where your flower beds will go! This is honestly one of the most important decisions you’ll make because it affects everything else that follows.
Walk around your yard at different times of the day and notice where the sun hits and for how long. Most flowering plants need at least six hours of direct sunlight, so sunny spots are golden! I learned this the hard way when I planted sun-loving petunias in a shady corner and wondered why they looked so sad and droopy.
Also consider visibility—you want to place your flower bed designs where you’ll actually see and enjoy them! Areas near your front entrance, along walkways, or visible from your kitchen window are perfect spots. After all, what’s the point of creating something beautiful if you never get to admire it?
Think about practical considerations too, like access to water and how easy it will be to maintain. Trust me, if you have to drag a hose across the entire yard every time your flowers need water, you’ll get tired of it really quickly! And with three boys constantly running around, I need to make sure my flower beds aren’t in the middle of their soccer field.
Determine Your Garden Bed Shape and Size
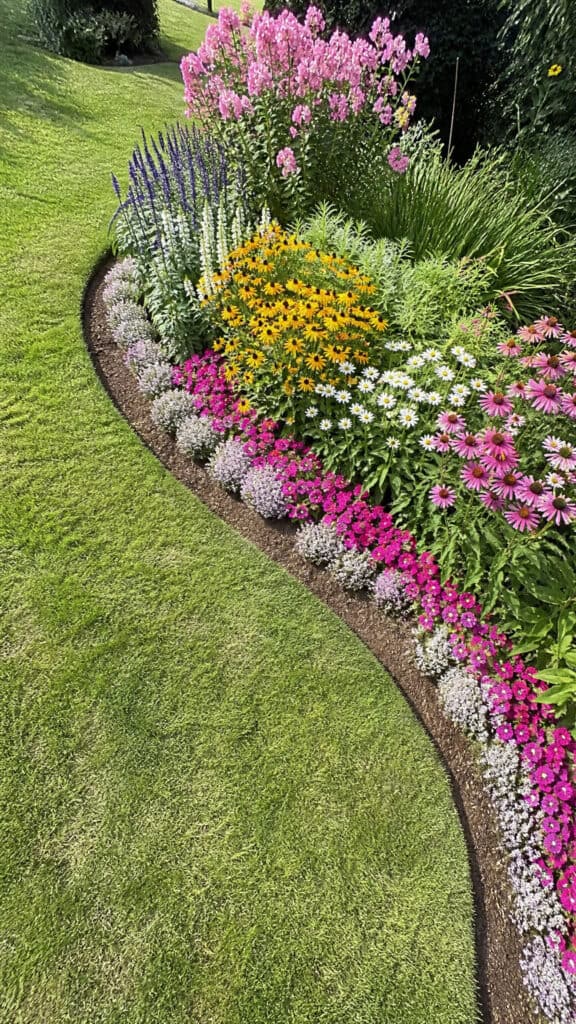
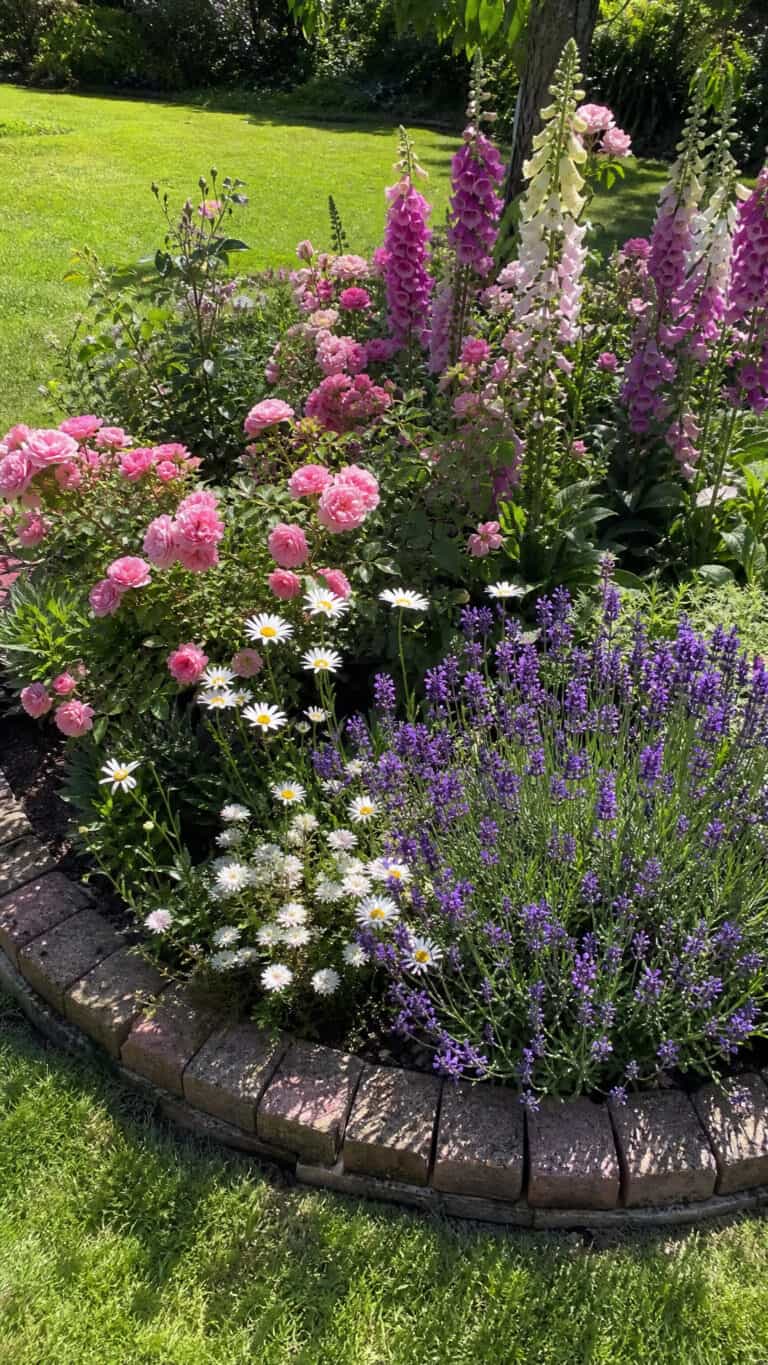
The shape and size of your flower beds can completely change the look and feel of your entire yard! I love experimenting with different shapes because they add so much character and interest to the landscape.
For a more formal, traditional look, rectangular or square beds work beautifully. They’re also super easy to plan and maintain, which is a huge plus when you’re juggling a million other things! Curved, flowing beds create a more natural, relaxed feeling and can soften hard lines in your landscape. I personally love curved beds because they feel more organic and less rigid.
Island beds—those freestanding beds surrounded by grass or mulch—are fantastic for creating focal points in larger yards. You can walk all the way around them, which means you can enjoy the flowers from every angle! Border beds that run along fences, walls, or property lines are classic choices and work in almost any yard size.
When it comes to size, bigger isn’t always better! Start with manageable dimensions, especially if this is your first time creating flower bed designs. A bed that’s 3-4 feet deep gives you enough room to layer plants without making maintenance overwhelming. I made the mistake of creating a massive bed my first year, and let me tell you, weeding that thing became my worst nightmare!
Mark out your proposed bed shape with a garden hose or spray paint before you commit. Live with it for a few days, look at it from different angles, and make sure you’re happy with how it looks and fits in your space!
Select a Color Scheme That Wows
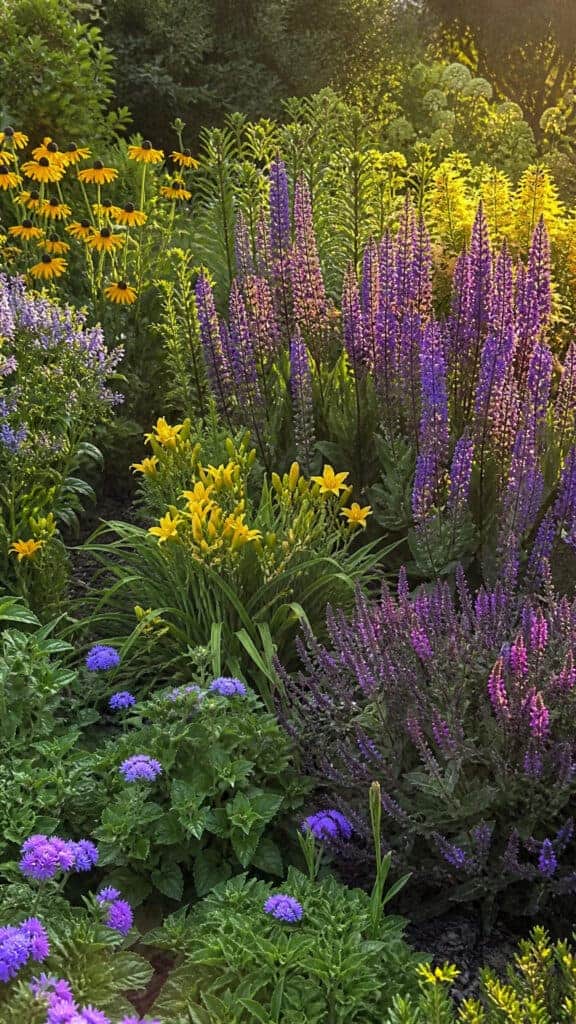
Choosing colors for your flower bed designs is where things get really fun! This is your chance to express your personality and create the exact mood you want in your garden.
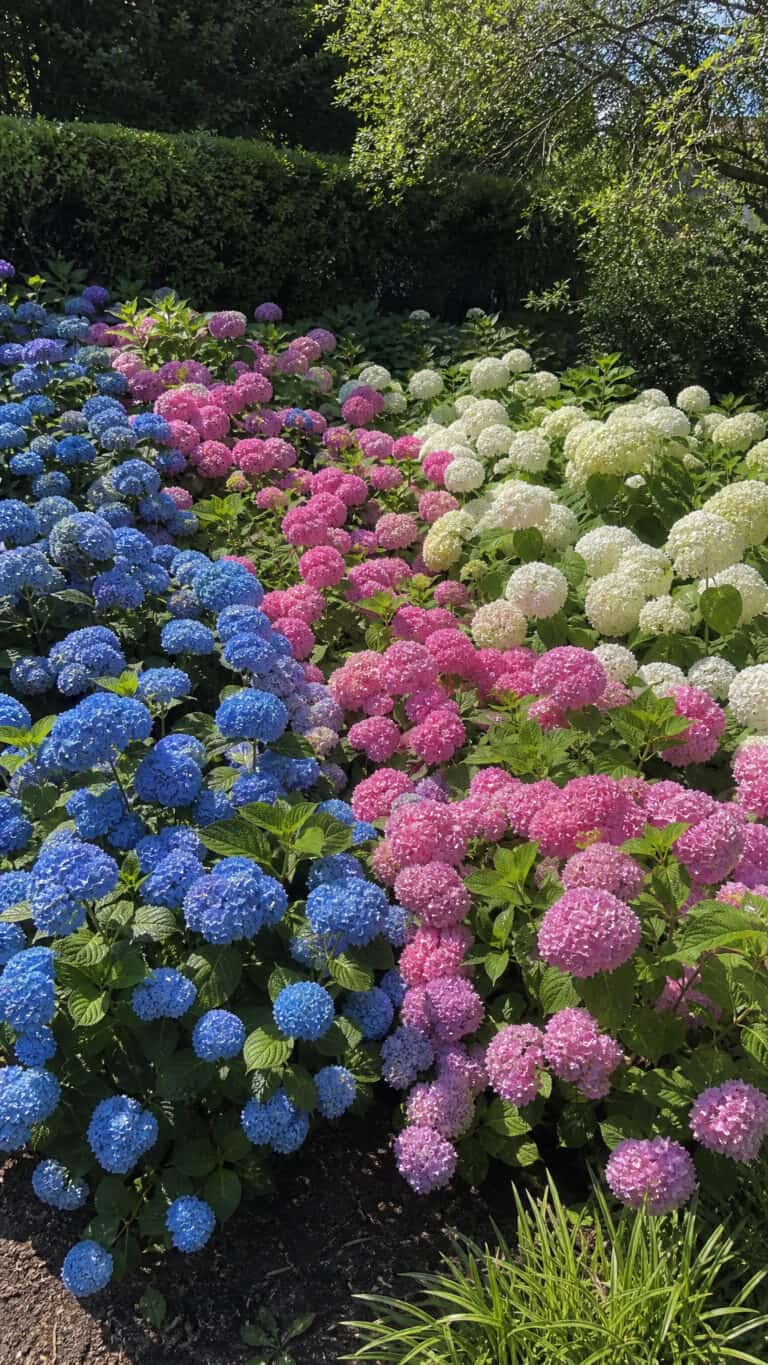
A monochromatic scheme uses different shades of the same color—like all purples from deep violet to soft lavender. This creates a sophisticated, cohesive look that’s surprisingly easy to pull off! Complementary colors sit opposite each other on the color wheel, like purple and yellow or blue and orange. These combinations create vibrant, eye-catching displays that really pop!
Analogous color schemes use colors that sit next to each other on the color wheel, such as red, orange, and yellow or blue, purple, and pink. These create harmonious, pleasing combinations that feel natural and flowing. If you want something calming and peaceful, stick with cool colors like blues, purples, and whites. For energy and excitement, go with warm colors like reds, oranges, and yellows!
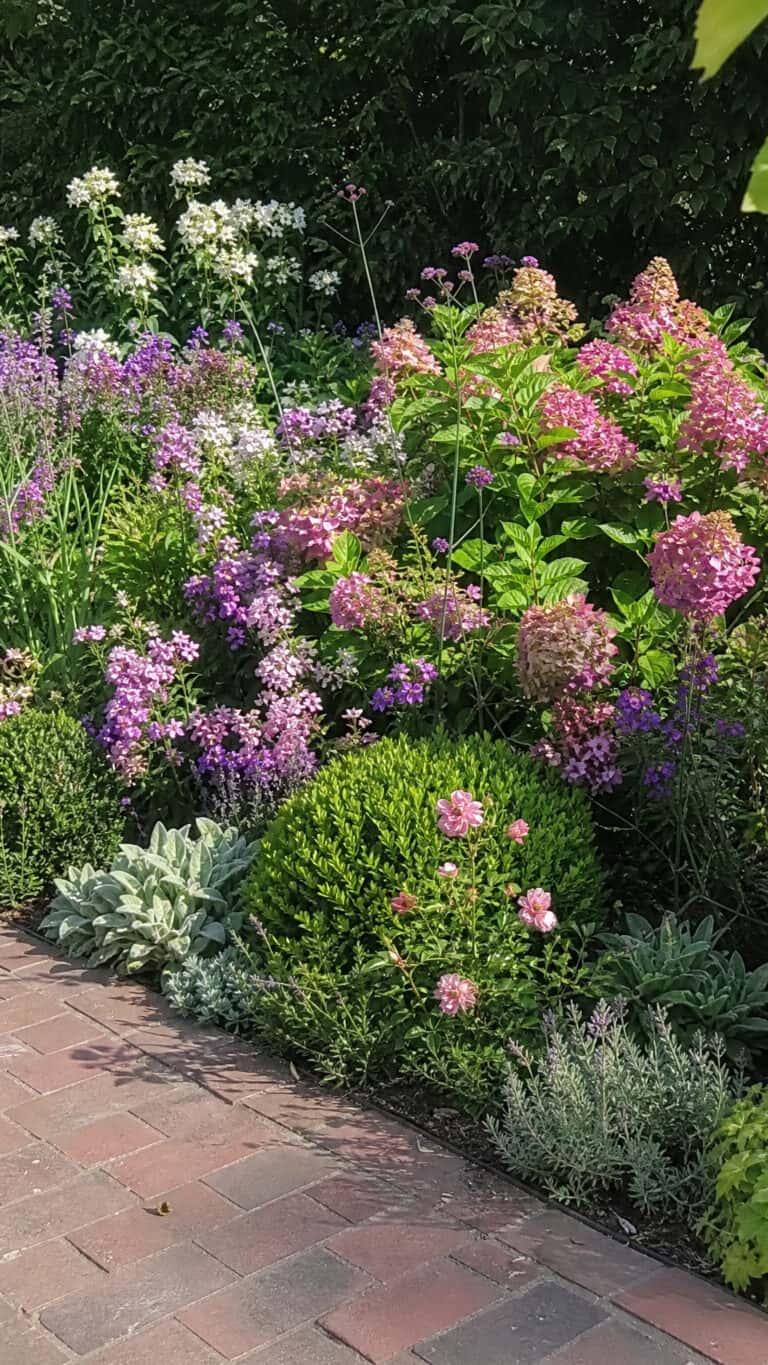
Don’t forget about foliage colors too! Green comes in so many shades, plus you can incorporate plants with silver, burgundy, or variegated leaves. These add depth and interest even when flowers aren’t blooming. I love mixing in plants with interesting foliage because it keeps the bed looking good all season long!
My personal approach is to choose 2-3 main colors and stick with them throughout the bed. Too many colors can look chaotic and overwhelming—kind of like my living room after the boys have been playing for five minutes! A focused color palette creates a much more polished, intentional look.
Layer Plants by Height for Maximum Impact
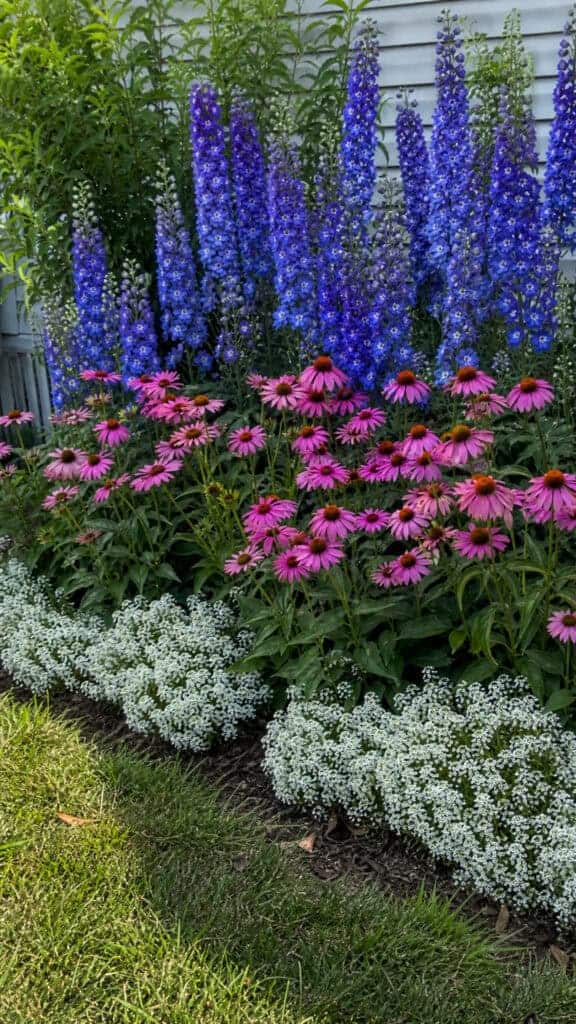
One of the biggest secrets to professional-looking flower bed designs is proper layering! This technique creates depth and ensures that every single plant gets its moment to shine.
The basic rule is simple: tall plants in the back, medium plants in the middle, and short plants in the front. For island beds that you can walk around, put the tallest plants in the center and work your way down to shorter plants at the edges. This creates a beautiful, tiered effect where you can see everything!
Tall plants (24-36 inches or more) serve as your backdrop or focal points. Think sunflowers, hollyhocks, delphiniums, or tall ornamental grasses. These add drama and vertical interest! Medium-height plants (12-24 inches) are your workhorses. They fill in the middle layer and include favorites like coneflowers, black-eyed Susans, salvia, and daylilies.
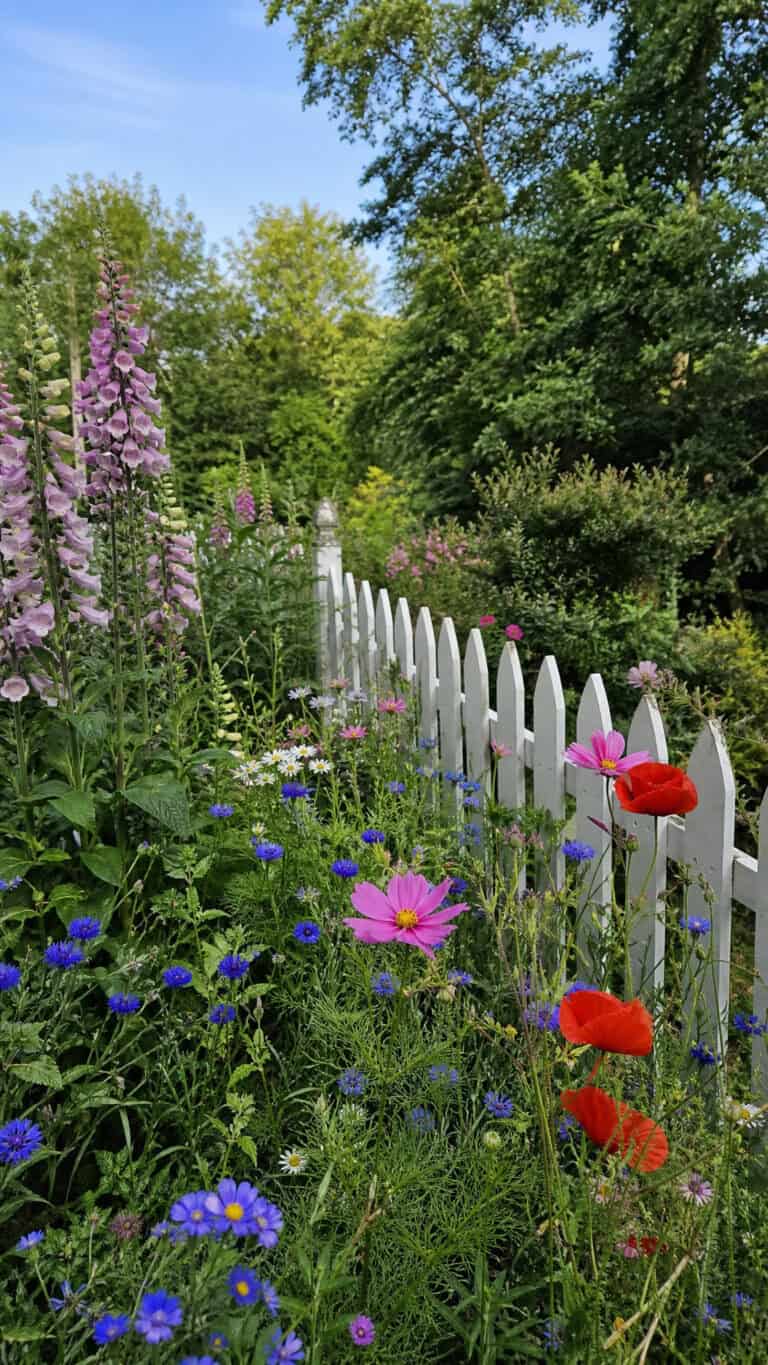
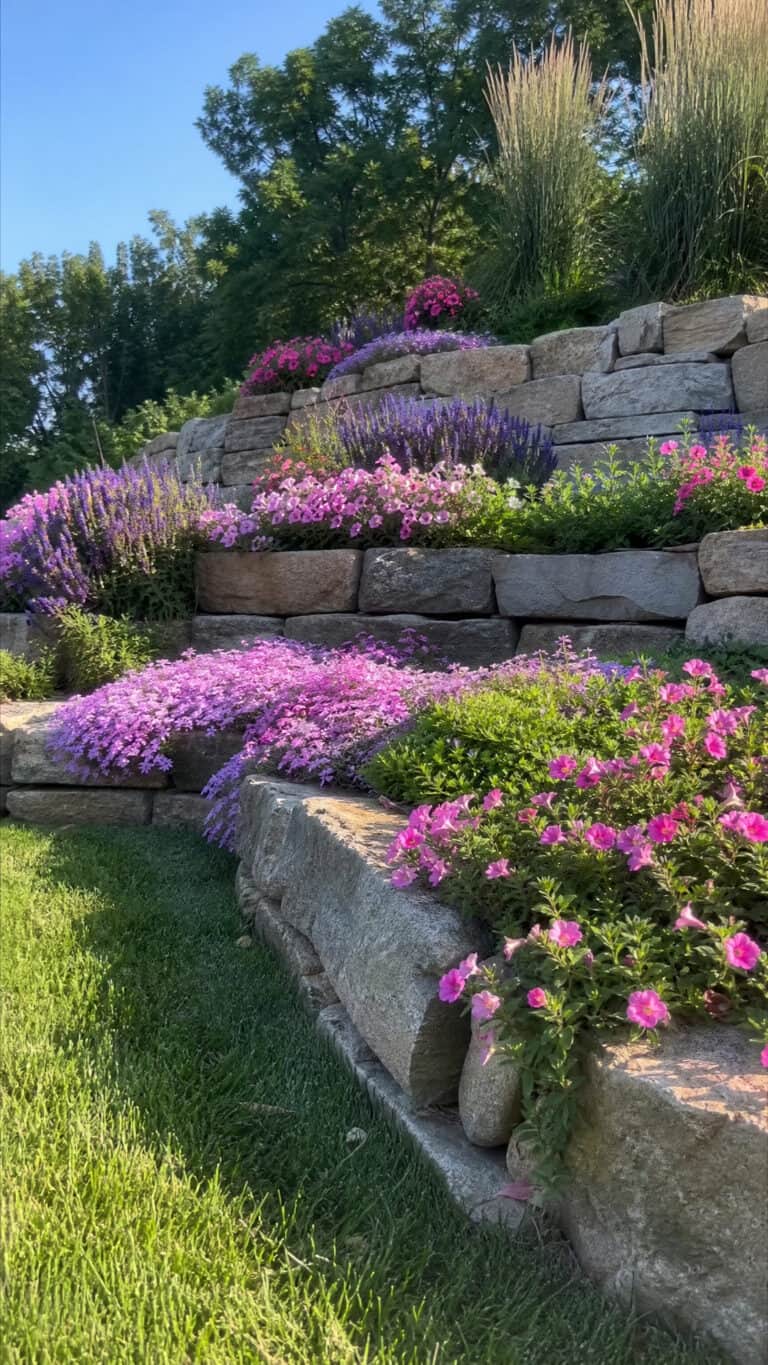
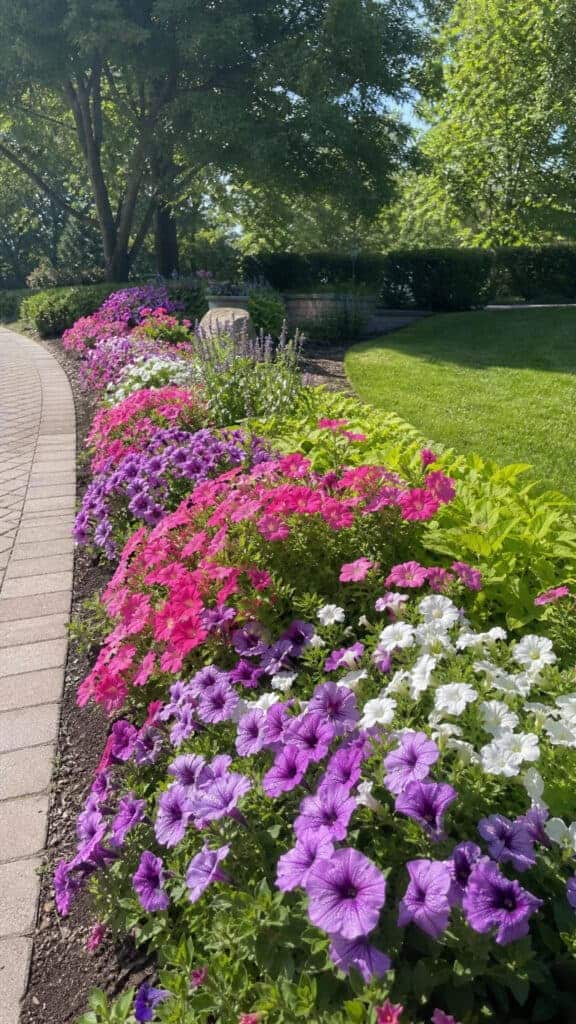
Short plants and groundcovers (under 12 inches) go at the front edge where they can spill over and soften the border. Alyssum, petunias, marigolds, and creeping phlox are perfect for this! These front-row plants are what people see first, so make them count.
Don’t make your layers too rigid and uniform—that can look stiff and unnatural! Let some medium-height plants drift forward occasionally, and allow taller plants to create little groupings. This creates a more natural, flowing look that’s way more interesting than strict rows!
I also love using the “thriller, filler, spiller” concept, especially in areas where I want extra drama. The thriller is your tall, eye-catching plant; fillers are your medium-height plants that fill in space; and spillers are trailing plants that cascade over edges. It works like magic every time!
Mix Annuals and Perennials Strategically
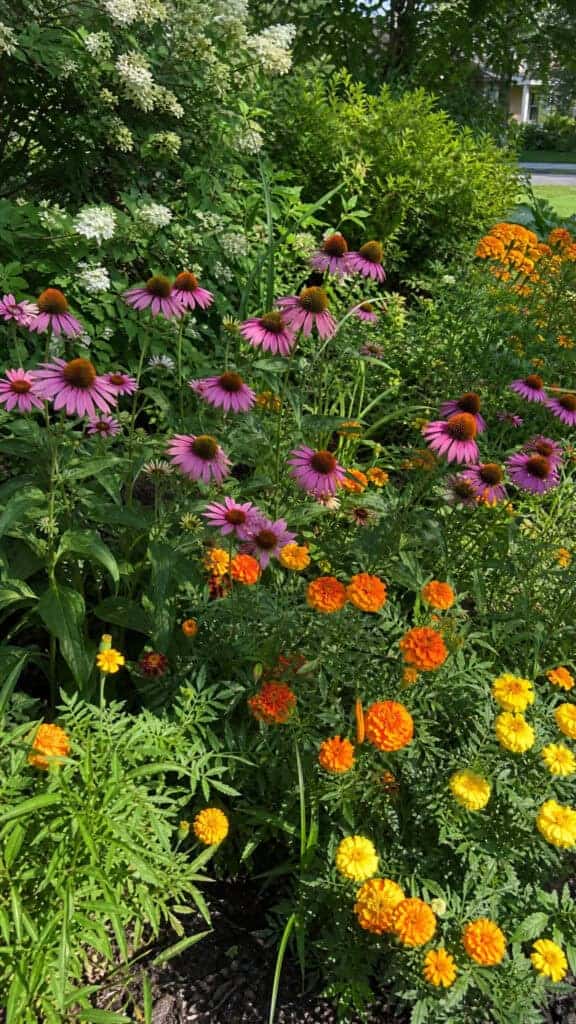
Understanding the difference between annuals and perennials—and how to use both—is a total game-changer for flower bed designs! Each type has its own advantages, and combining them gives you the best of both worlds.
Perennials come back year after year, which makes them super economical in the long run! They’re the backbone of your garden and provide reliable structure. The downside? Most perennials only bloom for a few weeks. Popular perennials include hostas, daylilies, peonies, coneflowers, and black-eyed Susans. Once established, they require less maintenance and get bigger and better each year!
Annuals live for just one growing season, but they bloom continuously from spring until frost! They’re perfect for filling in gaps, adding pops of color, and keeping your beds looking full and vibrant all season long. Think petunias, marigolds, zinnias, impatiens, and begonias. Yes, you have to replant them every year, but the constant color is so worth it!
My strategy is to use perennials as the foundation—they give structure and come back reliably. Then I fill in around them with annuals for continuous color and flexibility. This way, I can change up my color scheme each year if I want something different without redesigning the entire bed!
Plant perennials in groups of odd numbers (3, 5, or 7) for a more natural look. Then tuck annuals around and between them to hide any bare spots and keep color going strong. This combination means your flower bed designs look amazing from spring through fall without breaking the bank!
Prepare Your Soil for Healthy Growth
Okay, I know soil prep isn’t the most exciting part of creating flower bed designs, but it’s absolutely essential! Good soil is literally the foundation of everything, and skipping this step will come back to haunt you—trust me on this one.
Start by removing all grass, weeds, and debris from your marked-out bed area. You can dig it out by hand with a spade (great workout!), use a sod cutter, or smother it with cardboard or newspaper covered with mulch for a few weeks. I’ve tried all these methods, and they all work—just choose based on your timeline and energy level!
Once the area is clear, it’s time to improve your soil. Most flowers prefer well-draining soil that’s rich in organic matter. Add a 2-4 inch layer of compost or well-rotted manure and work it into the existing soil. This improves drainage in heavy clay soils and helps sandy soils retain moisture better. It’s like giving your plants a nutritious meal that keeps on giving!
Test your soil pH if you want to get fancy—most flowers prefer slightly acidic to neutral soil (pH 6.0-7.0). You can grab an inexpensive test kit from any garden center! If your soil is too acidic, add lime; if it’s too alkaline, add sulfur. Honestly though, for most flower bed designs, just adding plenty of compost will get you most of the way there.
Don’t forget to break up any compacted soil! Roots need to be able to spread easily, and compacted soil prevents that. Work the soil when it’s slightly moist but not soaking wet—if it clumps in your hand, wait a day or two for it to dry out a bit. With three boys who love to “help” in the garden, I’ve learned that good soil prep means stronger plants that can handle a little rough play nearby!
Plan for Seasonal Interest Throughout the Year
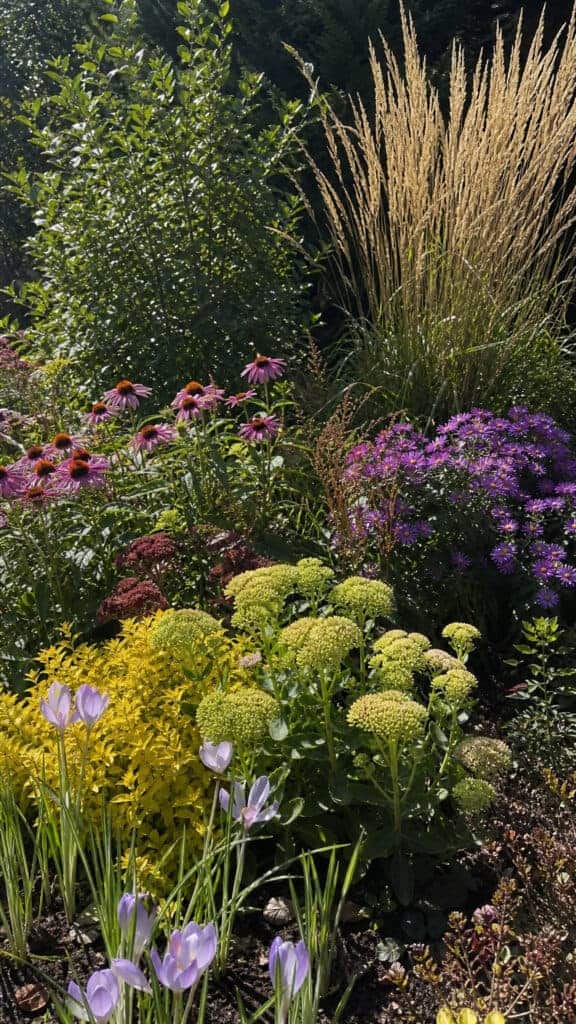
The most successful flower bed designs don’t just look good for a few weeks—they provide interest across multiple seasons! This takes a little extra planning, but it makes such a huge difference in how much you enjoy your garden year-round.
Start by choosing plants with different bloom times. Spring bulbs like tulips, daffodils, and crocuses kick things off early and bring so much joy after a long winter! Follow them with early summer bloomers like peonies, irises, and dianthus. Mid-summer is when coneflowers, black-eyed Susans, daylilies, and zinnias really shine. For late summer and fall, rely on sedums, asters, mums, and ornamental grasses.
Don’t overlook plants with interesting foliage, seed heads, or structure that look good even when not blooming! Hostas, coral bells, and ornamental grasses provide beautiful foliage all season. Plants like coneflowers and black-eyed Susans have seed heads that look gorgeous in fall and winter, plus birds love them!
Consider adding some evergreen elements for winter interest, especially in areas you see from your windows. Small evergreen shrubs, ornamental grasses that stand through winter, or plants with colorful stems can keep your flower bed designs from looking completely dead during the cold months.
I like to sketch out a simple bloom calendar when planning my beds. It doesn’t have to be fancy—just note which plants bloom when so you can make sure you don’t have everything blooming at once and then nothing for the rest of the season! This way, there’s always something pretty to look at, which is especially nice when I need a peaceful moment away from the chaos inside!
Add Finishing Touches with Edging and Mulch
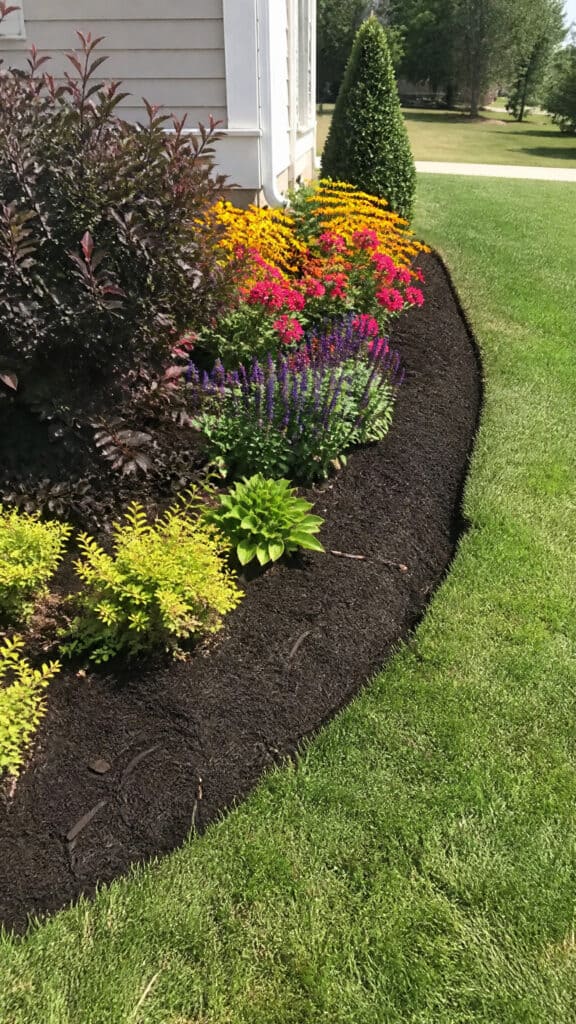
The finishing touches are what take your flower bed designs from good to absolutely gorgeous! Clean edges and proper mulching make everything look polished and professional—plus they make maintenance so much easier.
Edging creates a clear boundary between your flower bed and lawn, preventing grass from creeping in and giving your beds crisp, defined lines. You can use a flat spade to cut a simple edge (free but needs regular maintenance), install plastic or metal edging strips (affordable and effective), use stone or brick borders (beautiful and permanent), or create a mulch moat—a 4-6 inch strip of mulch between the bed and lawn that you keep grass-free.
I’m a huge fan of good edging because it cuts my weeding time in half! It also makes mowing easier because there’s a clear line to follow. With three boys who sometimes help with yard work (and I use the term “help” loosely), clear boundaries are essential!
Mulch is your secret weapon for gorgeous, low-maintenance flower bed designs! Apply a 2-3 inch layer of organic mulch like shredded bark, wood chips, or cocoa hulls around your plants. Mulch suppresses weeds (hallelujah!), retains moisture so you water less, regulates soil temperature, and gives beds a finished, cohesive look. Plus, as organic mulch breaks down, it improves your soil!
Keep mulch a few inches away from plant stems and crowns to prevent rot and disease. Refresh your mulch layer each spring to keep it looking fresh and maintain its weed-suppressing powers. I buy mulch in bulk because it’s way cheaper, and honestly, spreading mulch is kind of therapeutic—it’s one of those tasks where you can actually see your progress!
Consider the color of your mulch too! Dark brown or black mulch makes colors pop and looks sophisticated. Natural or golden mulch has a softer, more natural appearance. Red mulch is controversial—some people love it, others think it’s too bold. I stick with natural brown because it goes with everything and doesn’t compete with my flowers for attention!
Your Beautiful Garden Awaits!
Creating stunning flower bed designs really is achievable, even with a crazy busy schedule and three energetic boys constantly needing attention! The key is to start with a solid plan, choose the right location, and select plants that work well together in terms of height, color, and bloom time. Don’t be afraid to start small and expand as you gain confidence—some of my favorite beds started as tiny experiments that grew over time!
Remember that gardening is a learning process, and every season teaches you something new! Not everything will work perfectly the first time, and that’s totally okay. The plants that don’t thrive can be moved or replaced, and you’ll figure out what works best in your specific conditions. The most important thing is to enjoy the process and create a beautiful outdoor space that brings you joy. Now grab those gardening gloves and get started—your dream flower beds are waiting to happen!