This post may contain affiliate links. Read the full disclosure here.
That shed in the corner of your yard doesn’t have to be an eyesore! I used to look at ours and think it was just this utilitarian thing taking up space, but then I realized it could actually become one of the prettiest spots in our garden. Creating a flower bed around shed structures is one of the best ways to transform a boring corner into a focal point that makes you smile every time you look outside!
The best part? You don’t need to be a master gardener to pull this off! Between chasing my three boys around and keeping up with everything else, I’ve learned that simple designs work best. A well-planned flower bed around your shed can hide imperfections, add tons of curb appeal, and give you a little sanctuary space where you can actually enjoy a few minutes of peace. Let me share everything I’ve learned about making this happen!
Assess Your Shed Location and Sunlight
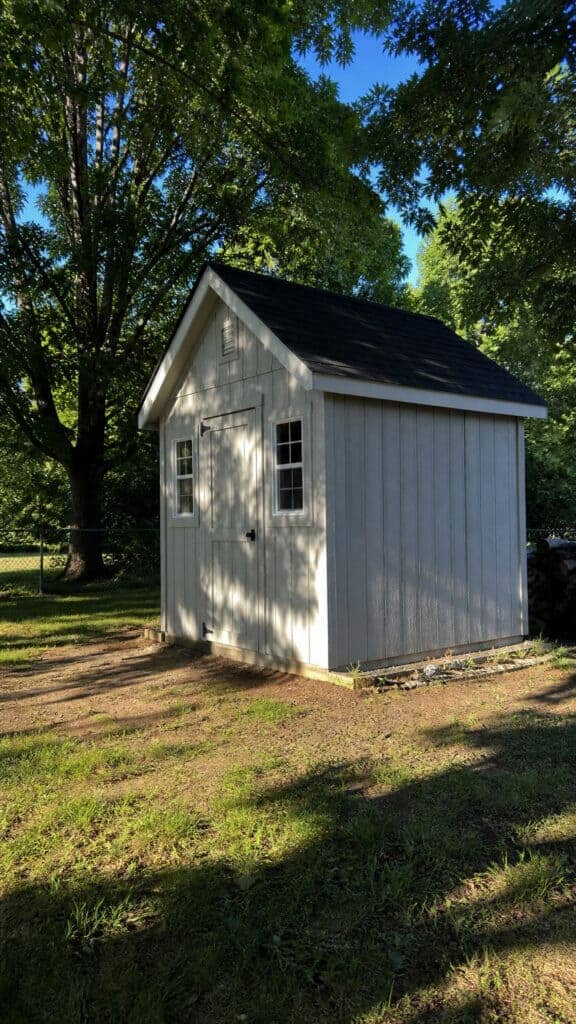

Before you grab a shovel and start digging (trust me, I’ve made this mistake!), you need to figure out what you’re actually working with. Walk around your shed at different times of the day and notice where the sun hits and where it doesn’t. This is SO important because it determines what plants will actually thrive in your flower bed around shed!
My shed gets full morning sun on one side and is completely shaded on the other side by our fence. Knowing this saved me from planting sun-loving flowers in the shade where they would have just struggled and looked sad. Take notes on your phone about the light conditions on each side of the shed!
Also consider how water drains around your shed. Does water pool in certain areas when it rains? Do you have gutters that dump water in one spot? These are the things that matter when you’re planning your flower bed layout. I learned this the hard way when I planted some beautiful lavender right where the gutter drains and it basically drowned!
Think about access too! You’ll still need to get to your shed door, and maybe you have things stored on the sides. Leave pathways where you need them, and plan your flower bed around shed in the areas that make sense. Functionality first, then we make it gorgeous!
Choose the Right Shape and Size for Your Flower Bed
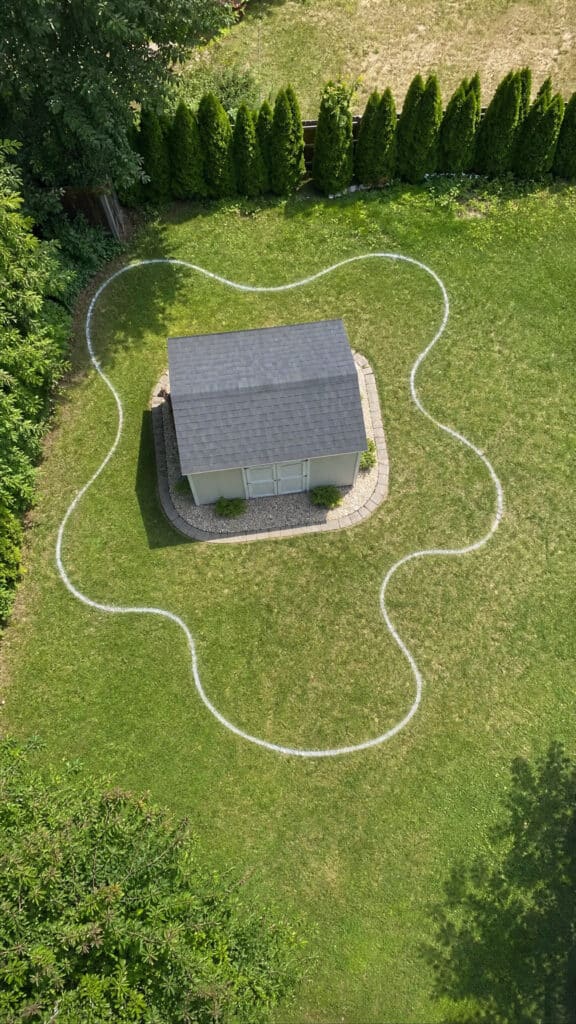
Now comes the fun part – deciding on the actual shape of your flower bed around shed! I’m a big fan of curved edges because they look so much more natural and organic than straight lines. A gentle curve that follows the shed walls creates this really pretty, flowing look that softens the hard edges of the structure.
For sizing, I recommend going at least 2-3 feet wide from the shed wall. This gives you enough space to layer plants at different heights and create actual depth. If you go too narrow, it ends up looking like you just stuck a few flowers against the shed as an afterthought. We want intentional and lush!
One design trick that works beautifully is to make the flower bed wider at the corners and narrower along the straight walls. This creates visual interest and gives you more planting space in those corner areas that tend to be the most visible from your house or patio!
Mark out your planned shape with garden hoses or spray paint before you start digging. Walk around it, look at it from different angles (including from inside your house!), and adjust until it feels right. I changed my design three times before I actually started digging, and I’m so glad I took that time!
Prepare the Soil and Edging
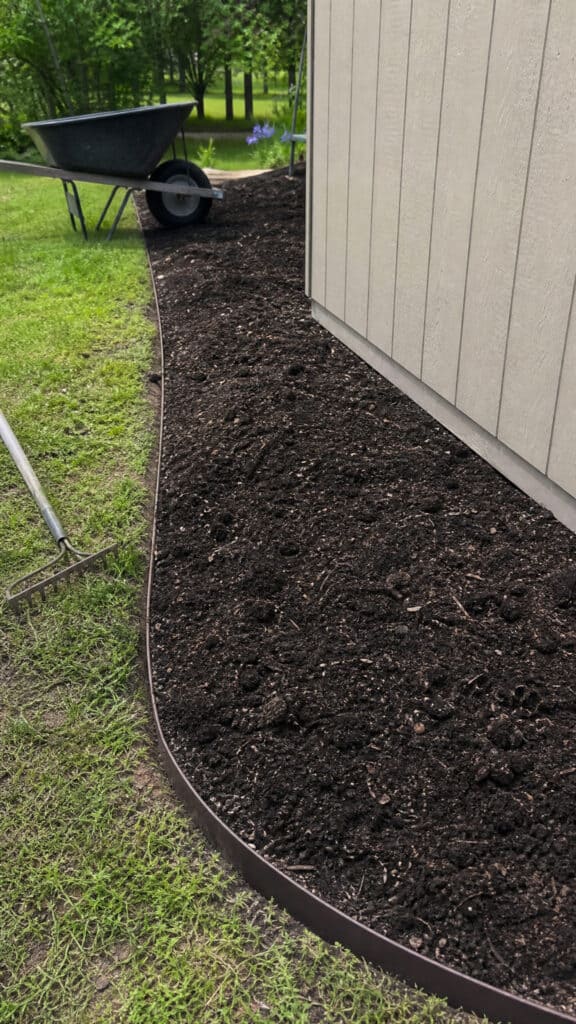
Okay, this is the part that’s not super glamorous, but it makes ALL the difference! Good soil preparation means your flowers will actually grow instead of just surviving. Start by removing the grass and weeds from your marked area. I use a flat shovel to cut and lift the sod in sections – it’s a workout, but hey, who needs the gym when you’re gardening!
Once you’ve cleared the area, break up the soil with a garden fork or tiller. The soil right next to sheds is often compacted and not very nutritious, so you’ll want to add lots of good stuff. I mix in compost, peat moss, and some aged manure to create this really rich, fluffy soil that plants love!
Don’t skip the edging! This is what keeps your flower bed around shed looking neat and prevents grass from creeping back in. I’ve used different types – plastic edging, metal edging, and stone. My favorite is the metal edging because it’s nearly invisible but super effective. Stone or brick edging looks gorgeous but takes more time to install!
Make sure the soil level in your bed is slightly lower than the surrounding grass or the edging. This prevents mulch from spilling out every time it rains. Also, keep the soil a few inches away from the shed wall itself to prevent moisture issues. Your shed will thank you!
Select Plants That Work Together
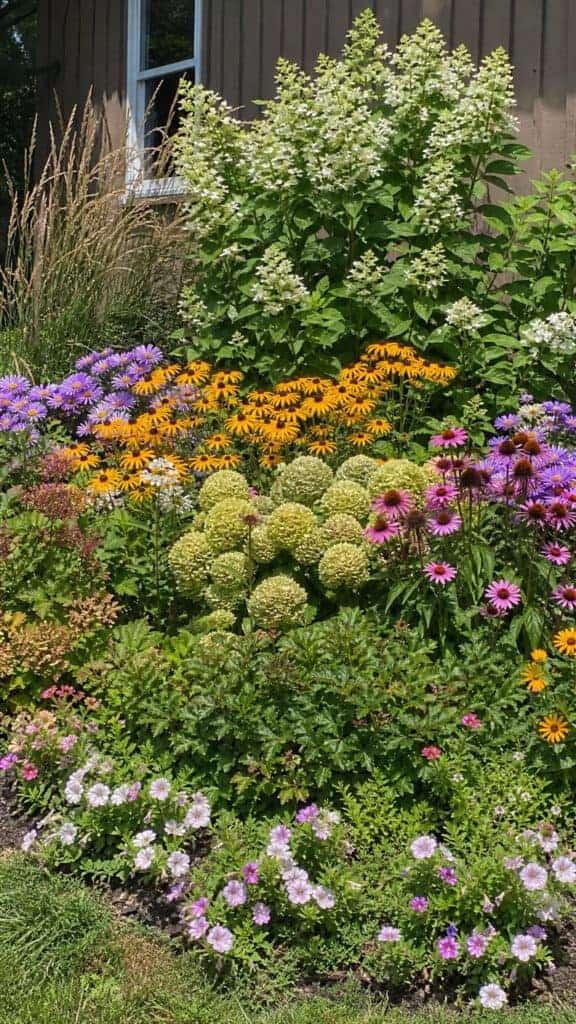
This is where your flower bed around shed really comes to life! The key is choosing plants that not only survive in your light conditions but also look amazing together. I like to use the thriller-filler-spiller method, which sounds fancy but is actually super simple!
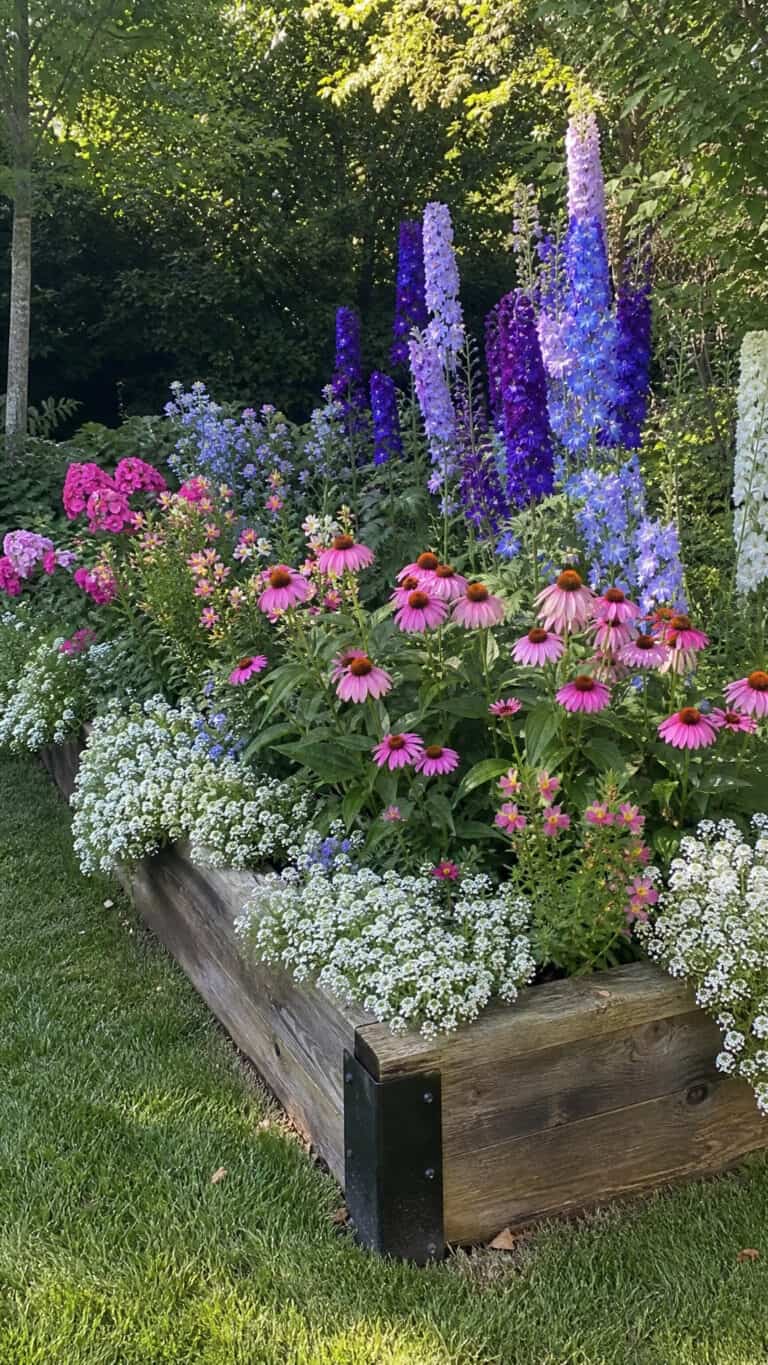
Your “thrillers” are tall, dramatic plants that go in the back against the shed. Think hollyhocks, delphiniums, or tall ornamental grasses. These create height and draw the eye upward. I love using Russian sage because it’s tall, gorgeous, and the boys can’t destroy it when they’re playing soccer nearby!
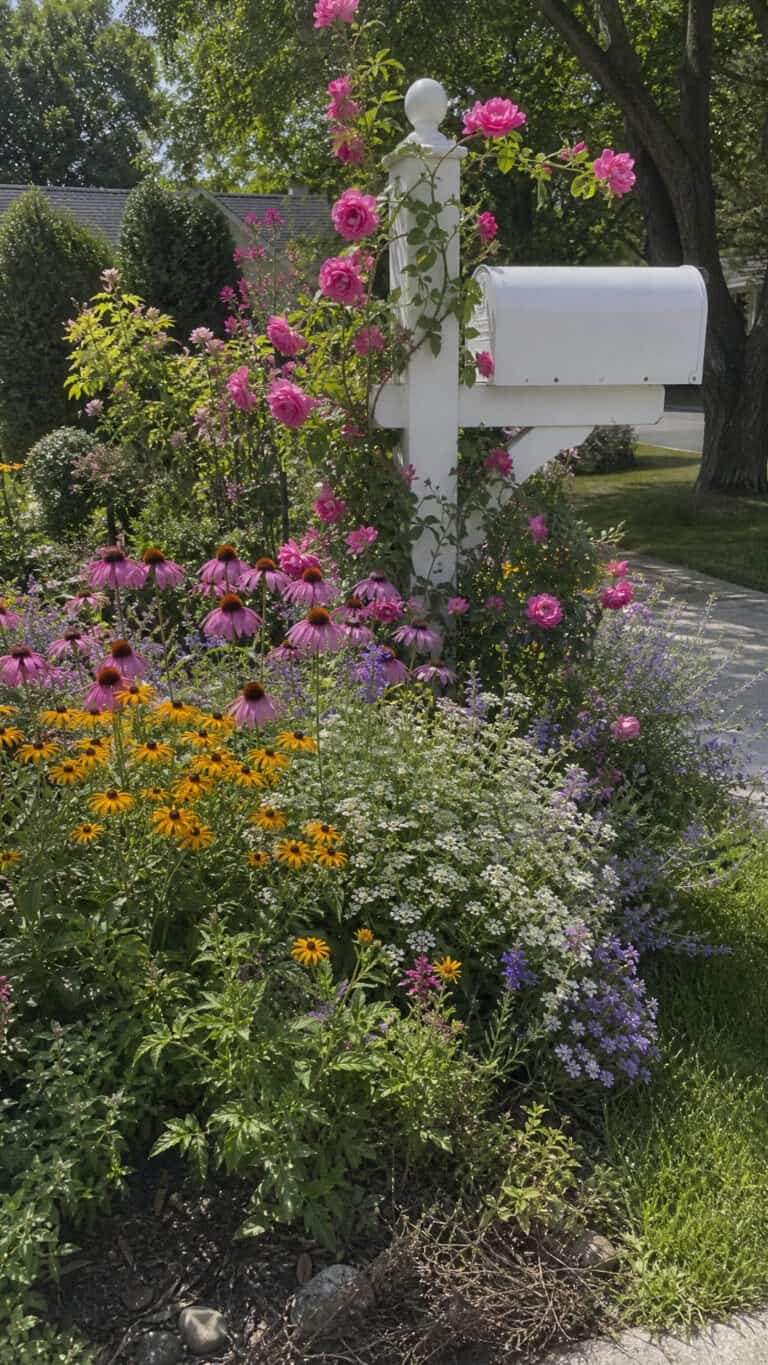
“Fillers” are your mid-height plants that fill in the middle space. Coneflowers, black-eyed Susans, salvia, and catmint are all fantastic choices. These are usually your workhorses – they bloom for a long time and fill out the bed beautifully. I always plant these in groups of three or five rather than one at a time because odd numbers look more natural!
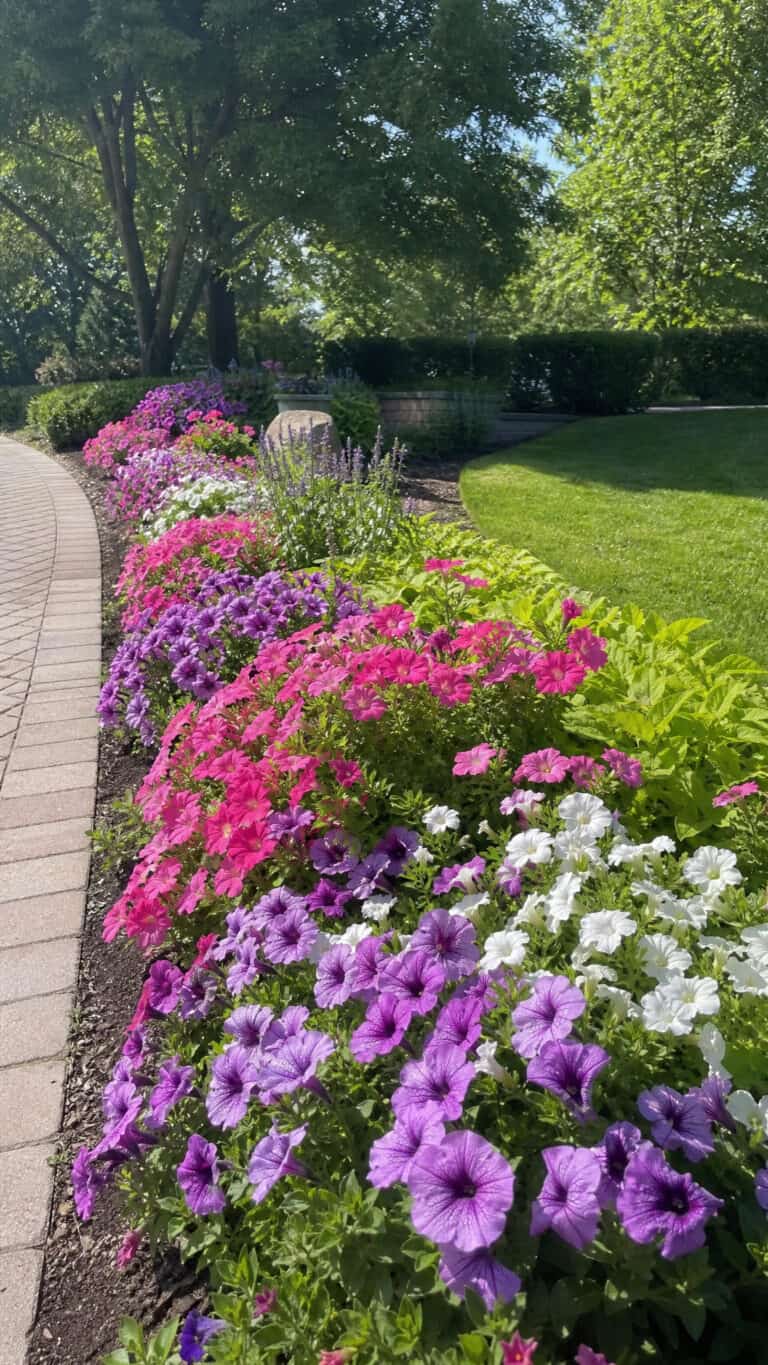
“Spillers” are low-growing or trailing plants that soften the edge of your bed. Creeping thyme, alyssum, petunias, or creeping Jenny work wonderfully here. They create this pretty overflow effect that makes everything look established and intentional!
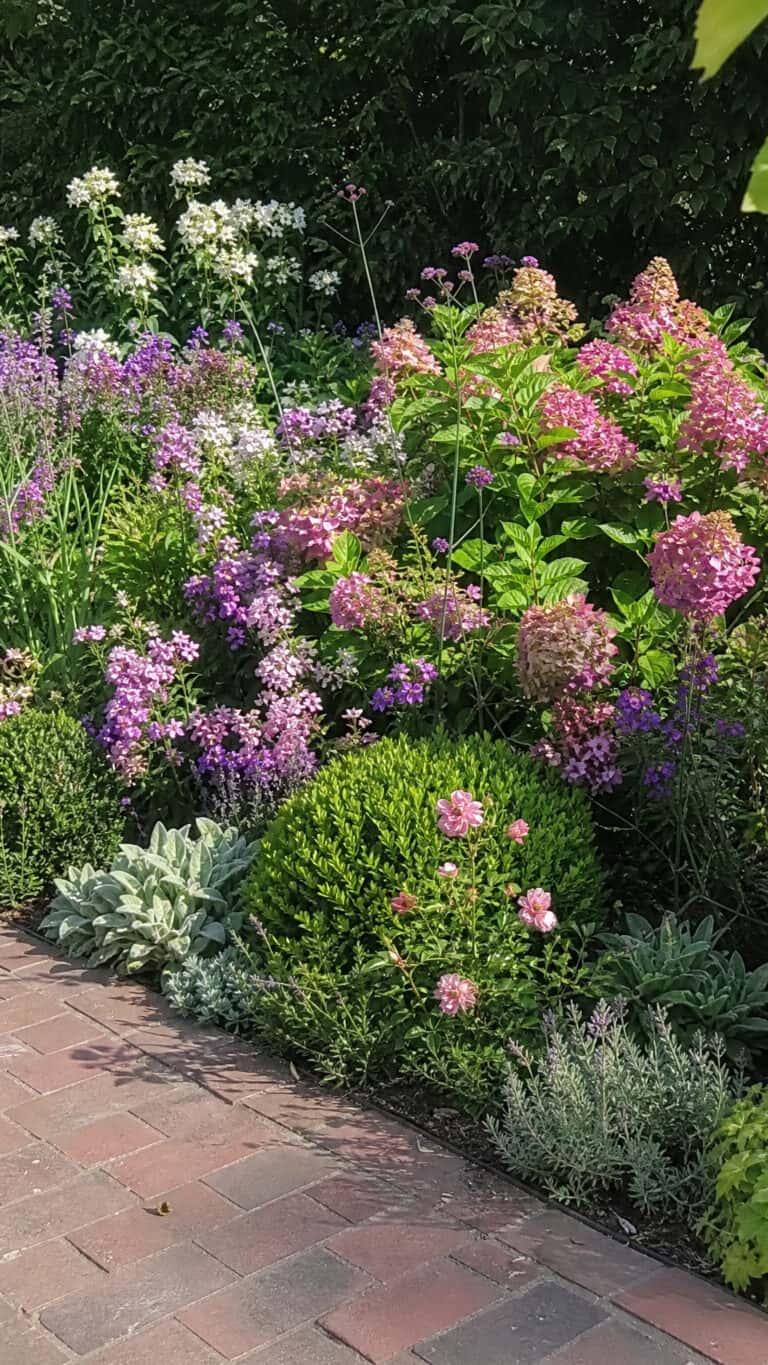
Don’t forget about foliage! Not everything needs to flower. I include hostas in my shady areas and ornamental grasses for texture. These plants look good all season long, even when they’re not blooming. Plus, they give your eyes a place to rest between all the colorful flowers!
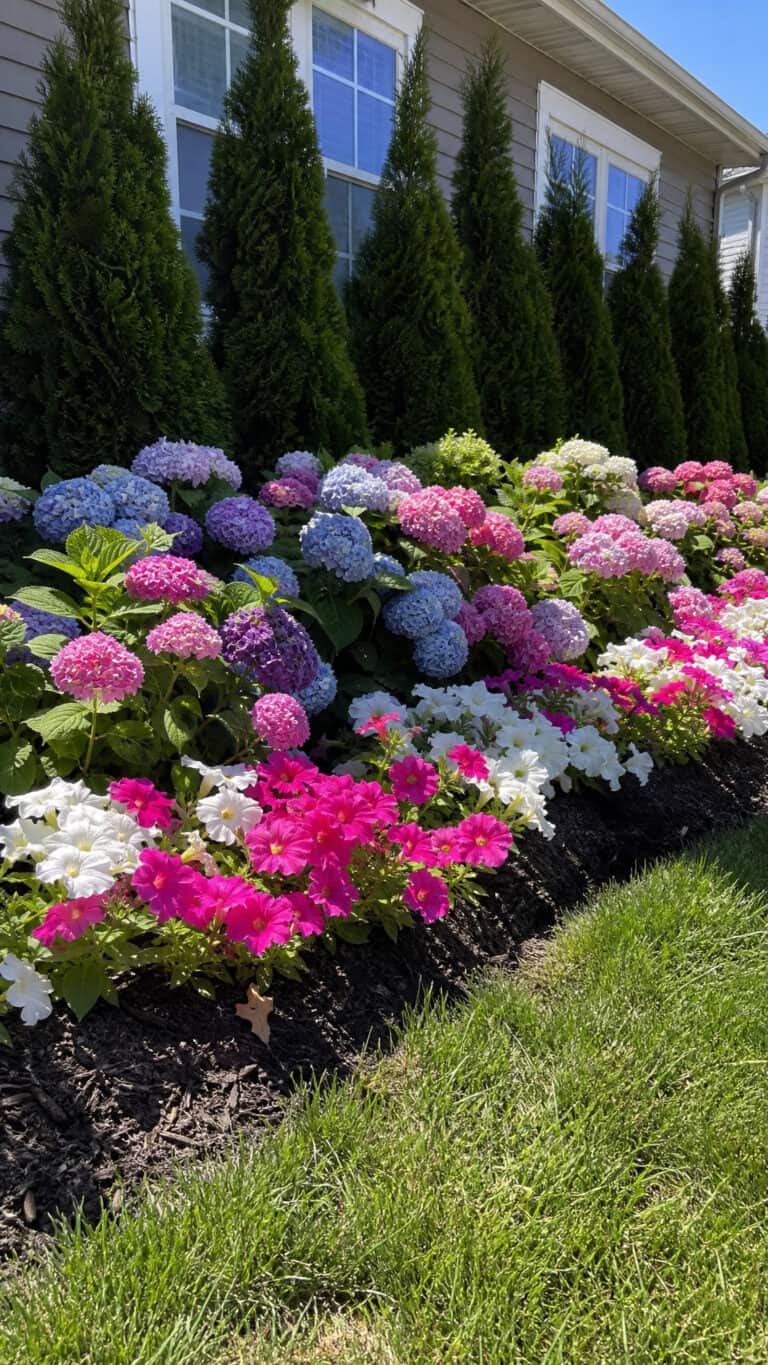
Consider bloom times too! You want something flowering from spring through fall. I have early spring bulbs, summer perennials, and fall asters so there’s always something pretty happening in my flower bed around shed. It takes a little planning, but it’s so worth it!
Add Hardscape Elements for Extra Charm
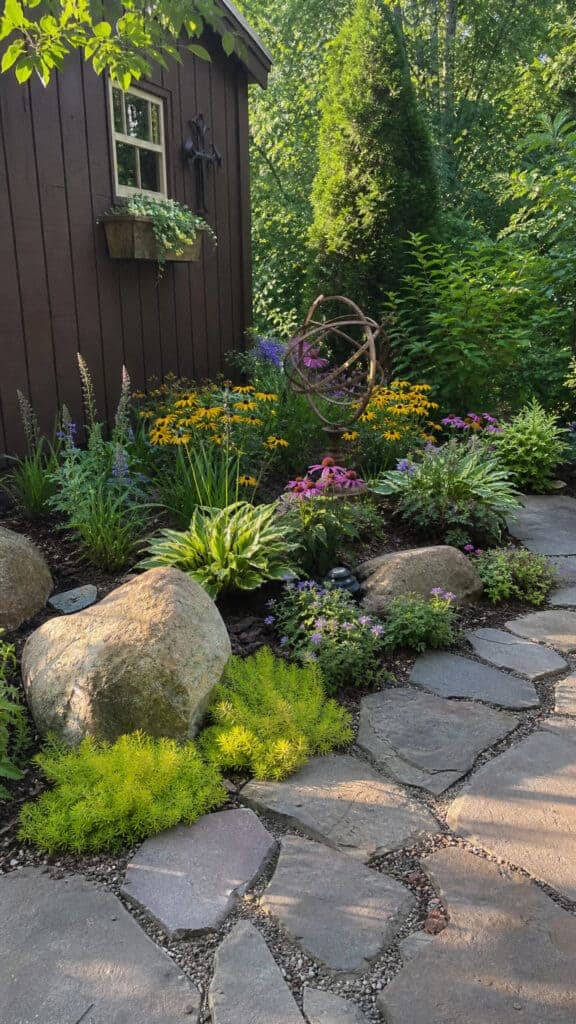
Once you’ve got your plants planned, think about adding some hardscape elements to take your flower bed around shed to the next level! These non-plant features add structure, visual interest, and honestly just make everything look more polished and intentional.
A simple gravel or mulch path leading to your shed door is both practical and pretty. I used river rock for mine, and it’s held up beautifully even with the boys running over it constantly. It also helps define the space and gives you a clean place to walk without trampling plants!
Consider adding a few larger stones or boulders within the flower bed itself. These create focal points and add a natural, established look. I found some beautiful flat stones at our local landscape supply yard, and they were way more affordable than I expected! Place them strategically among your plants for a really organic feel.
Garden art can be amazing in a flower bed around shed! I have a cute metal butterfly sculpture tucked among my coneflowers, and it makes me smile every time I see it. Just don’t go overboard – one or two special pieces is perfect. Too much and it starts looking cluttered rather than charming!
If your shed has windows, window boxes are an adorable addition! They tie the shed into the flower bed and give you another spot to add seasonal color. I plant mine with annuals that I can change out, so they’re always looking fresh and pretty!
Implement a Mulching Strategy
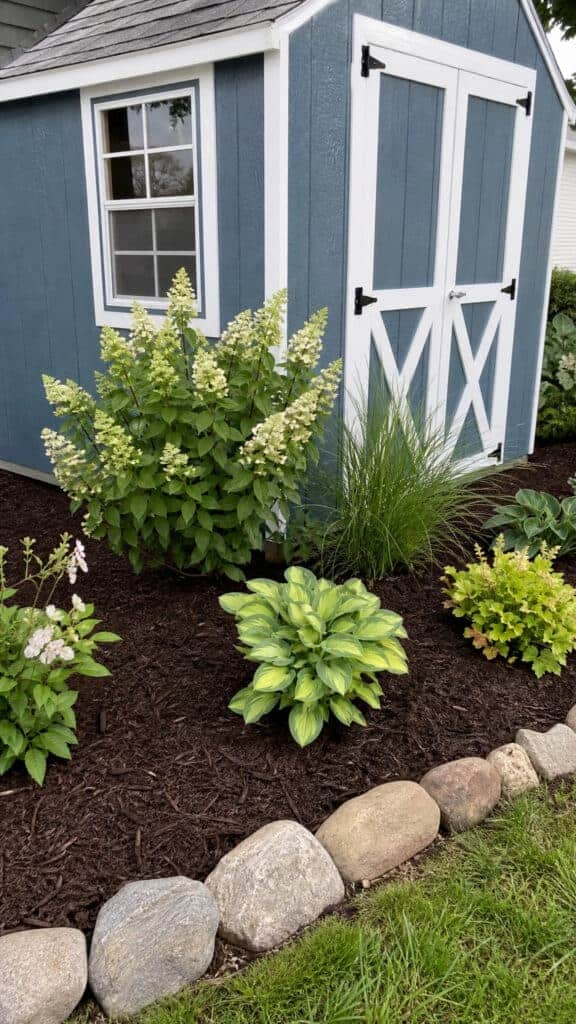
Let me tell you about mulch – it’s basically magic for your flower bed around shed! Good mulch makes everything look finished and professional, suppresses weeds (hallelujah!), retains moisture, and even regulates soil temperature. It’s like the secret weapon that makes your garden look like you spend way more time on it than you actually do!
I use shredded hardwood mulch in most of my beds because it looks natural, stays in place pretty well, and breaks down slowly to improve the soil. Cedar mulch is another great option – it smells amazing and naturally repels some insects! Apply about 2-3 inches of mulch over the entire bed, but keep it pulled back a few inches from plant stems to prevent rot.
Refresh your mulch every spring! It fades over time and breaks down, so adding a fresh layer each year keeps everything looking neat and provides continued benefits. I usually need about 3-4 bags for my shed flower bed, which isn’t too bad budget-wise!
For a different look, you could use river rock, pea gravel, or decorative stone instead of organic mulch. These don’t break down, so you don’t need to replace them, but they also don’t improve your soil over time. I’ve used pea gravel in my sunniest spots where I have Mediterranean plants like lavender, and it looks really clean and modern!
Maintain Your Flower Bed Through the Seasons
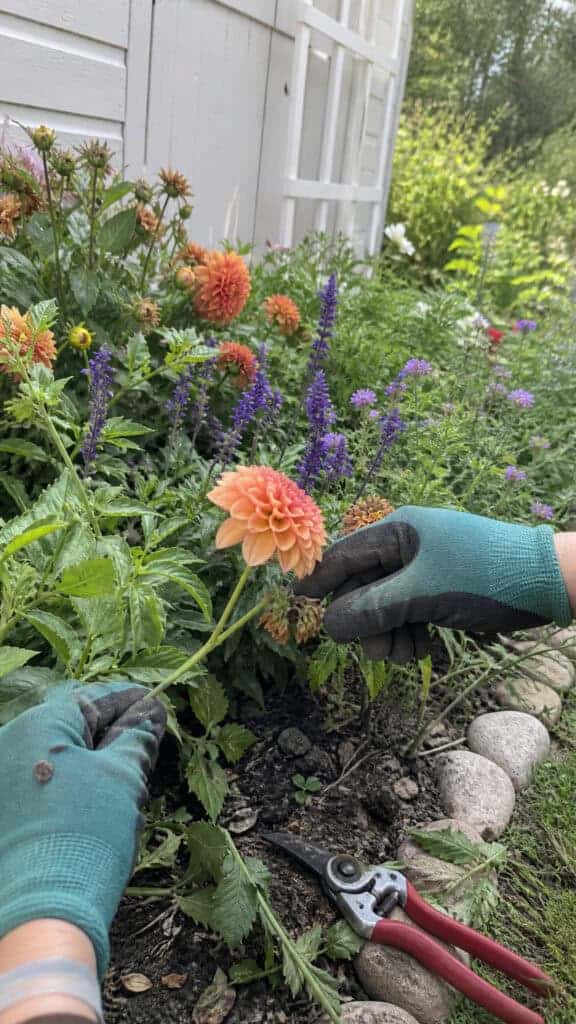
Creating your flower bed around shed is just the beginning – keeping it looking good is the ongoing part! But don’t worry, it doesn’t have to be complicated or time-consuming. I’ve got three boys to keep alive, so my maintenance routine has to be realistic!
Watering is obviously important, especially in the first year when plants are getting established. I water deeply once or twice a week rather than a little bit every day. This encourages deeper root growth and creates stronger plants. A soaker hose on a timer has been a total game-changer for me – set it and forget it!
Deadheading (removing spent flowers) keeps many plants blooming longer and looking tidy. I do a quick walk-through every few days and just pinch off the dead blooms. It takes maybe five minutes and makes such a difference! Some plants, like salvia and catmint, can be cut back by about a third mid-summer, and they’ll bloom again!
Weeding is easier if you do it regularly. I pull weeds when they’re tiny rather than waiting until they’re huge. The mulch helps a ton with this! A quick five-minute weed patrol once a week is way easier than spending hours on it once a month. Trust me on this!
In fall, I do a big cleanup where I cut back perennials, pull out dead annuals, and add a fresh layer of mulch. This protects plant roots over winter and means less work in spring. I also plant spring bulbs in fall – tulips and daffodils tucked among the perennials create the prettiest early spring show!
Don’t forget to divide perennials every few years! When plants get too crowded, they don’t bloom as well. Dividing them in spring or fall gives you more plants (free plants!) and keeps everything healthy and vigorous. I’ve filled my entire flower bed around shed with divisions from just a few original plants!
Your Shed Can Be Your Garden’s Best Feature
Creating a beautiful flower bed around shed doesn’t have to be overwhelming or expensive! Start with good planning, choose plants that work for your conditions, and add those special touches that make it uniquely yours. I promise, even if you think you don’t have a green thumb, you can totally do this! My flower bed has become my favorite spot in the whole yard, and I love that I created it myself!
The transformation from boring shed corner to gorgeous garden feature is so rewarding! Every time I look out the window and see those flowers blooming, I feel this little burst of pride and happiness. Plus, the boys think it’s pretty cool that Mom made something so beautiful, even if they occasionally kick a ball into it! Give yourself grace, start small if you need to, and enjoy the process of creating your own pretty garden corner!