This post may contain affiliate links. Read the full disclosure here.
There’s something absolutely magical about driving through neighborhoods during Halloween season and seeing all the creative decorations, especially those elaborate graveyard scenes that make you slow down to take it all in!
As a mom of three energetic boys who live for Halloween, I’ve learned that creating an amazing spooky display doesn’t have to break the bank or require professional skills. These Halloween graveyard ideas DIY projects have saved me time, money, and given us incredible family bonding moments!
Whether you’re a crafting newbie or someone who already has a garage full of supplies, these projects range from super simple to moderately challenging. The best part is watching your kids’ faces light up when they see their handiwork displayed proudly in the front yard! Let’s dive into these spooktacular ideas that’ll make your house the talk of the neighborhood.
Foam Tombstone Masterpieces
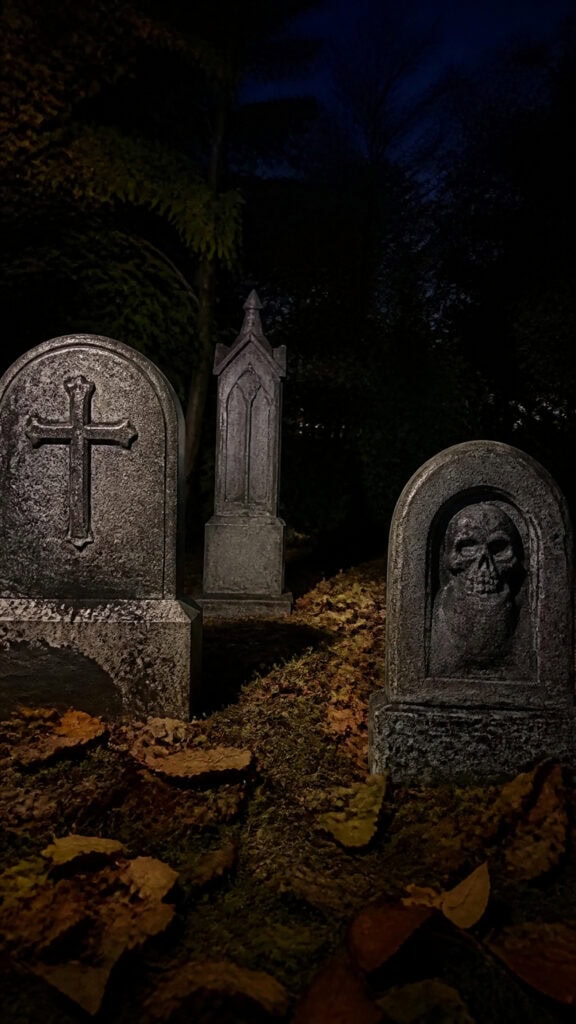
Foam board tombstones are honestly my go-to project every single year because they’re incredibly lightweight, super affordable, and the boys can go absolutely wild with their creativity! You can grab foam insulation boards from any home improvement store for just a few dollars each, and one board can make multiple tombstones depending on the size you want.
Start by drawing your tombstone shape directly onto the foam with a marker – classic rectangles, arched tops, or even those creepy crooked shapes work beautifully. Use a serrated kitchen knife or a hot wire cutter to carve out the shape, and don’t worry about making it perfect because weathered and worn actually looks more authentic! The boys love using butter knives to carve cracks, chips, and texture into the surface.
For painting, I’ve found that a base coat of gray acrylic paint works wonderfully, followed by black paint in the crevices to create depth and age. You can use a dry brush technique with lighter gray or white to highlight the raised areas. Let your kids paint on spooky epitaphs like “RIP” or funny names – my middle son created “Barry D. Alive” last year and we still laugh about it!
To make them stand in your yard, simply cut wooden stakes or use PVC pipes and attach them to the back with construction adhesive or duct tape. Push the stakes into the ground and voila! These Halloween graveyard ideas DIY projects look expensive but cost next to nothing, and they store flat in the garage for next year.
Creepy Chicken Wire Ghosts Rising from Graves
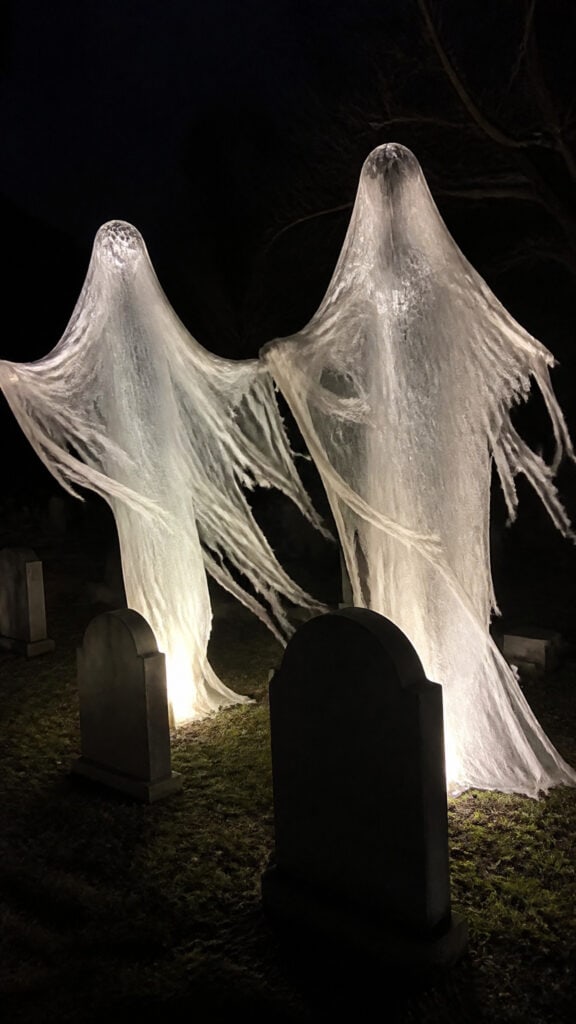
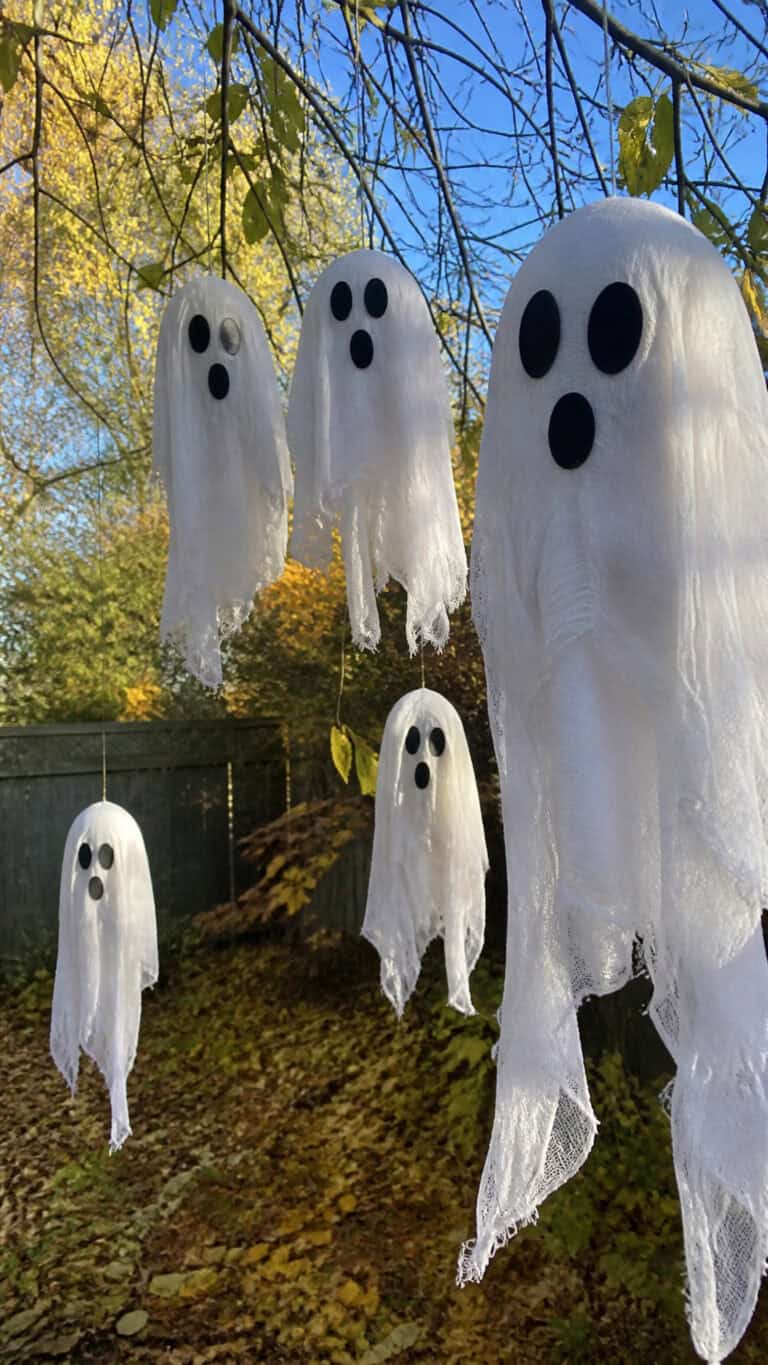
This project looks absolutely incredible at night and always gets compliments from neighbors! Chicken wire ghosts that appear to be rising from the ground create such an eerie effect, and they’re surprisingly easy to make even with three little helpers running around asking a million questions.
You’ll need chicken wire (which comes in rolls at hardware stores), white cheesecloth or gauze, and some stakes or rebar to anchor them. Shape the chicken wire into a ghost form – think flowing and ethereal rather than perfectly shaped. I usually create a rounded head area and let the body taper down toward the ground where it’ll look like it’s emerging from the grave.
The trick is to position these right behind or beside your tombstones so it truly looks like spirits rising! Secure the bottom to the ground with stakes, then drape your white fabric over the wire frame. I like to use fabric stiffener or a mixture of white glue and water to make the fabric hold its shape and look more supernatural.
At night, place a small LED spotlight at the base shining upward, and trust me, it’ll give everyone chills! You can even add battery-operated string lights inside the wire frame before draping the fabric for an extra glowing effect. My boys insist on making at least three of these every year, and honestly, the more the spookier when it comes to these ghostly figures!
Glowing Eyes in the Darkness
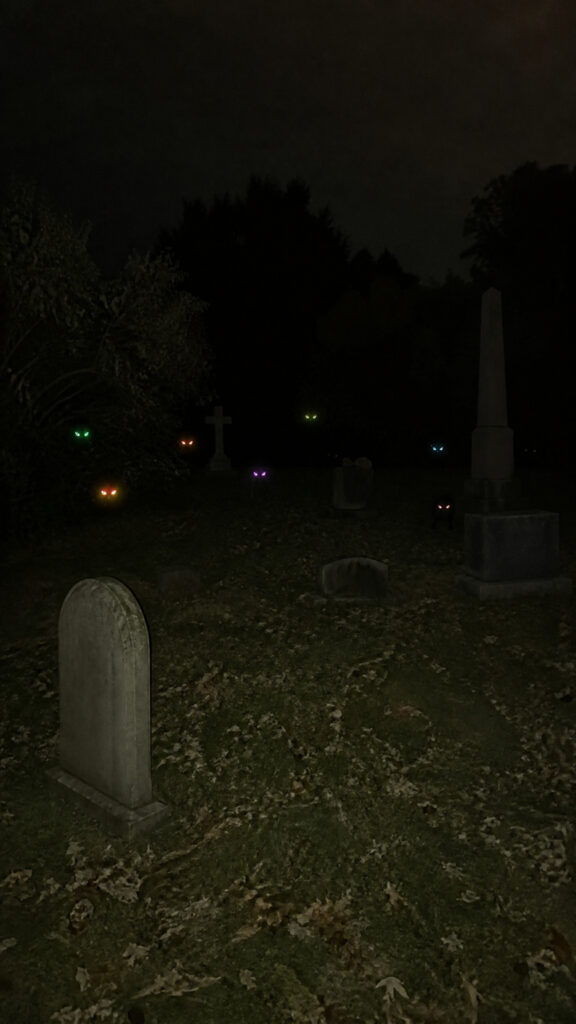
Nothing makes my boys giggle more than hiding in the bushes and seeing people’s reactions to glowing eyes peering out from the darkness! This is one of those Halloween graveyard ideas DIY projects that takes minutes to create but delivers maximum spooky impact for your cemetery display.
All you need are toilet paper or paper towel tubes (finally, a use for those things I keep meaning to recycle!), glow sticks, and something to cut the tubes with. Cut eye shapes into the tubes – they can be round, oval, or even cat-like slits depending on what creature you’re imagining lurking in your yard.
When darkness falls, activate your glow sticks and drop them inside the tubes. Hide these throughout your graveyard scene – behind tombstones, in bushes, under porches, anywhere that creates that “something’s watching you” feeling! I usually make a bunch in different colors because while green and yellow look super creepy, my youngest insists on having some blue ones too.
For a longer-lasting version, you can use battery-operated tea lights or small LED lights instead of glow sticks. Some craft stores even sell LED lights in different colors specifically for this purpose! The boys and I have created everything from wolves to zombies to mysterious creatures, and we arrange them at different heights to make it look like various spooky beings are watching from the shadows.
Skeleton Hands Reaching from the Ground
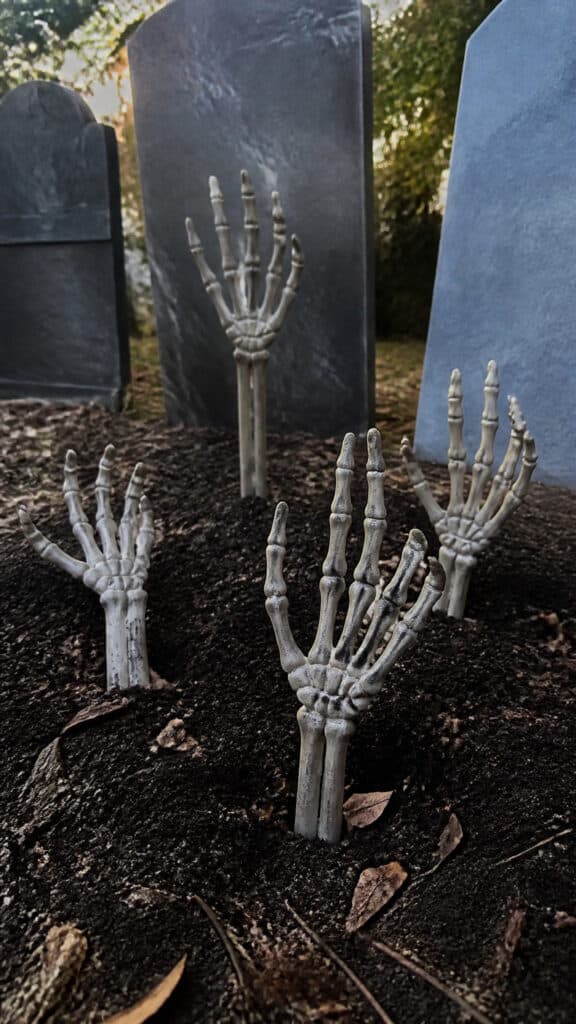
There’s something delightfully creepy about skeleton hands clawing their way up from beneath the earth, and this project is so simple that even my kindergartener can help! These realistic-looking hands add such a dramatic touch to any graveyard display and make it look like the dead are literally trying to escape.
You can buy plastic skeleton hands at dollar stores super cheap (especially after Halloween when they’re on clearance – I stock up every November!), or if you’re feeling extra crafty, make them from wire and papier-mâché. The key is positioning them so they look like they’re genuinely pushing up through the soil.
I like to place these around the base of tombstones or scattered throughout the graveyard area. Dig a small hole or trench, position the hand at an angle like it’s reaching upward, and pack dirt or mulch around it. For extra effect, add some fake moss or dead leaves to make it look aged and weathered!
One year we created an entire scene where multiple hands were reaching toward a candy bowl, and kids absolutely loved it! You can also attach glow-in-the-dark paint to the bones for nighttime visibility, or wrap battery-operated string lights around them. My middle son likes to position them like they’re trying to grab people’s ankles as they walk by – supervised mischief at its finest!
Weathered Wooden Cross Markers
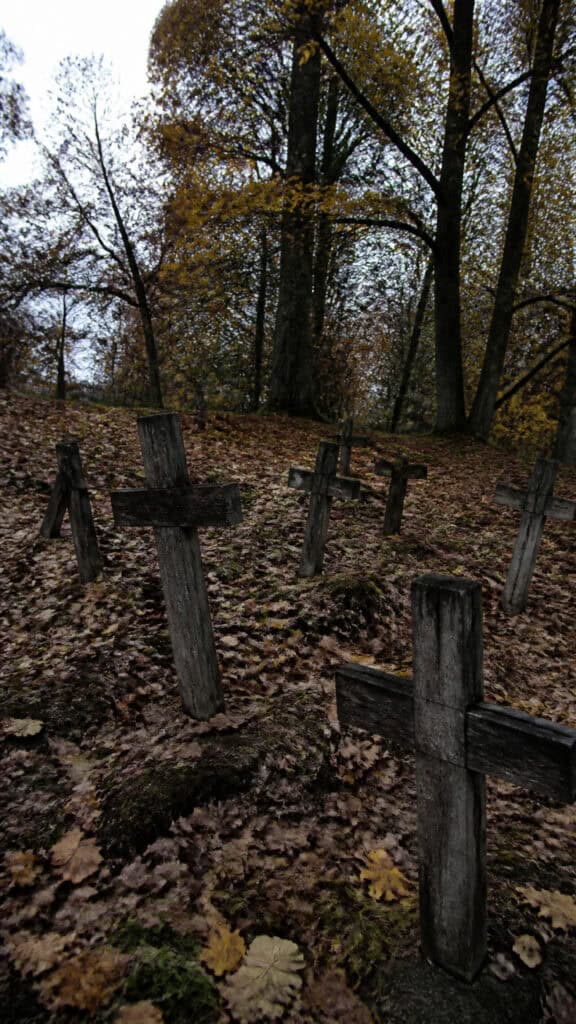
Sometimes the simplest Halloween graveyard ideas DIY projects create the most authentic atmosphere! Weathered wooden crosses give your cemetery display that old, abandoned graveyard feeling, and they’re incredibly easy to make from scrap wood you probably already have lying around.
Raid your garage, ask neighbors for old fence boards, or grab some inexpensive lumber from the hardware store. You’ll need two pieces per cross – one longer vertical piece and one shorter horizontal piece. My husband helped me set up a little assembly station in the driveway, and the boys had a blast creating an entire collection in one afternoon!
Attach the pieces together using wood screws, nails, or even just strong outdoor glue if you’re working with younger kids who shouldn’t handle tools. Don’t worry about making them perfect – wonky and crooked actually looks more authentic! Sand down any rough edges, then comes the fun part: aging them.
To create that weathered, been-there-for-centuries look, we use a combination of techniques. Hammer the wood randomly to create dents and damage, drag chains across it for scratches, and even let the kids bang it around a bit! For the finish, you can use gray stain, watered-down black paint, or my favorite trick – strong tea or coffee! Brush it on and let it dry for an instant aged appearance. Stake these throughout your graveyard at various angles, and maybe let a few fall over completely for that abandoned cemetery vibe.
Spooky Graveyard Fog Effect
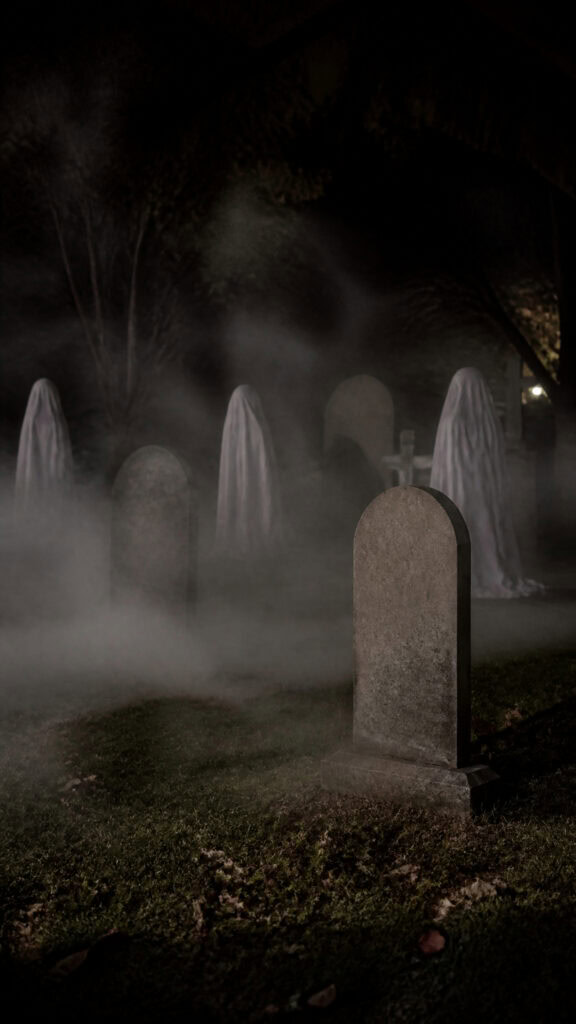
Okay, this one isn’t technically something you “make” in the traditional sense, but creating fog for your graveyard is such a game-changer that I had to include it! Low-lying fog creeping between tombstones and swirling around ghost figures takes your display from great to absolutely spectacular.
The easiest method is investing in a fog machine, which you can find at party stores or online for pretty reasonable prices. I bought mine four years ago and it’s still going strong! The trick with fog machines is positioning them low to the ground and using a chiller if you want that classic low-lying fog effect. You can make a simple fog chiller using a cooler, some ice, and dryer vent tubing!
For a budget-friendly approach, dry ice creates amazing fog effects! Place chunks of dry ice in a large container of hot water, and watch the fog roll out. Just remember to keep it away from little hands because dry ice can cause burns – I learned this the hard way and now we have a strict “adults only” rule for handling it. Position your containers strategically around your graveyard for maximum spooky atmosphere.
Time your fog for when trick-or-treaters are coming through – there’s nothing like watching kids’ eyes widen as they approach a fog-shrouded cemetery! We usually start our fog machine around dusk and run it intermittently throughout the evening. Just be prepared for your house to become THE house that everyone wants to visit!
Hanging Moss and Decay Details
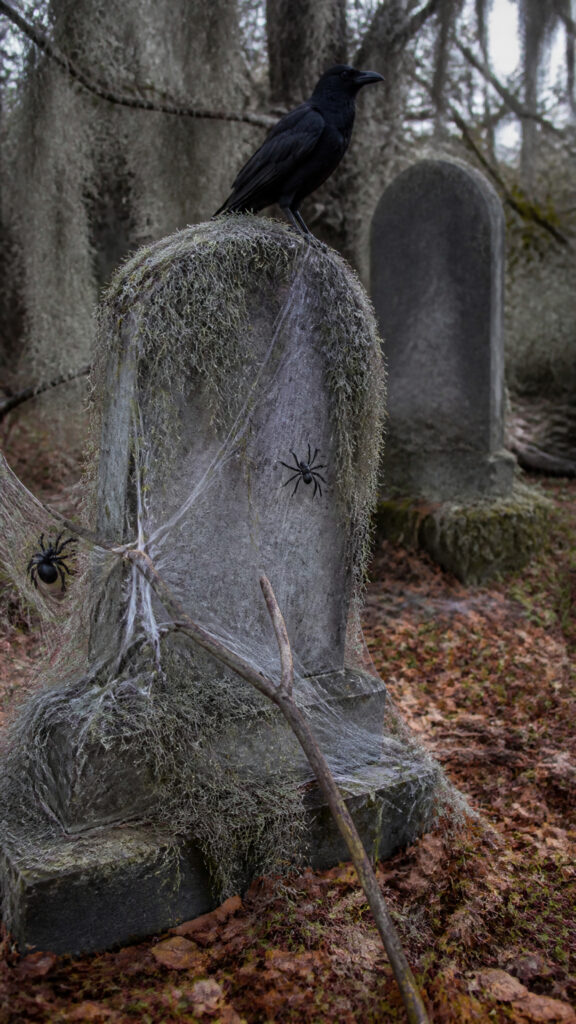
The difference between a good graveyard display and an absolutely amazing one often comes down to the little details, and adding hanging moss, vines, and decay elements brings everything together! This is one of those Halloween graveyard ideas DIY touches that makes your cemetery look like it’s been abandoned for decades.
Spanish moss (real or fake) draped over tombstones, crosses, and any structures creates instant atmosphere! You can buy bags of fake moss at craft stores, or if you live in an area where it grows naturally, collect some for free. We drape it everywhere – over fence posts, hanging from trees, across the tops of tombstones – anywhere that suggests nature has reclaimed the space.
Dead branches and twigs stuck in the ground around your graveyard add to that overgrown, neglected feeling. We take walks in the woods behind our neighborhood specifically to collect interesting twisted branches! Spray paint some black for extra drama, or leave them natural for a more realistic look.
Fake cobwebs are another must-have detail! Stretch them across tombstones, between crosses, and over any surfaces. The trick is pulling them thin and wispy rather than leaving them thick and obvious – real cobwebs are delicate and scattered. Add some plastic spiders for good measure, and maybe a fake crow or two perched on tombstones! My boys love positioning these details, and it’s amazing how much atmosphere these simple additions create.
Illuminated Pathway to the Graveyard
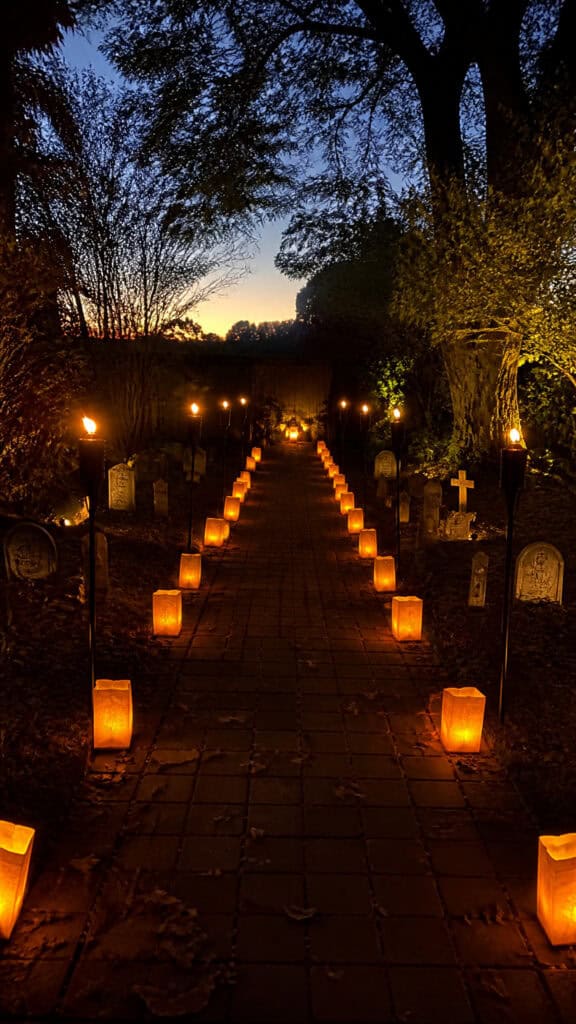
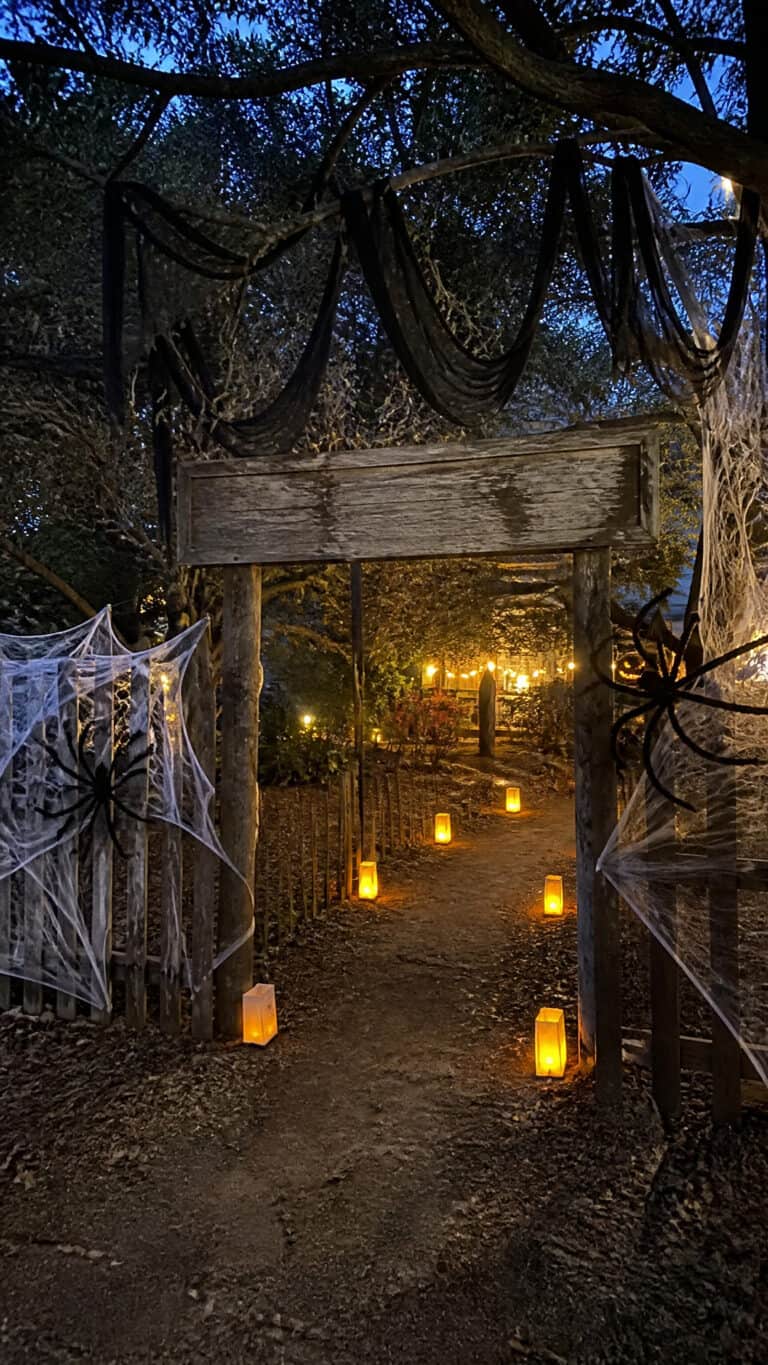
Creating a spooky pathway leading to your graveyard scene helps guide trick-or-treaters and builds anticipation as they approach! This project combines lighting with simple decorative elements to create an entrance that says “welcome to our haunted cemetery” without being too scary for little ones.
Start with pathway lighting – you can use paper bag luminaries, which are super cheap and easy! Fill brown paper bags with a few inches of sand, place battery-operated tea lights inside, and line your walkway. For a graveyard theme, you can draw skull faces or tombstone shapes on the bags with black marker before setting them up.
Another option my boys absolutely love is making “torch” lights using pool noodles! Cut pool noodles to various heights, spray paint them black or gray to look like wood, and attach red or orange LED lights to the top. Stake these along your pathway for a medieval graveyard entrance feeling. You can even wrap them with orange or red cellophane to create a flickering flame effect!
Add some ground-level decorations along the path – small tombstones, skeleton parts, scattered bones, or even caution tape strung between stakes. We like to create a “warning” sign at the entrance that says something like “Enter at Your Own Risk” or “Beware: Zombies Rising!” The boys help me paint these signs every year, and each one gets more creative than the last. This pathway approach makes your graveyard feel like a complete experience rather than just decorations in the yard!
Cemetery Fence Border
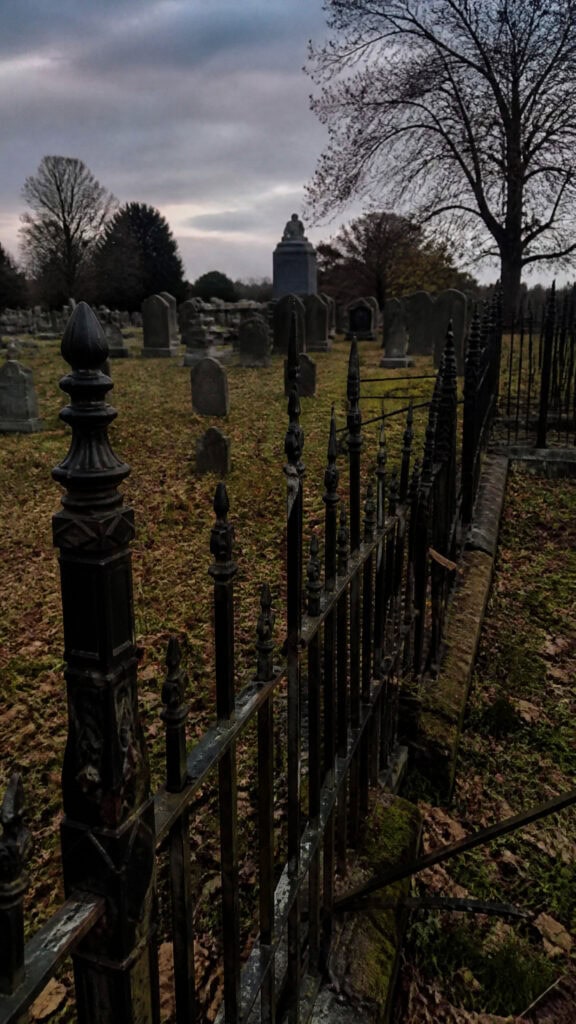
Creating a border or fence around your graveyard defines the space and makes it look so much more intentional and professional! This is one of those Halloween graveyard ideas DIY elements that really pulls everything together and makes your display look complete rather than just scattered decorations.
The easiest approach is using those plastic Halloween fence sections you can buy at party stores – they’re affordable, reusable, and stake right into the ground. But if you want something more custom and unique, making your own fence is actually pretty simple! We’ve created several versions over the years, and each one adds such great character.
For a wrought iron look, you can use black PVC pipes cut to various heights and connected with elbows and T-joints. Spray paint everything matte black, and add decorative elements like plastic skulls or bats attached to the tops of posts. Another option is creating a picket fence from wood scraps – cut them into pointed stakes, paint them black or gray, and attach them to horizontal support boards. Let some pickets be broken or missing for that authentic abandoned cemetery vibe!
My favorite version we’ve made used wooden dowels and pool noodles! Cut pool noodles into short sections, spray paint them to look like stone or concrete, and use them as post caps on wooden stakes. It creates a classic cemetery fence look for just a few dollars. Position your fence to enclose your entire graveyard scene, or just use it as a border along the front. The boys love helping decide where gates should go and which sections should look more deteriorated than others. It’s amazing how much a simple border elevates the entire display!
Bring Your Graveyard to Life This Halloween!
Creating your own Halloween graveyard doesn’t have to be overwhelming or expensive, and honestly, some of my favorite family memories have been made while working on these projects together! These Halloween graveyard ideas DIY projects prove that with a little creativity, some basic materials, and enthusiastic helpers (even if they’re more enthusiastic than helpful sometimes!), you can transform your yard into a spooktacular cemetery scene that delights trick-or-treaters and makes your house the highlight of the neighborhood.
Start with one or two projects that appeal to you most, and build your graveyard collection over the years – that’s exactly what we’ve done! Each Halloween we add something new, and now our display has become a neighborhood tradition that kids ask about starting in September. The best part is that most of these decorations store easily and last for years, so you’re building a collection that’ll bring joy (and spooky fun!) for many Halloweens to come. Now grab those supplies and get creating – your front yard cemetery awaits!